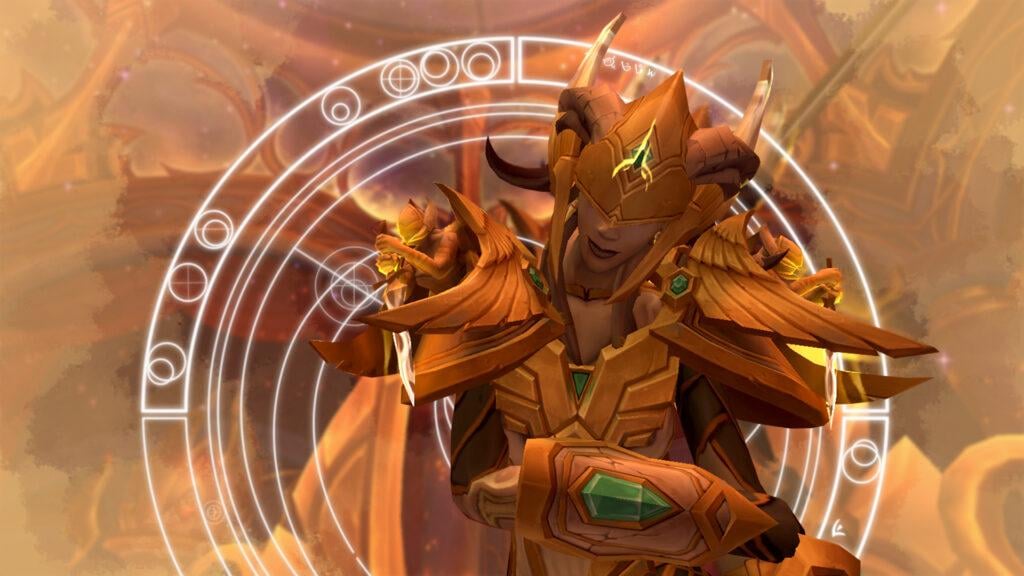
Priest
WoW Token Price
Find out the current WoW Token price for The War Within and Mists of Pandaria Classic with our tracker. We also reveal all you need to know about WoW Token.
FF14 Jobs Tier List
Read all about FFXIV 7.3 Jobs in Meta. Short Class Tier list — easy to read, easy to choose the best class for you!
Escape From Tarkov Best Weapons
Finding the best weapon in Escape from Tarkov can be challenging. Read this guide to discover what weapon to use to dominate the battlefield.
Mists of Pandaria Classic PvP Tier List
Mists of Pandaria Classic PvP Tier List with rankings for all specs. Find out which classes dominate the Pandaria Classic PvP meta!
WoW Classic Travel Guide Paths
In this traveling guide we shall learn how to minimize your travel time and transport around Azeroth as quickly as possible.
Arc Raiders Best Settings
Best Arc Raiders PC settings for higher FPS and smoother gameplay. Optimize graphics, controls, and performance for competitive play.
PUBG Best Weapons and Attachments
Looking for the best weapons and attachments in PUBG? This guide will give you all the information you need to dominate the battlefield.
PUBG Secret Locations
In our PUBG Secret Locations guide will tell you about Secret Rooms, Lab Camps and Bear Caves locations. Get loot from all Secret Locations in PUBG!
Path of Exile 2 Best Builds
Discover the best Path of Exile 2 builds for beginners and veterans with our full tier list guide outlining top picks and explanations.
Delta Force Ranked Guide
Discover everything about Delta Force Ranked Mode! Learn how Merit Points work, rank requirements, rewards, and the best strategies to climb the leaderboards.
Path of Exile Best Builds Tier List
Find out the most powerful 3.26 meta builds for leveling and dominating the game in our Path of Exile Best Builds Tier list!
WoW Midnight Preview
Learn everything new about the next WoW expansion with our WoW Midnight Preview. New raids, zones, delves, mechanics, and more!
WoW Midnight Best Classes
How to choose the best class to play in WoW Midnight? We know the answer! In this guide, we share the best classes for each role and even more!
TBC Anniversary PvP Tier List
TBC Classic Anniversary PvP guide with tier lists, best Arena comps, healers, DPS, and meta insights for Burning Crusade Anniversary.
TBC Anniversary Top Add-Ons
Learn about the best TBC Anniversary add-ons and Weakauras with the help of our guide. From the best combat add-ons to questing and profession ones!
WoW Race to World First
The WoW RWF Tracker for Voidspire, Dreamrift, and March on Quel’Danas follows the biggest PvE race in WoW Midnight as top guilds push through the new Mythic raid.
Midnight Priest Guide
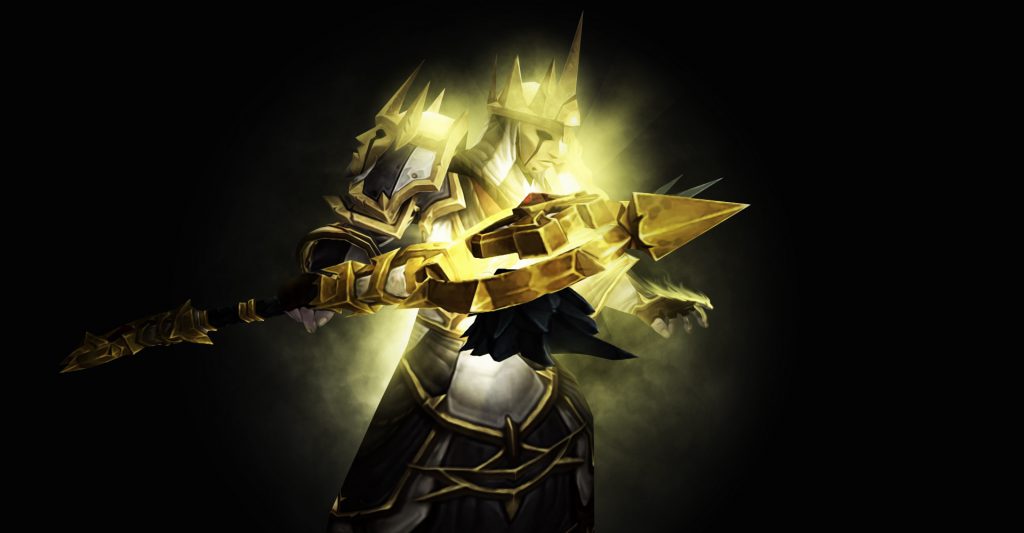
Holy Priest Guide

Discipline Priest Guide

Dragonflight Priest Guide
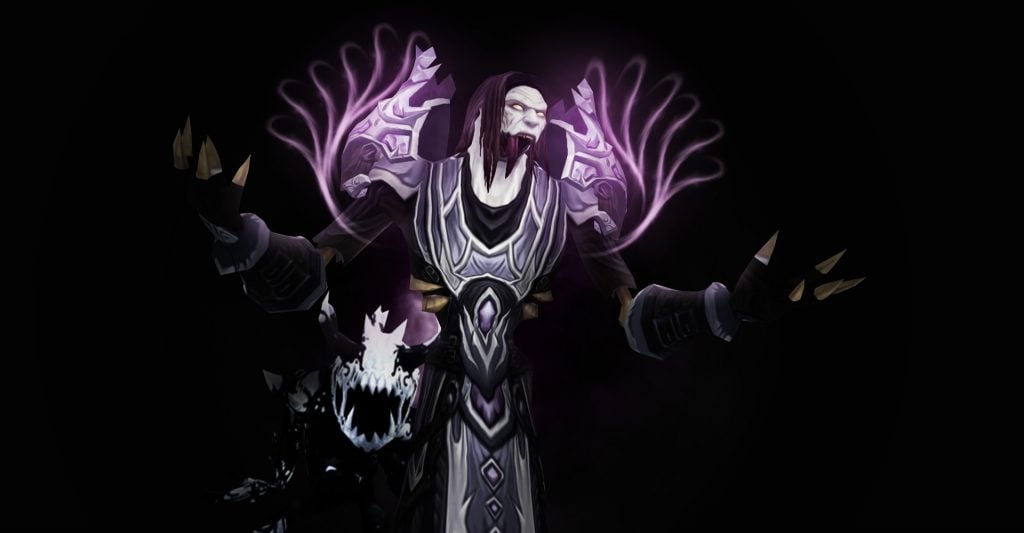
Shadow Priest 9.0.5 Guide
Discipline Priest 9.0.5 Guide

Holy Priest 8.2