Our The War Within Manaforge Omega overview covers everything you need to know about this raid. Here you can find the raid’s location, boss list, and main rewards. We also go over Manaforge Omega loot, so you can see what’s worth farming. Don’t forget to check our The War Within Tier Set Guide to plan your gear upgrades.
 4.9
4.9Manaforge Omega Requirements

To enter Manaforge Omega in WoW, your character needs to meet both gear and quest prerequisites. You must have completed the story chapter that awards Reshii Wraps, which act as your entry pass to the raid. Without this item in your inventory, you won’t be able to zone in.
In addition, a minimum item level of 651 is required for LFR difficulty (108 after the Midnight pre-patch squish). Higher difficulties have steeper item level recommendations to handle the increased damage and mechanics. Make sure your gear is upgraded before queuing or joining a group!
Manaforge Omega Release Date
Manaforge Omega arrived with the launch of Season 3 on August 12, 2025. From the first day, players had access to Normal, Heroic, and Mythic difficulties, while Raid Finder wings will open gradually in the weeks that follow.
The first week features Wing 1, Might of the Shadowguard, with the following bosses:
On August 19, Story Mode became available along with Wing 2, Monsters of the Sands, which includes the following bosses:
The final wing, Heart of Darkness, opens on August 26, bringing the following encounters:
How to Get into Manaforge Omega

The entrance to Manaforge Omega is located in the northern part of K’aresh. You’ll need to travel through the zone until you reach the raid portal at the coordinates:
/way #2339 41.8 21.0 Manaforge Omega Raid Entrance
Make sure you have your Reshii Wraps and meet the minimum item level requirement before heading there.
Manaforge Omega Map

The Forge Core

The Unbound Vault

Cultivation Chambers
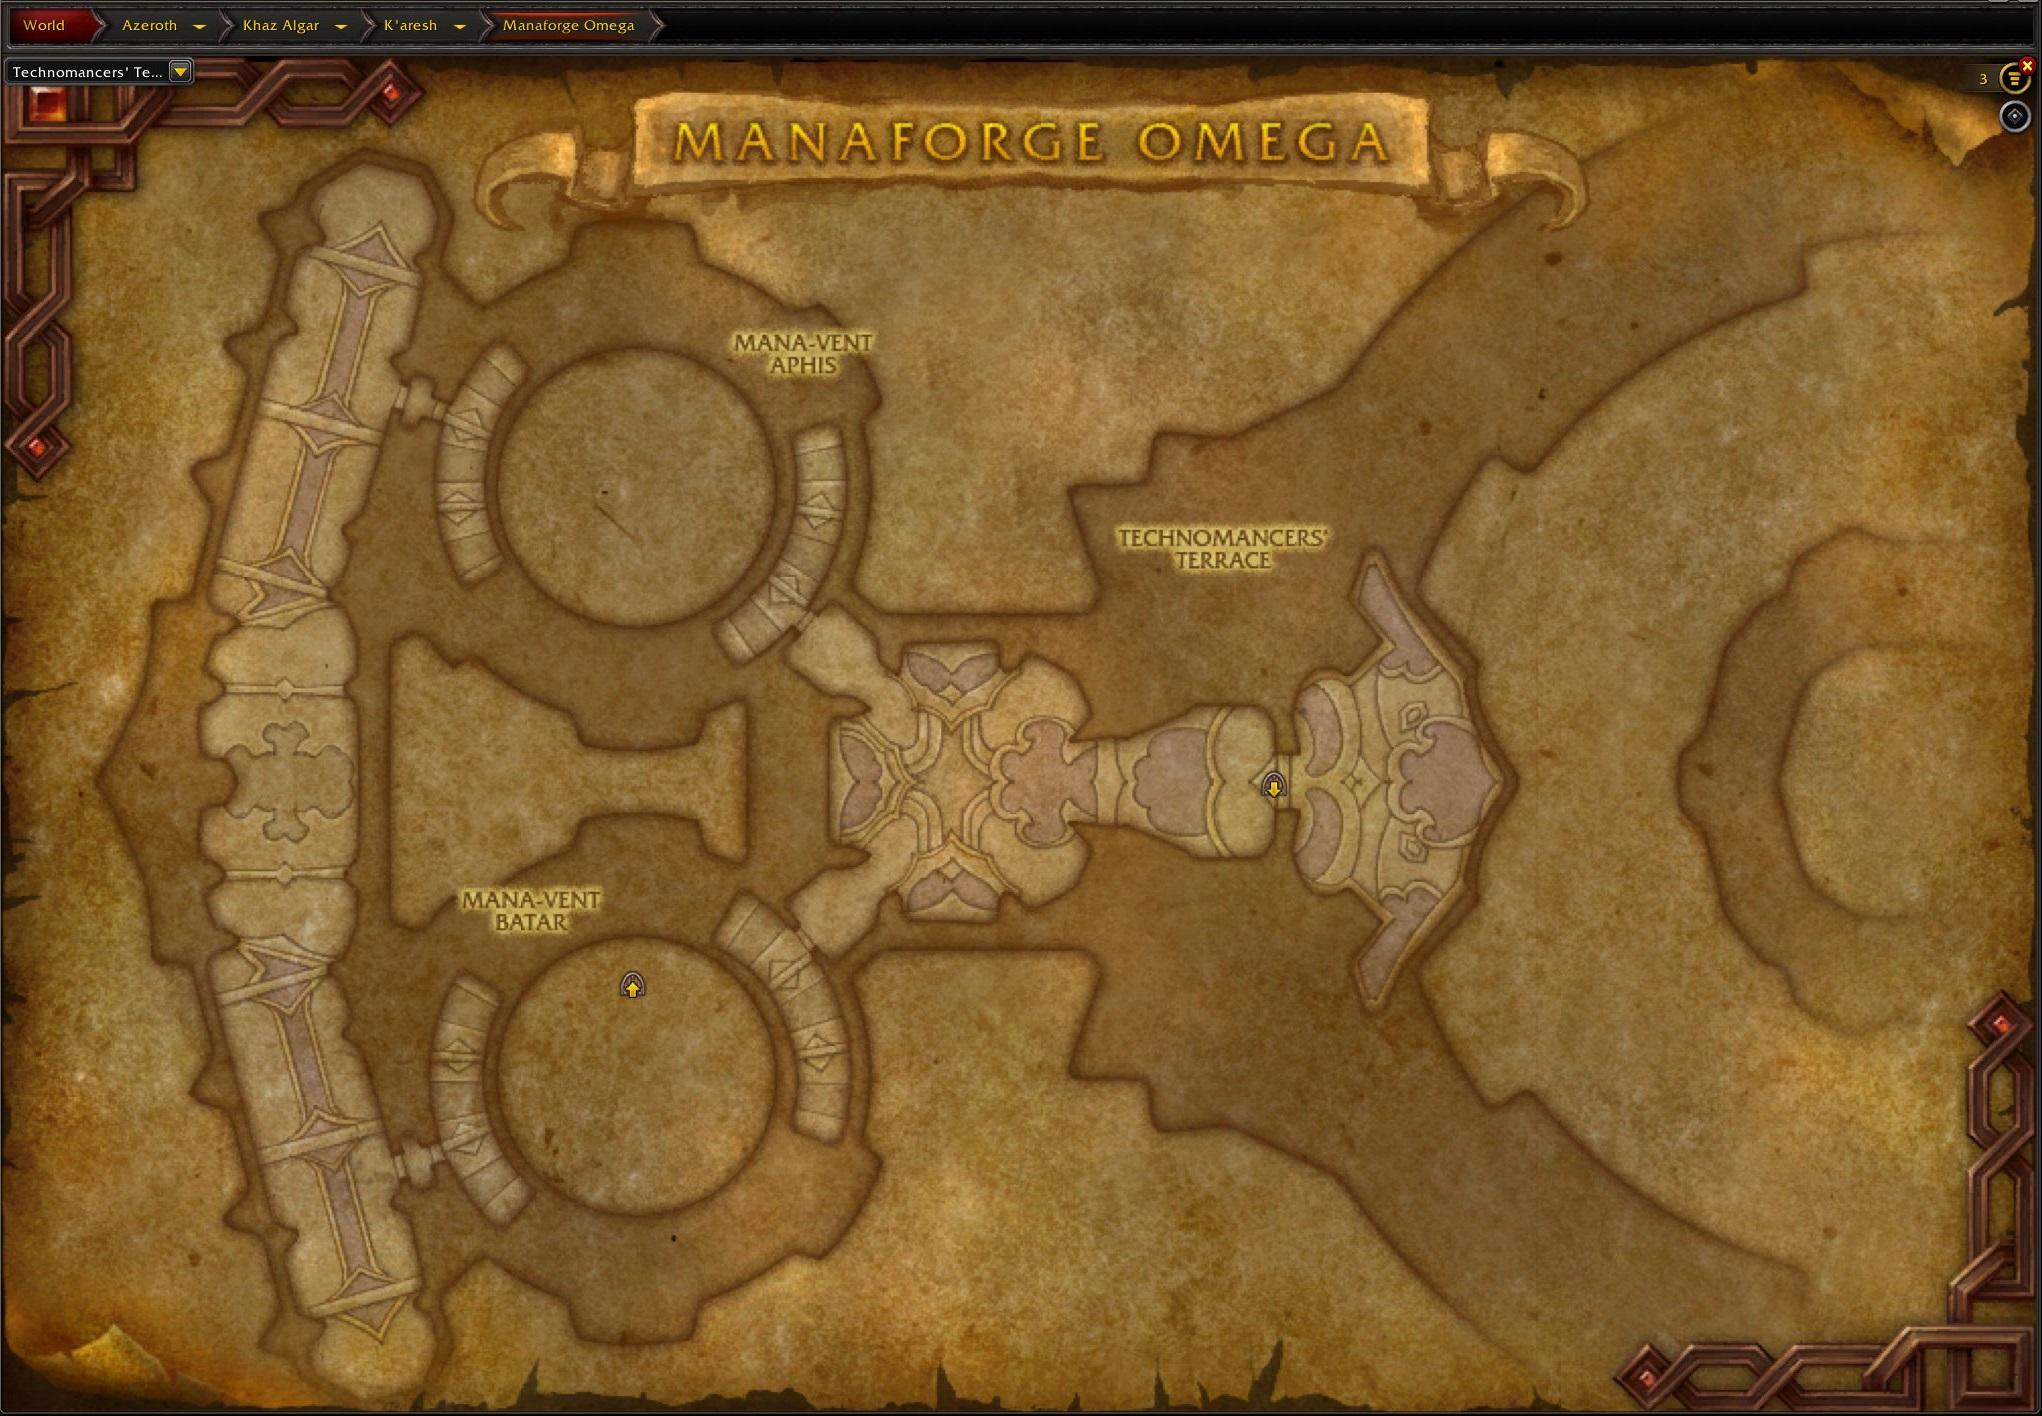
Technomancers' Terrace
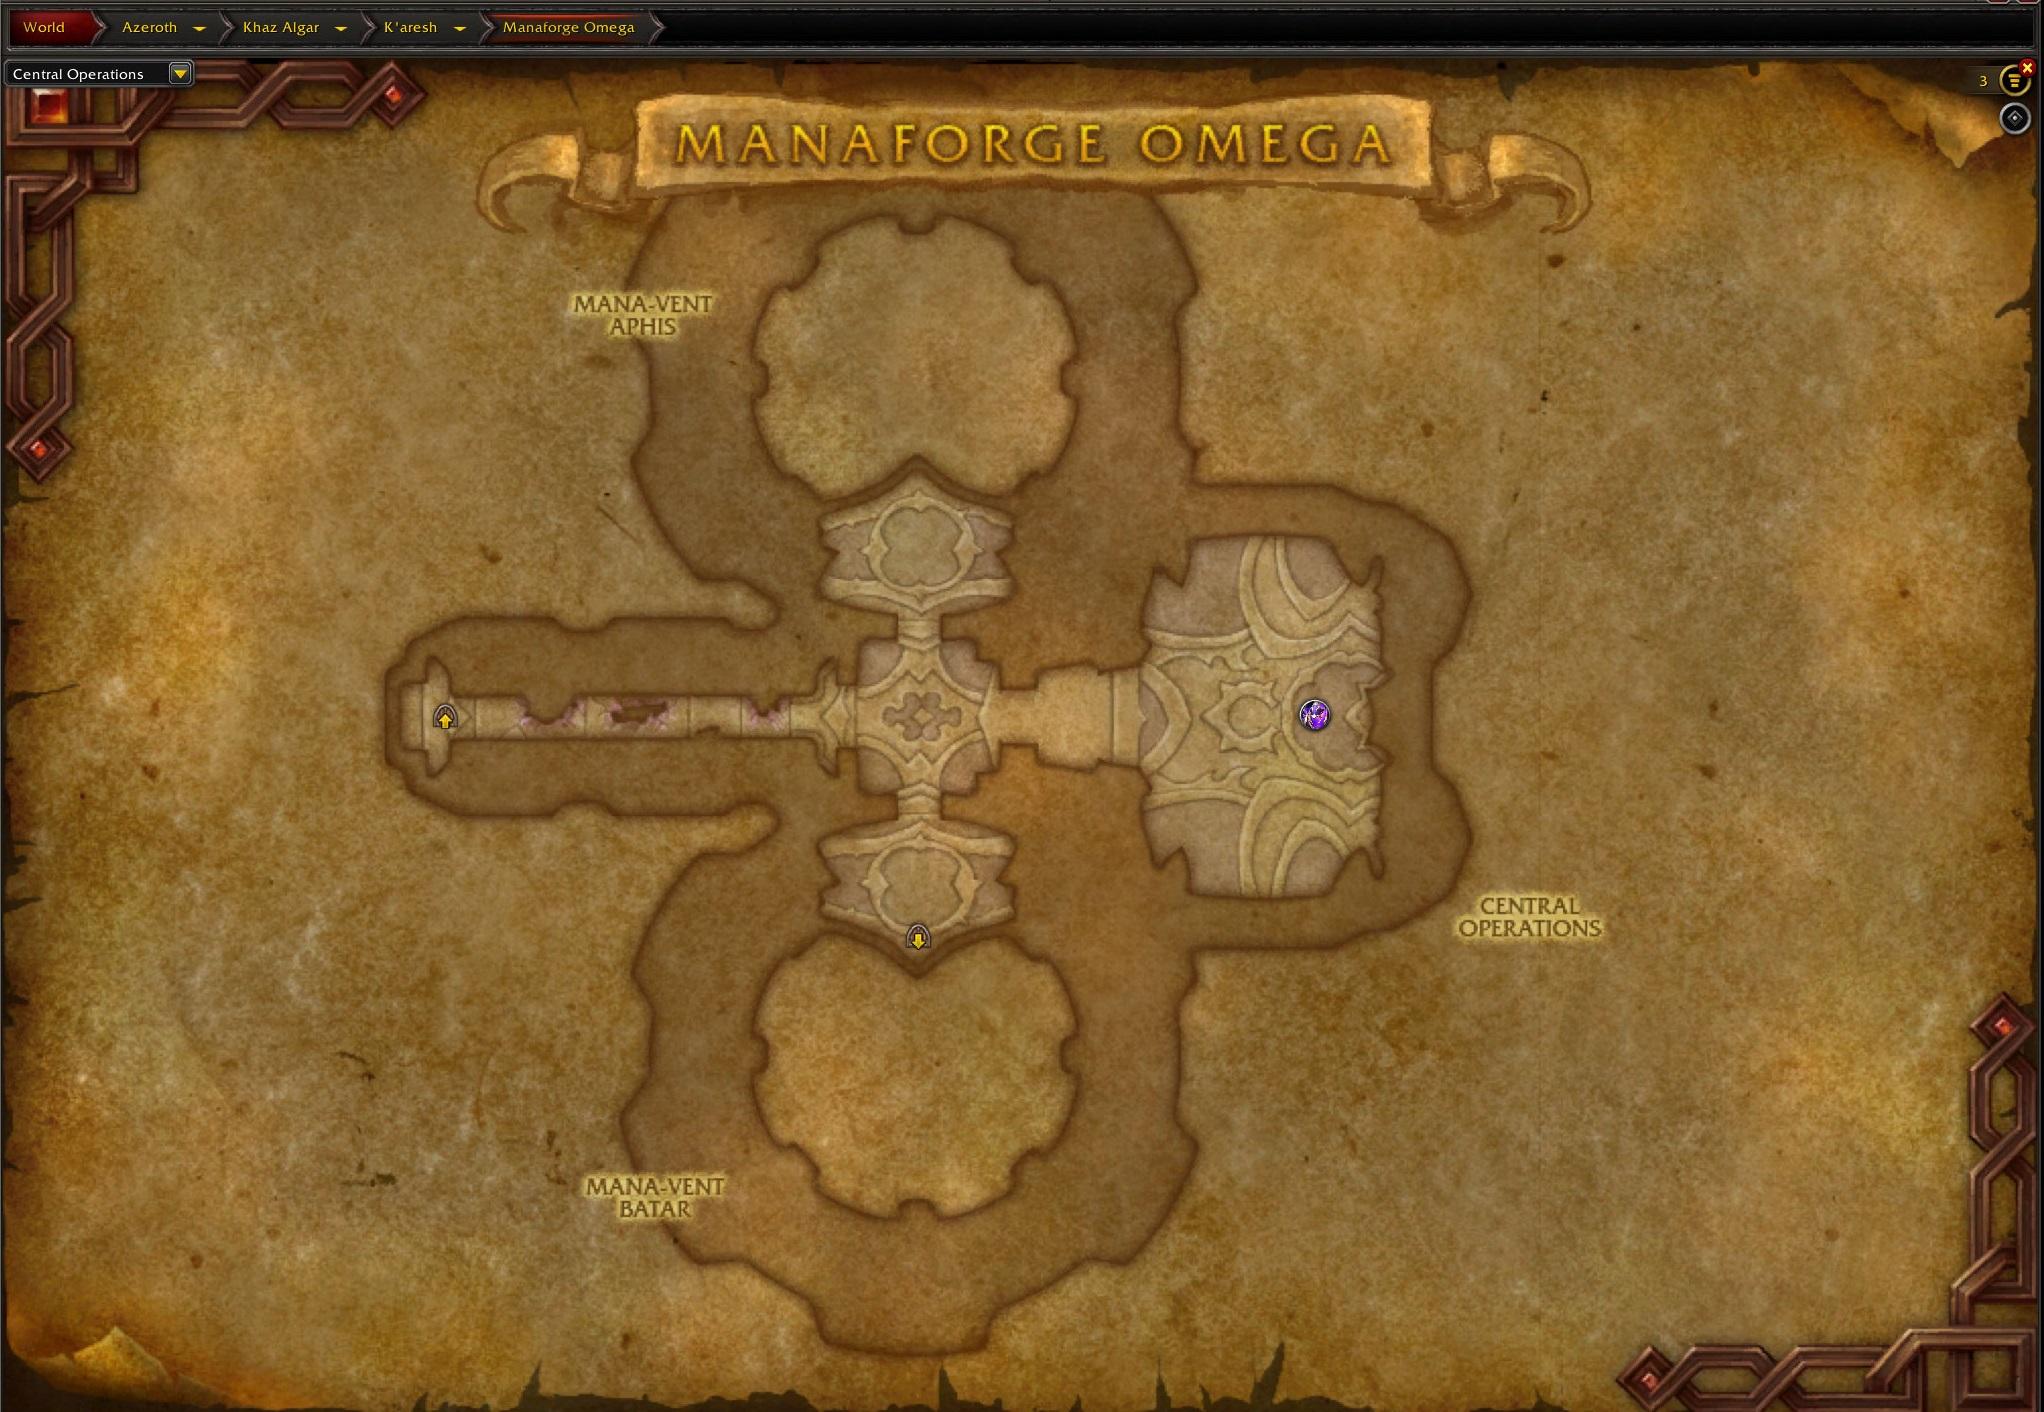
Central Operations
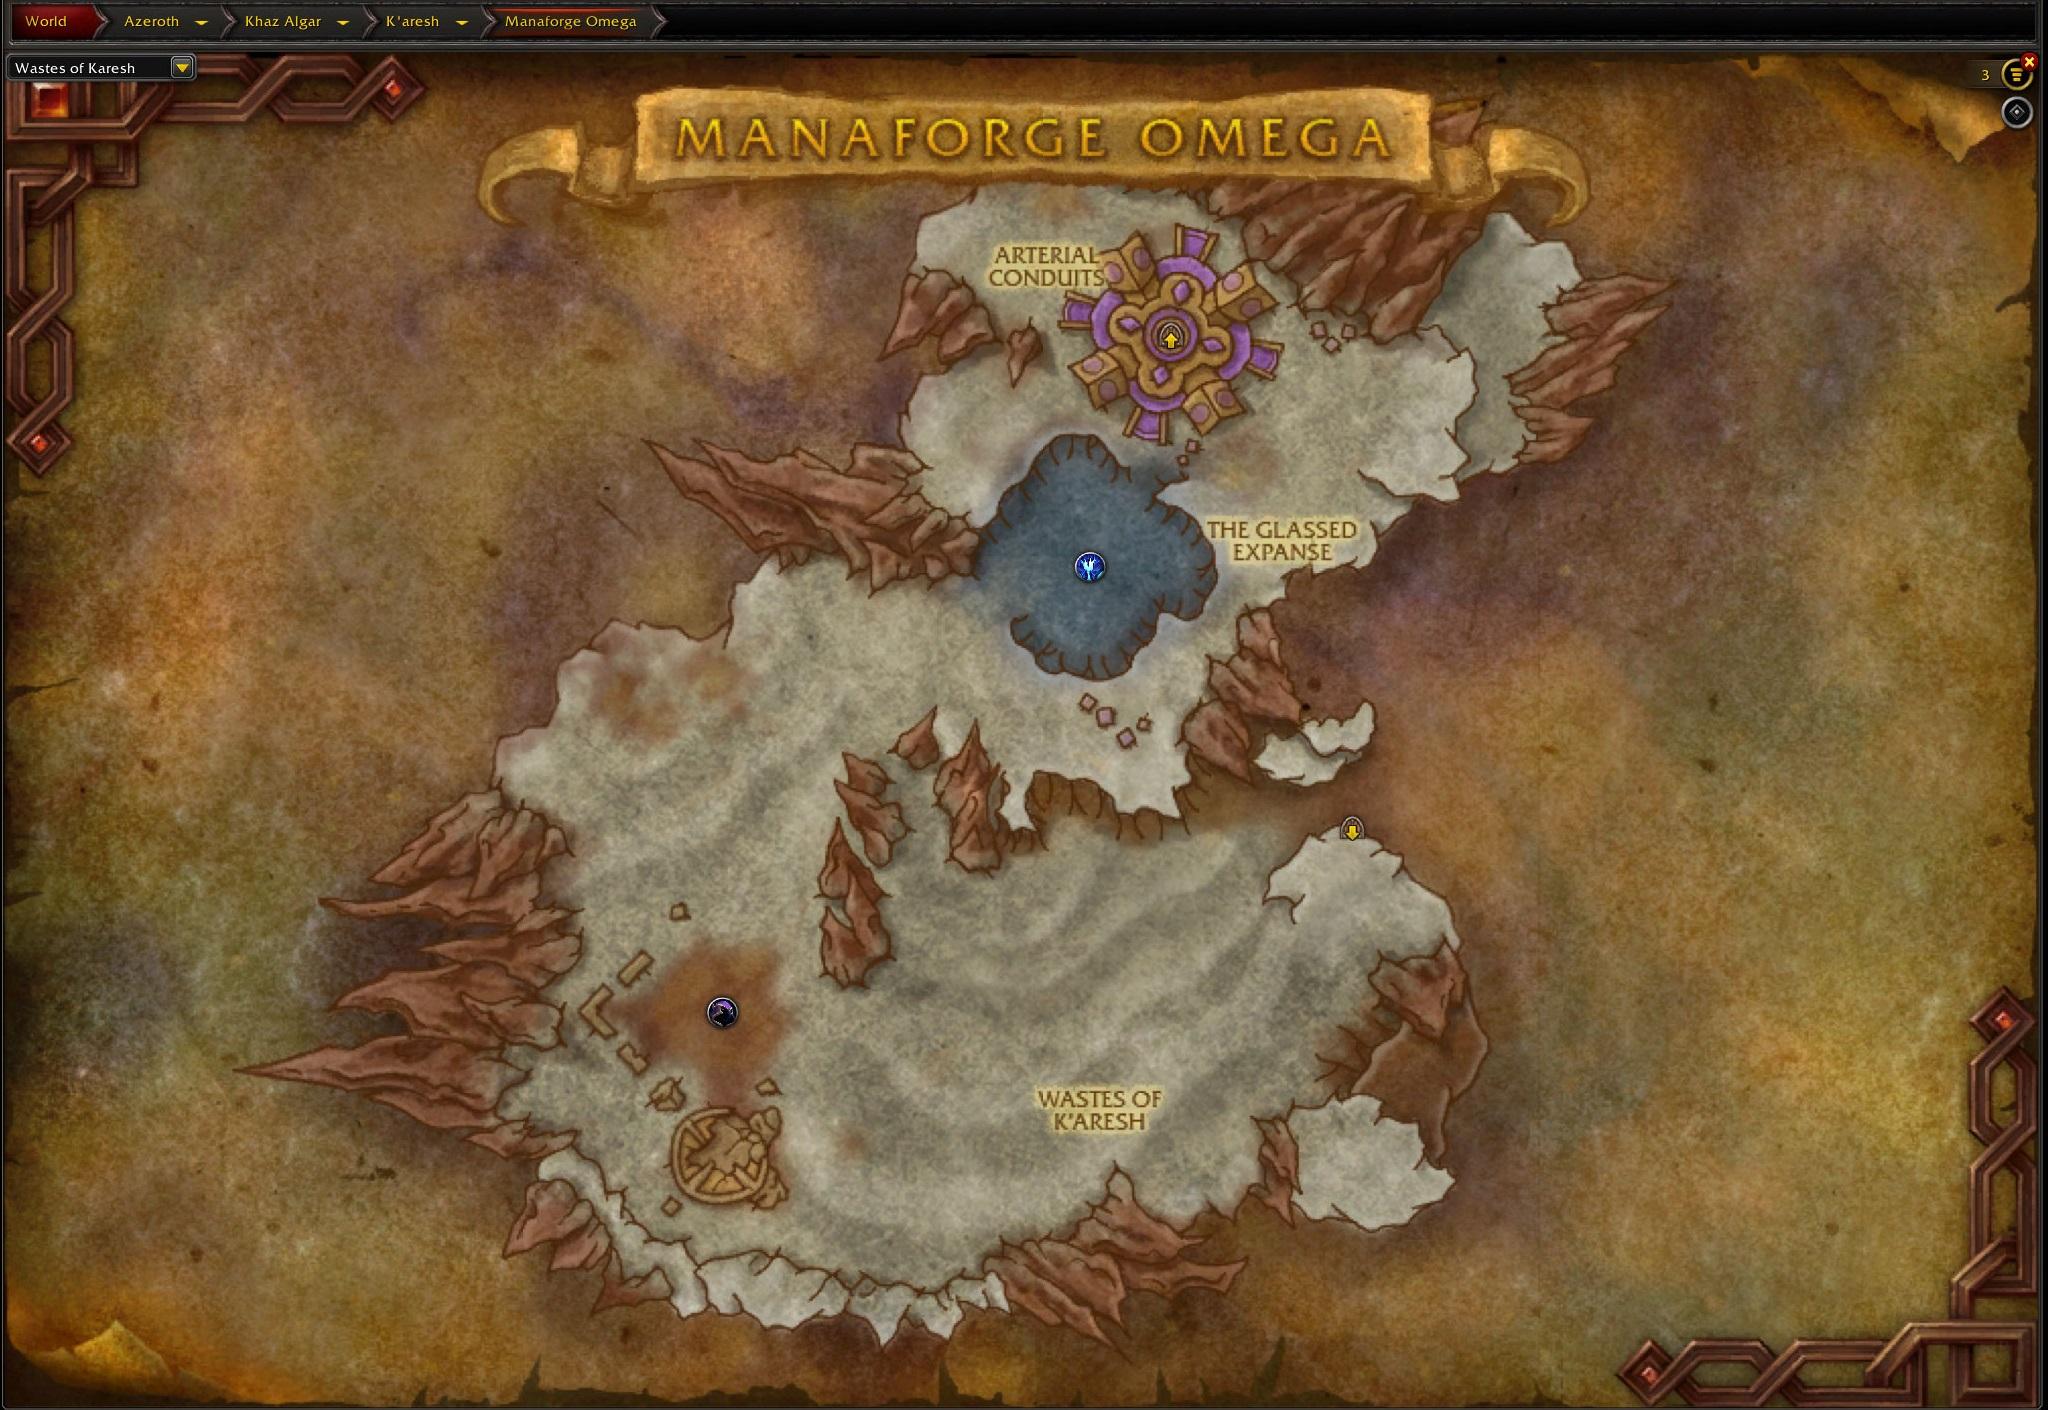
Wastes of Karesh
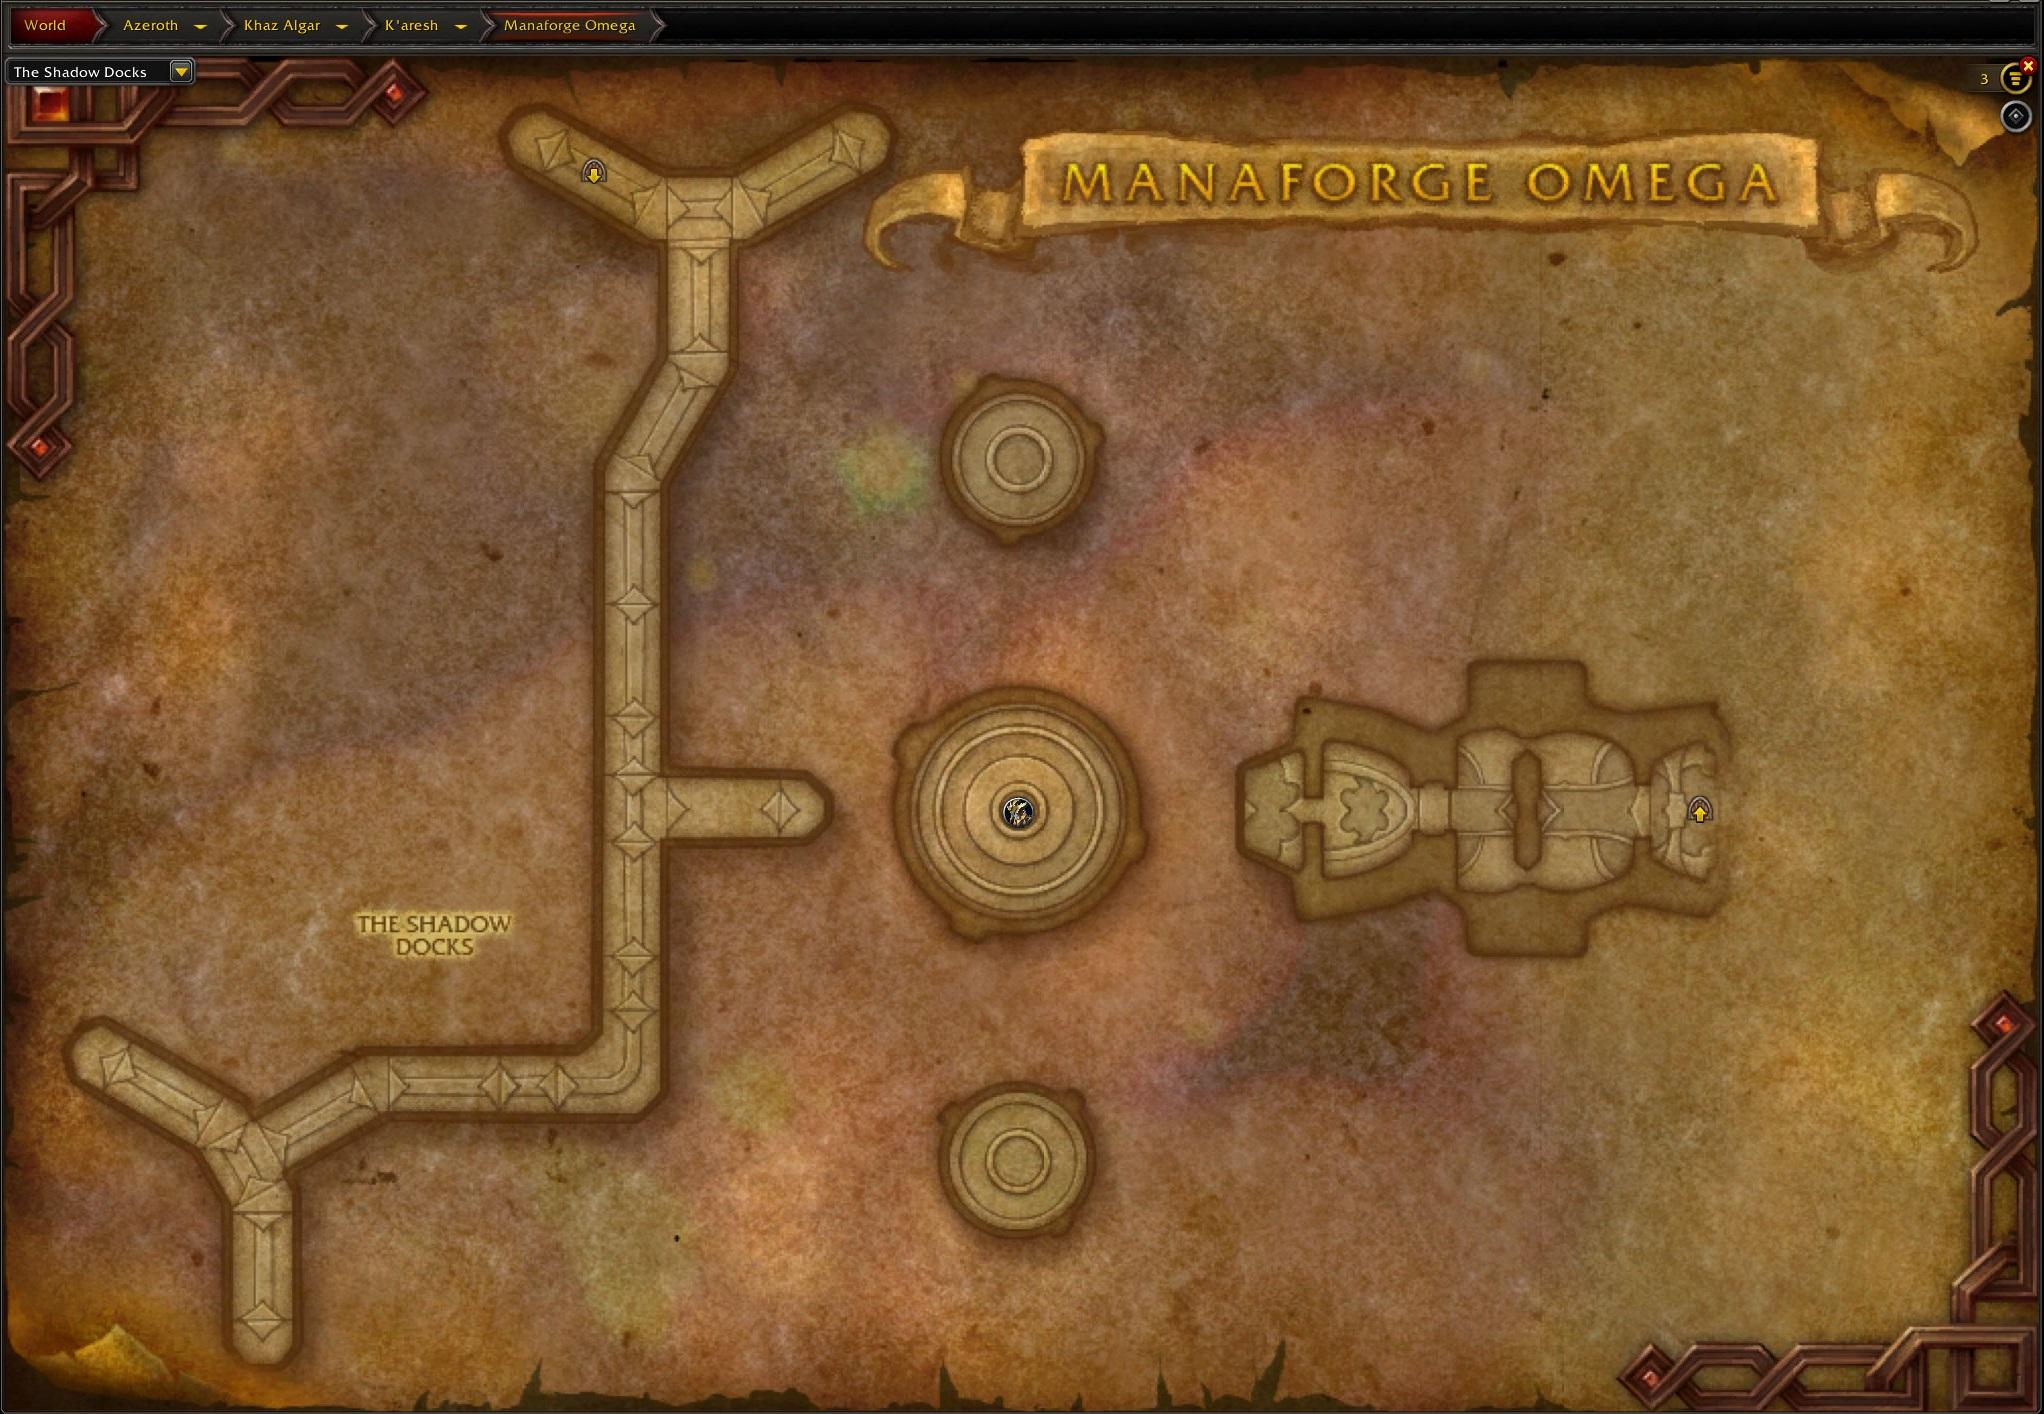
The Shadow Docks
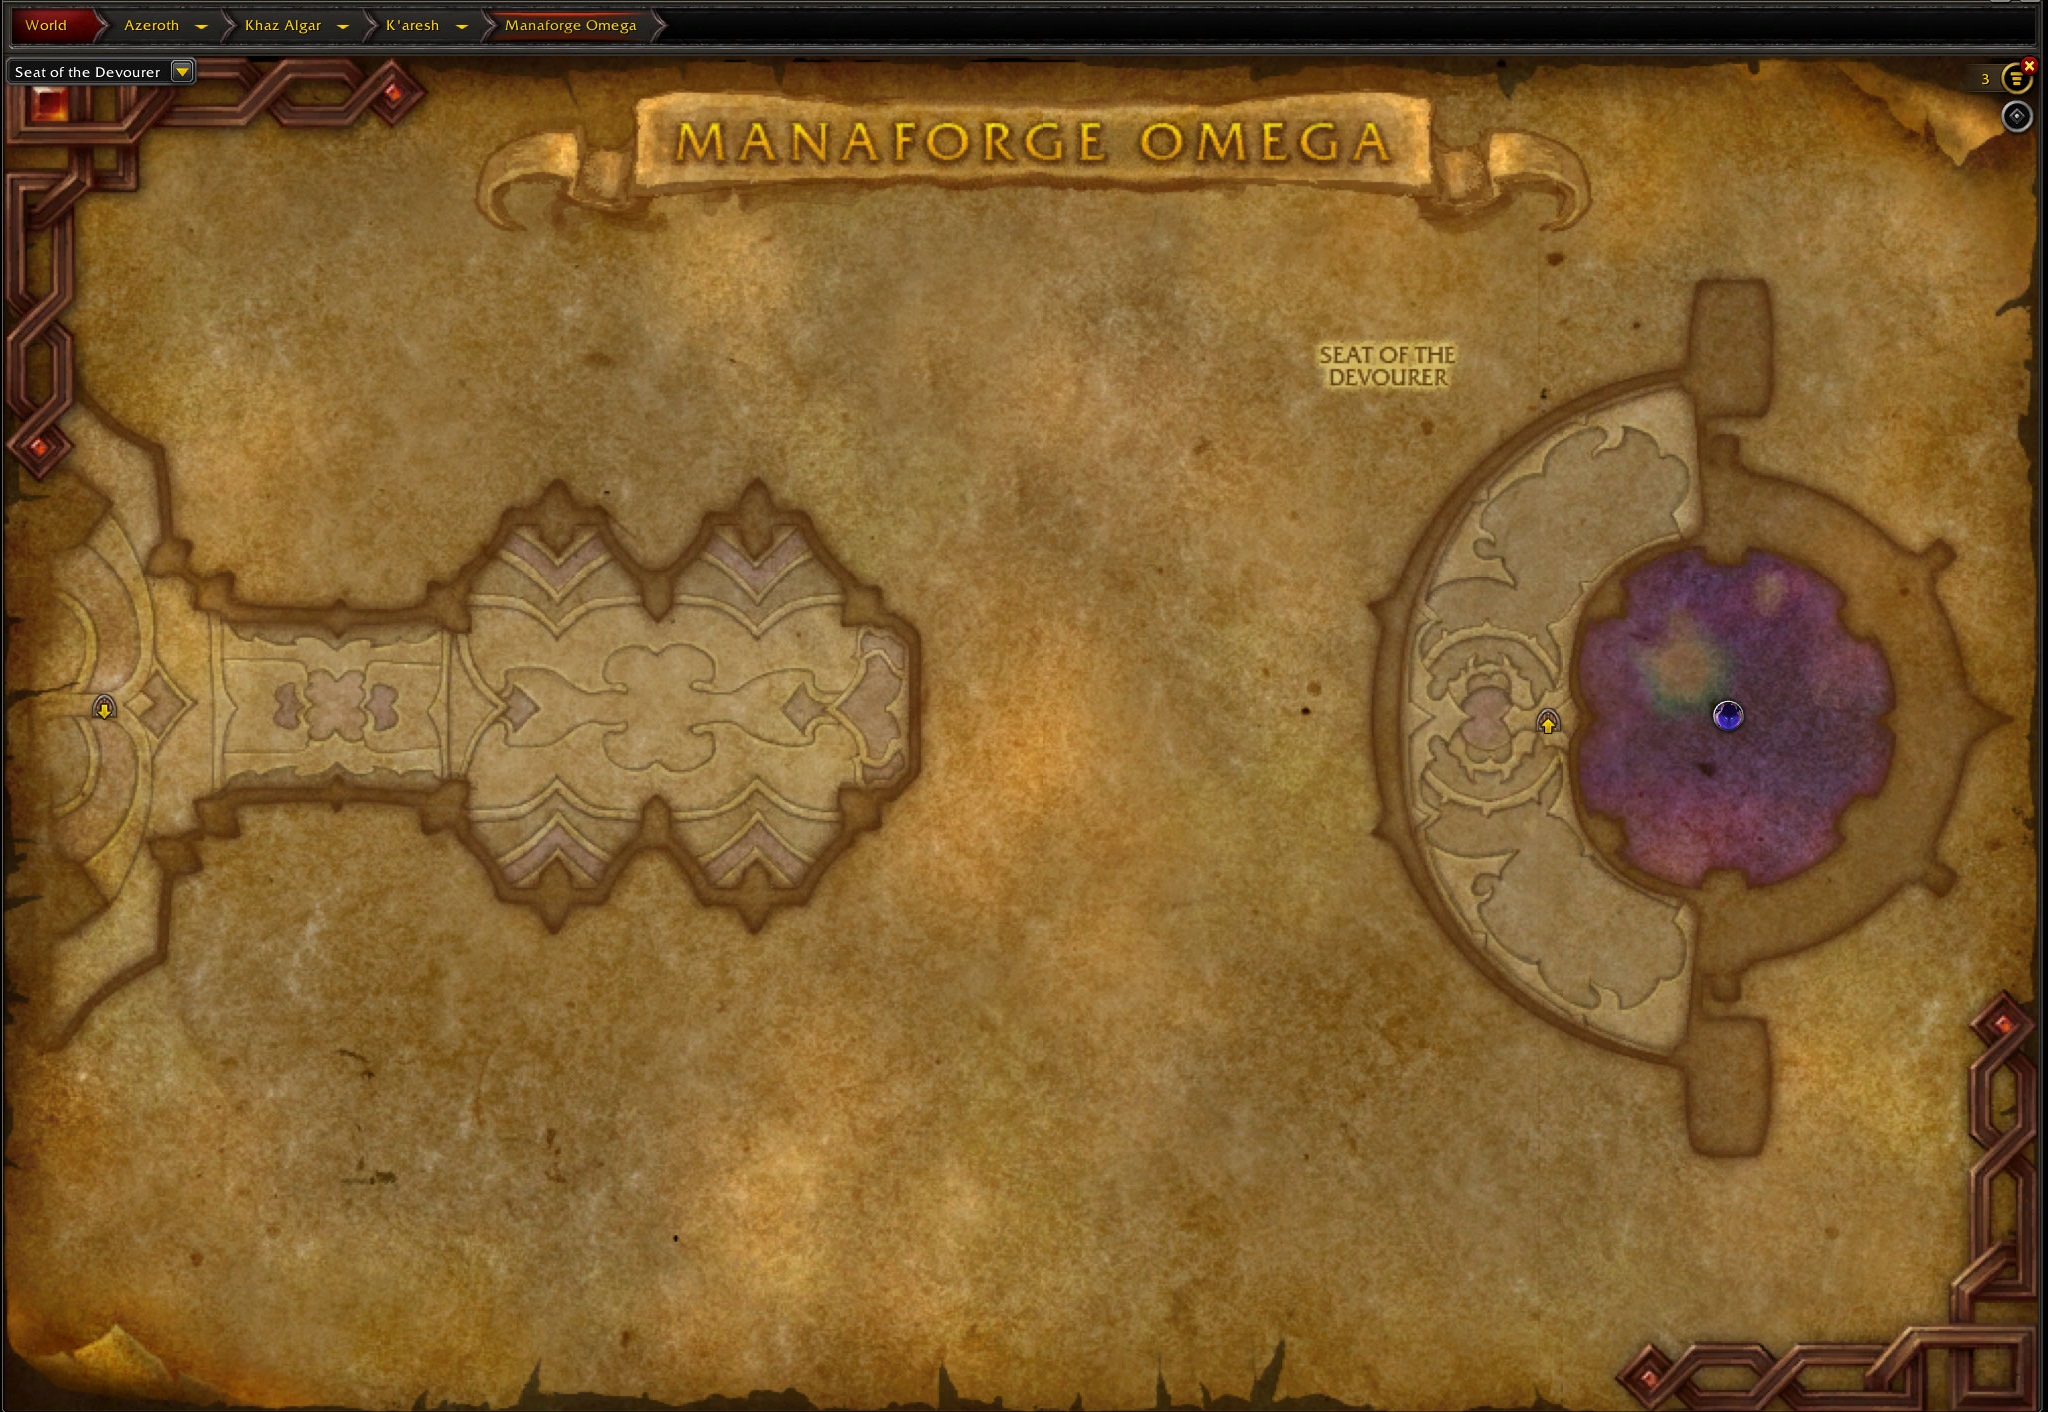
Seat of the Devourer
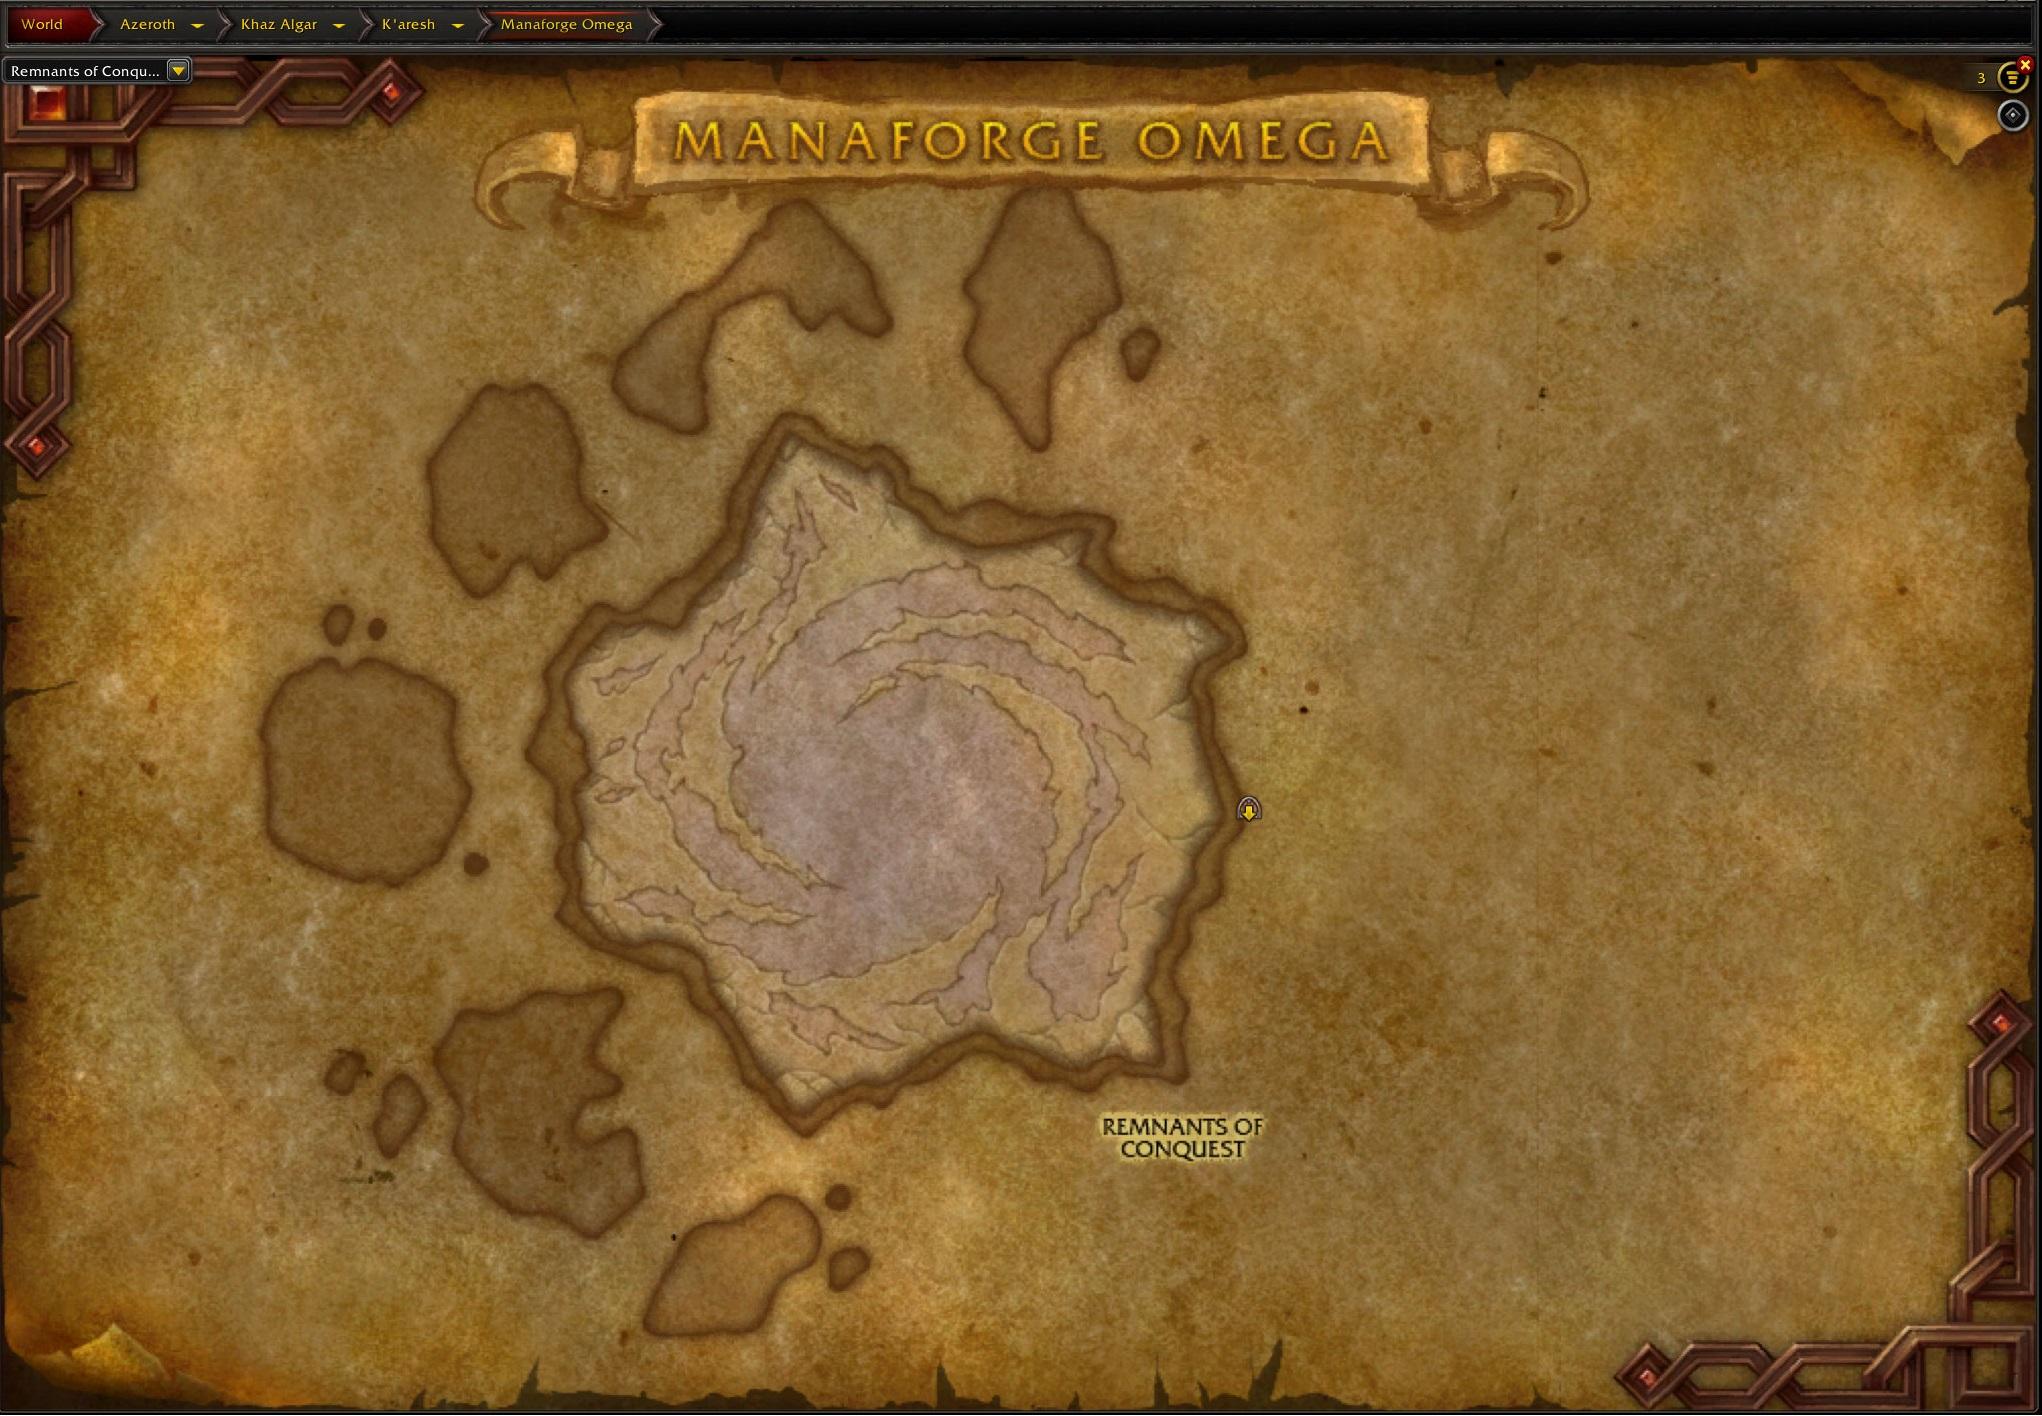
Remnants of Conquest
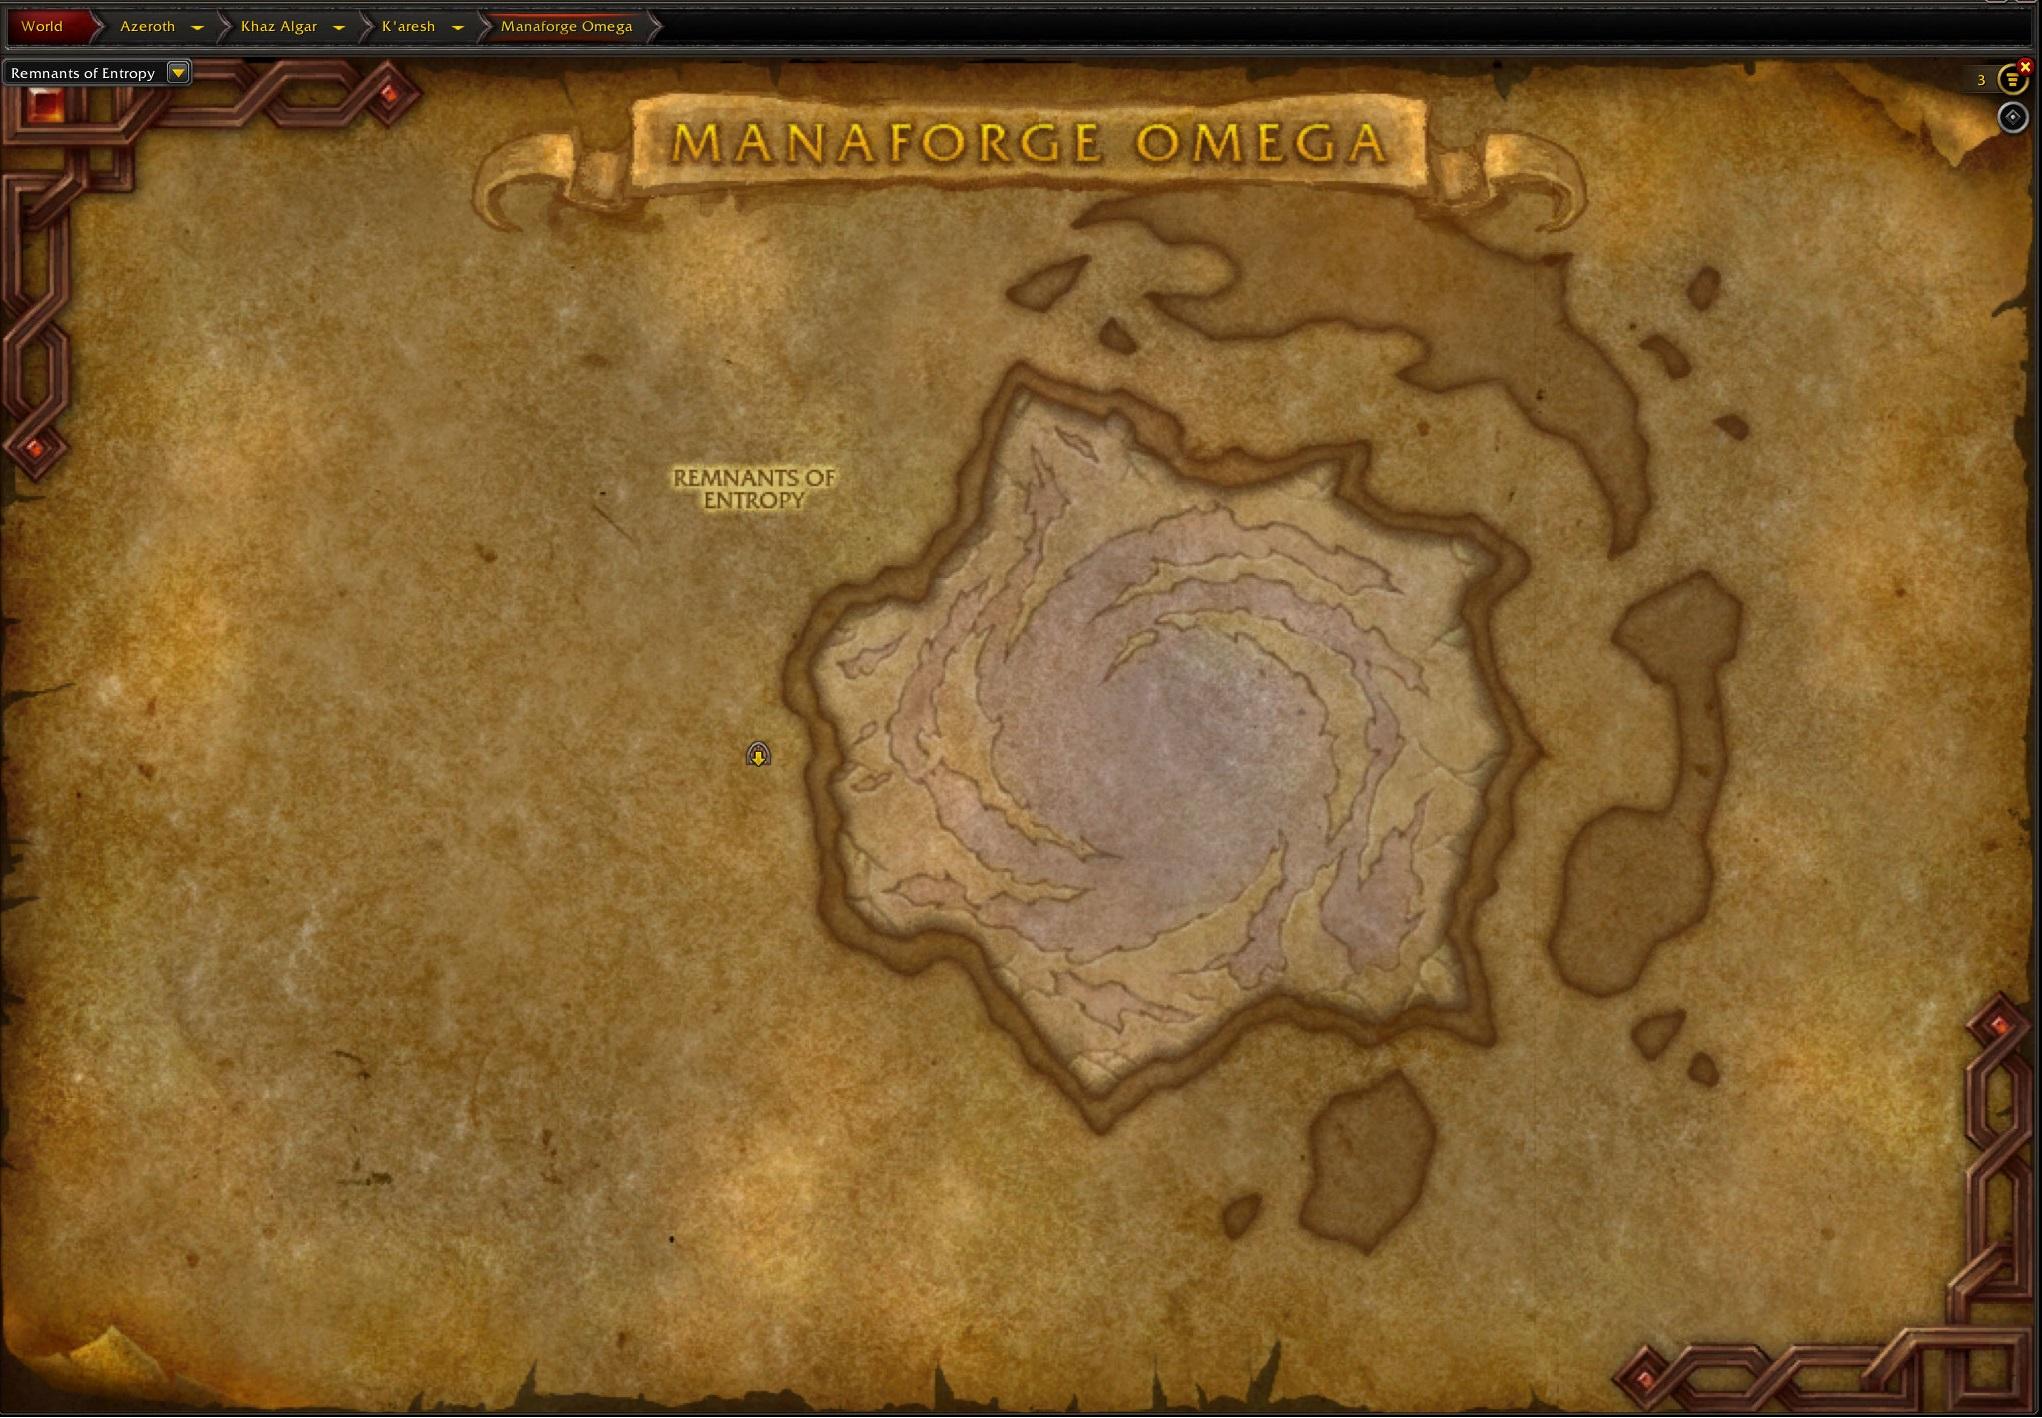
Remnants of Entropy
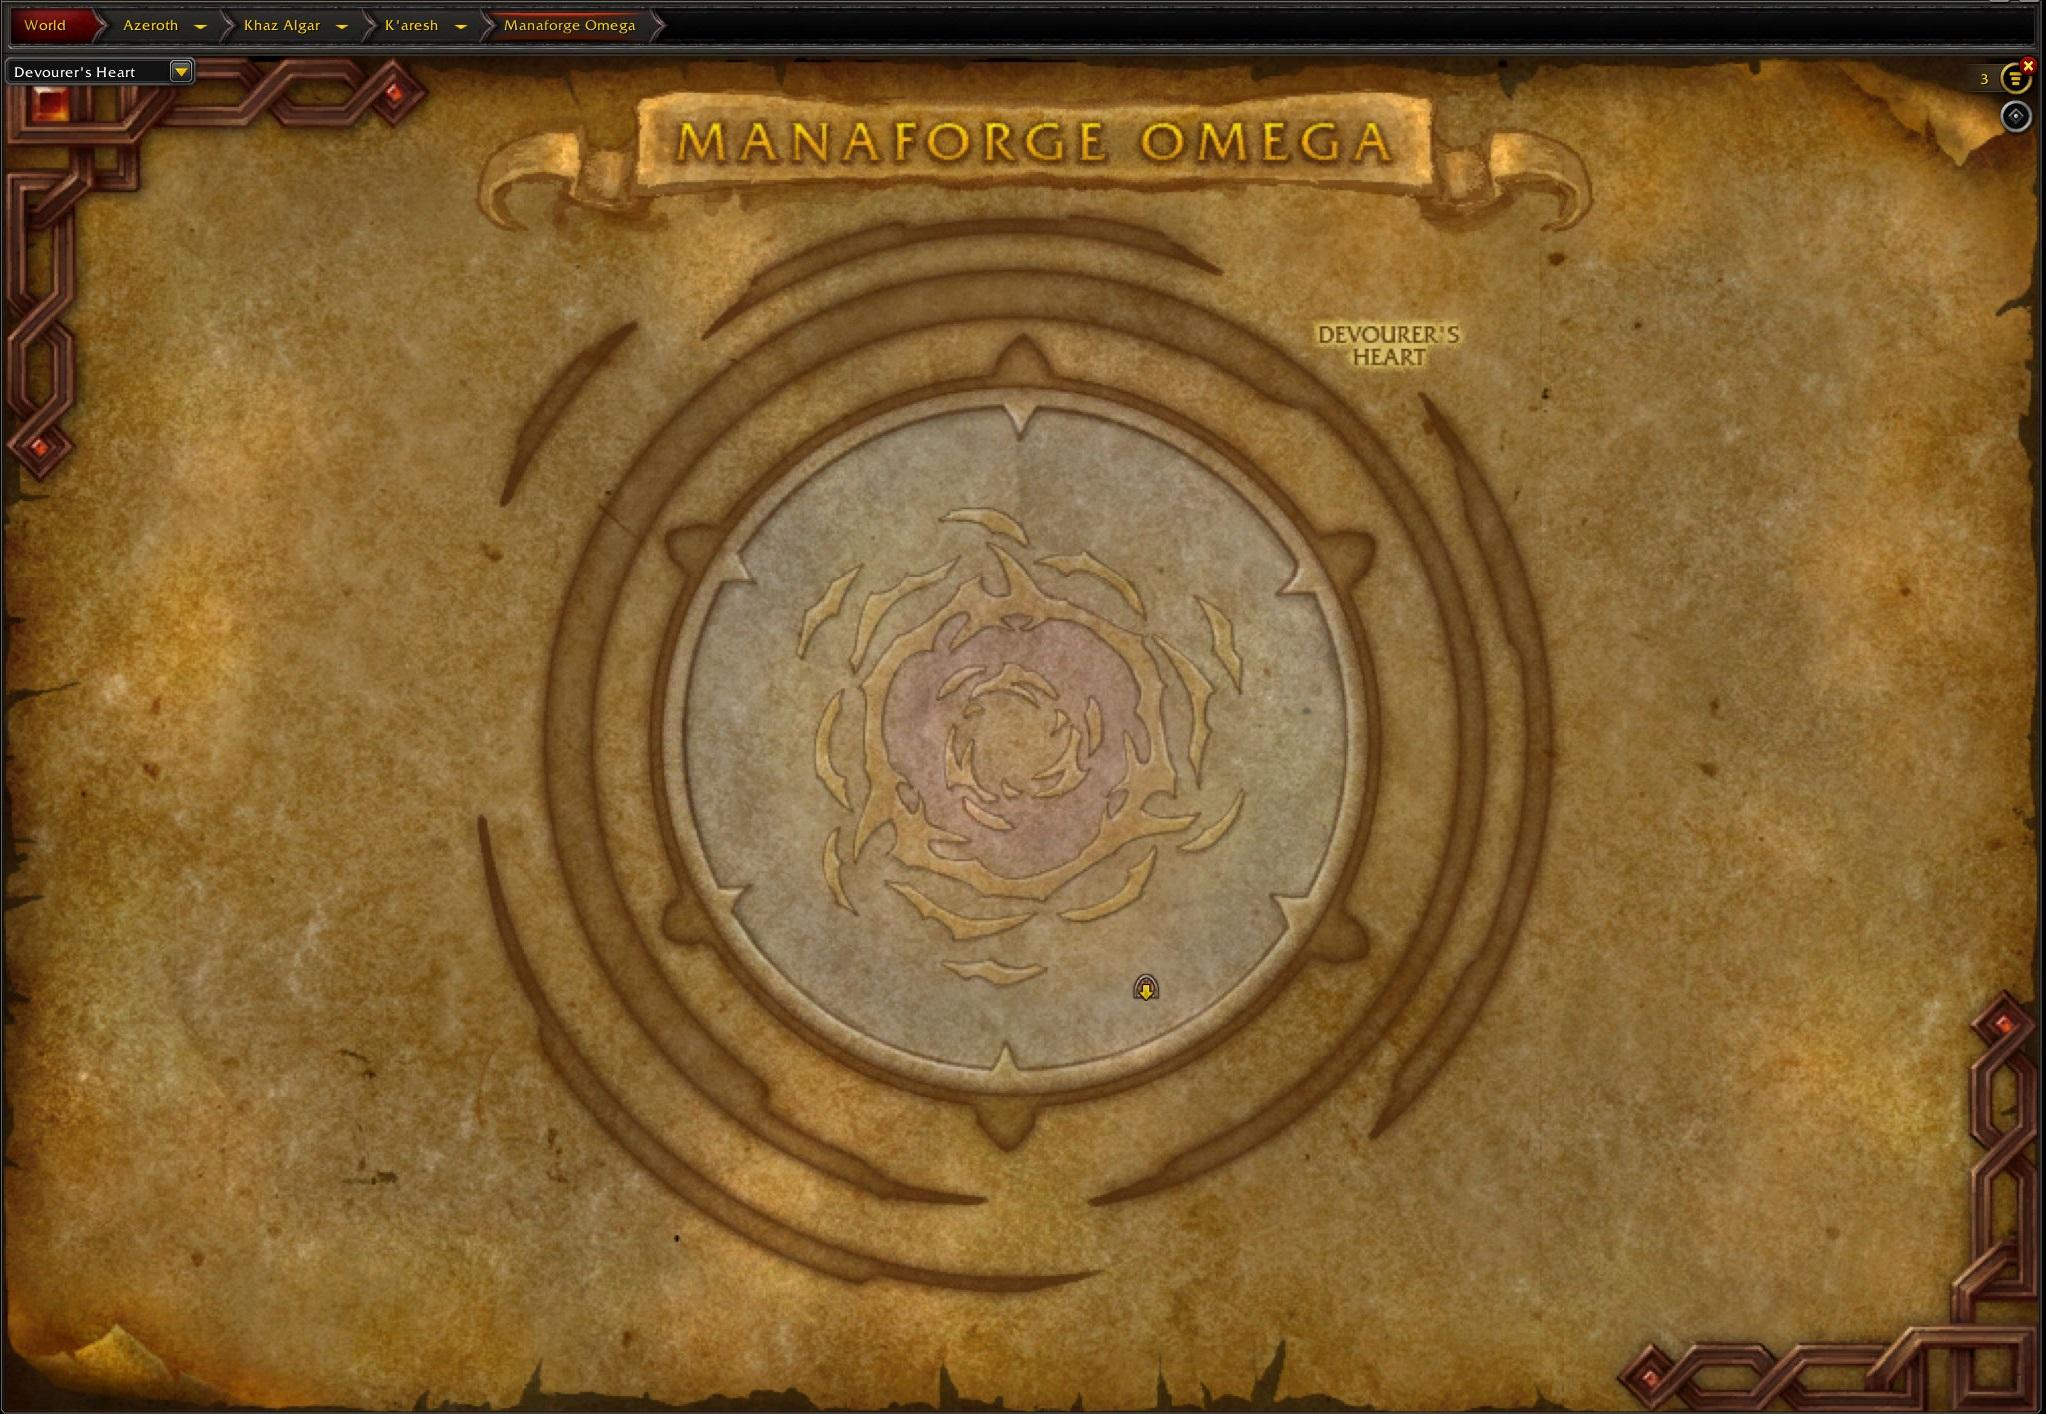
Devourer's Heart
The Dark Heart
Manaforge Omega’s map consists of a total of 12 zones. Here we have prepared a full map of this raid for you to take a look at and explore.
Manaforge Omega Bosses
WoW Manaforge Omega raid contains eight boss encounters, with one of them being completely optional:
- Plexus Sentinel
- Loom’ithar
- Soulbinder Naazindhri
- Forgeweaver Araz
- The Soul Hunters (Optional)
- Fractillus
- Nexus-King Salhadaar
- Dimensius
The Soul Hunters aren’t required to progress through the raid, but there are good reasons to include them in your run. This council fight drops Tier Set pieces, which are an important part of most class builds.
Below, we will break down strategies for each MFO boss, including key mechanics, positioning, and tips to make your Manaforge Omega clears smoother. What makes them even more enjoyable is fast and easy completion, guaranteed with our Manaforge Omega Heroic Battle Pass.
Plexus Sentinel

Plexus Sentinel is the first boss in Manaforge Omega and serves as an introduction to the raid’s mechanics. The fight starts off simple, but ignoring mechanics can quickly lead to wipes.
Phase 1
Tanks need to watch for Obliteration Arcanocannon, which always targets the active tank. After the cast, the targeted tank receives a 100% damage taken debuff for 45 seconds, making a tank swap mandatory. That tank should run far from the raid, ideally back toward the pull point. Dropping the resulting puddle away from the group prevents unnecessary space issues. While this happens, the other tank should keep the boss parked near the opposite wall to give the raid more breathing room.
Random players will also be affected by Manifest Matrices. This is a short debuff that drops a trap when it expires. These traps don’t need to be triggered, so you need to move them to the edges of the room to avoid placing them near the raid.
Another important ability is Eradicating Salvo, which marks a player for two missile strikes in quick succession. Each strike must be soaked by 3 or 4 players to prevent heavy damage, but the knockback between hits requires two separate groups. Players with knockback immunity can soak both hits if timed correctly.
Intermission
At 100 energy, the boss triggers an intermission that shifts the fight into a movement-heavy phase. Players are pushed back toward a death wall, so stacking near the boss before the transition is required. Movement abilities can help avoid being knocked into the hazard. Once the maze appears, navigate around slowing puddles and spinning beams while staying on the safe path. A large arcane laser wall will appear once per intermission, so use the extra action button to pass through it. When you reach the boss, burn down its shield to return to Phase 1.
Each intermission becomes longer and more punishing as the fight progresses, adding more traps to dodge.
Loom’ithar

Loom’ithar is the second boss of this raid and is a two-phase fight. Phase 1 keeps the boss locked in the center of the room, and Phase 2 is a burn phase with ground hazards.
Phase 1
For the first half of the fight, Loom’ithar doesn’t move, and the raid’s focus is on handling three core mechanics.
- Lair Weaving & Piercing Strand
A large silk ring called Lair Weaving will slowly close around the boss. Touching it will root you and deal heavy damage. The only way to escape is to destroy a Woven Ward to create a gap, but these wards are protected by a shield. The tank must aim Piercing Strand through the ward to break the shield, which will make it attackable. Once it is exposed, the raid should burn it down. This will create a safe path to move out.
- Infusion Tether
Several players will become linked to the boss with Infusion Tether, which slowly pulls them inward. Breaking the tether leaves a puddle on the ground, and standing in it causes a stun and heavy ticking damage. Classes with strong mobility, such as monks, can break early to make it easier on healers. That said, everyone else should wait for the Woven Ward gap before snapping their tether.
- Overinfusion Burst
When the boss reaches 100 energy, she uses an ability called Overinfusion Burst. This is a massive AoE that covers most of the arena. Move to the edge to avoid it. If puddles are near the walls, space can get tight, so place them carefully during the fight. Phase 1 then repeats until the boss hits 55% health.
Phase 2
At 55%, Loom’ithar will break free and start dealing raid-wide damage and moving. She will also start dropping Arcane Ichor, large purple puddles that deal damage and persist for the rest of the fight. To manage space, tanks should pull her toward the room’s edge and kite her slowly clockwise as the floor fills up.
She will also start using the Writhing Wave. This is a massive frontal cone that must be soaked by at least five players. Anyone who gets hit by it takes a heavy DoT damage for 25 seconds. Anyone who got hit will also take 350% increased damage from the next wave. If fewer than five people soak, Loom’ithar shields herself instead. This mechanic requires pre-assigned soak groups that alternate each cast to avoid stacking debuffs and to prevent wipes.
As the fight goes on, Arcane Outrage deals increasing pulsing damage to the raid, while the arena becomes more crowded with puddles and spellstorm swirlies. This is the burn phase. Use Heroism/Bloodlust and all offensive cooldowns to finish Loom’ithar before the floor becomes unplayable.
Soulbinder Naazindhri

Soulbinder Naazindhri‘s encounter is built around destroying soul canisters, dodging orbs, and making sure no one blocks the boss’s main mechanic. Everything else in the Soulbinder Naazindhri’s fight revolves around handling these tasks cleanly.
The Core Mechanic: Soul Canisters
Twelve Binding Machines are placed around the edges and in the center of the room, each holding an Unbound Soul add. These adds can’t be damaged until their canister is destroyed. The only way to break them is with Soulfray Annihilation, a large orb attack the boss fires twice per cast. Each cast can destroy two canisters, meaning you’ll need three full casts to clear six canisters before a room-wide explosion finishes the rest.
Canister Layout:
- Left: 2 top, 2 bottom;
- Right: 2 top, 2 bottom;
- Middle: 4.
Phase 1
Begin on one side of the room (left or right) and position the boss between the two side canisters so your group can cover both. The two players targeted by Soulfray Annihilation stand directly behind their assigned canister, with no one between them and the boss. If another player blocks the shot, the orb will be wasted, and that add will remain immune. Missed canisters make the intermission much harder.
For the first two casts, focus on breaking four canisters on the same side. After that, move across to the opposite side using mobility skills or a Warlock Gateway to avoid crossing the middle. Position the boss again and break two more canisters.
Several players will periodically get Soulfire Convergence, a DoT that ticks Arcane damage every second. When it expires, it launches a Soulrend Orb straight outward from the affected player. These orbs hit the first target in their path, applying a 30% movement speed slow and 25% haste reduction. Spread out and avoid body-blocking these projectiles.
Intermission
After the initial canister phase, the boss casts Essence Implosion, breaking any remaining canisters and freeing the adds inside. The more canisters you leave uncleared, the more intense the ticking raid damage will be during this phase. Adds will spawn from both sides and the center canisters. Tanks must quickly pick them up. Interrupt Shadowguard Mages, stay spread to reduce Phaseblade bounce damage, and use cleave/AoE to clear them.
Phase 2
Once all adds are dead, the canisters respawn, and the first phase will repeat. You will likely be closer to the opposite side of the room, which will have fewer puddles. Repeat the same plan as before.
After another Essence Implosion, finish off the final adds and push the boss. There’s no need for a third cycle. Use cooldowns to kill Soulbinder Naazindhri during or shortly after the second intermission.
Forgeweaver Araz

Forgeweaver Araz is a mid-tier encounter in Manaforge Omega that challenges your raid with strict positioning requirements and coordination.
Phase 1
Start the pull by dragging the boss to the left-side collector. This triggers that collector first. The fight always begins with a group soak (Arcane Obliteration) followed by a debuff that spawns small adds (Astral Harvest).
Once the left collector is active, move the boss to the middle of the room. When Arcane Obliteration comes out, have the raid soak it at the bottom side. This spawns the large add (Arcane Echo) there. Keeping the Echo far from the boss prevents a dangerous buff from triggering when they’re close together.
After that, three players get Astral Harvest. Each will spawn an Arcane Manifestation where they stand. Send all three targeted players to stand together, so both the Echo and Manifestations stack in one spot for easy cleave. When the adds are down, move the boss to the right-side collector to activate it. Handle the next Arcane Obliteration and Astral Harvest the same way as before.
You’ll only see two Arcane Obliterations in this phase, but several Astral Harvests. Once all three collectors (left, right, bottom) are activated, any remaining Astral Harvest spawns should go to the center so they can be dealt with quickly.
Intermission 1
At 100 energy, Araz starts the intermission.
Split the raid into two balanced DPS groups, one to the left, one to the right. Kill both collectors before Arcane Convergence finishes or the raid takes massive damage. Randomly, a collector will be targeted by Focusing Iris. Step out of it.
Two Shielded Attendants spawn here. Tanks should move them to whichever collector has the highest energy so they can interrupt its Focusing Iris beam. Keep moving them as other collectors charge up.
Once all collectors are destroyed, drag the Attendants to Araz. The boss takes 100% more damage for 12 seconds, so you should use all of your offensive cooldowns here. When the burn ends, kill the Attendants before they overwhelm tanks with their stacking attack speed.
📌 After the first intermission, Phase 1 repeats. Handle collector activation and add management the same way as before.
Intermission 2
The second intermission works just like the first, but you’ll be dodging circles instead of beams. Destroy collectors, burn during the damage window, then kill Attendants.
Phase 2
In the last phase, everyone is constantly pulled toward the arena edge by Dark Singularity. Falling in is instant death, so use movement abilities to stay safe.
Astral Harvest still happens, but now small adds run toward the edge. If they reach it, they explode and wipe the raid. Spawn them directly on the boss so they die in cleave while you burn him down.
4.9The Soul Hunters

The Soul Hunters fight requires killing all three bosses at the same time. If one of them dies too early, the others will start pulsing raid-wide damage until you wipe. Keep their health balanced and burn all three together at 20%. Start with Adarus. He teleports often and is harder to cleave, so push him low early while cleaving the others.
At the start of the fight, two players will get a debuff called Devourer’s Ire. Players with this debuff must soak purple puddles. Each time they consume a puddle, they will gain a stack of Unending Hunger. It increases the damage dealt to them and applies a healing absorb. You should dispel this debuff at 3 to 4 stacks, and pass the debuff to the nearest player without it.
When Velaryn’s The Hunt targets a player, form a line of 4 to 5 soakers, spacing out to avoid overlap. Targeted players can back up to give more room. Avoid simple telegraphs like Voidstep and Blade Dance.
Tanks should swap before Felblade after Eye Beam. When Ilyssa casts Fracture, players must pick up spawned soul fragments. Clear Encroaching Oblivion puddles before intermissions.
Intermissions
For Adarus’ intermission, you should collect purple orbs before they reach the boss. Take 3 to 4 at a time to avoid stacking DoTs.
The second intermission is Velaryn. During this one, you should dodge the flame lines. Move only if yours overlaps with another player.
The third intermission is Ilyssa. For this one, stay close to the rest of the raid and dodge knockbacks. Move behind her after jumps while avoiding Fel Devastation.
📌 After the intermissions, the mechanics will start to repeat.
Fractillus

Fractillus‘ main mechanic is placing and breaking walls. The boss will fire Crystalline Shockwave walls at marked players, and they snap to the nearest Nether Prism pin. If any pin gets 6 walls, the boss will enrage.
First Set of Walls
Start with the entire raid being stacked in the middle. Four players will get Entropic Conjunction. These players are your wall carriers. Send 2 players to the left and 2 players to the right of the arena, each to different pins. Everyone else should stay in the middle to avoid stray walls. Once the walls are placed, move out so the tanks can drop their walls in the center.
Second Set
Four more players get wall debuffs, three of which may be Void-Infused Nexus walls. Just like before, split 2 players to the left, and 2 to the right, and avoid stacking on previous pins. Non-marked players should return to the middle for safety.
Wall Break
At 100 energy, Shattering Backhand happens. Three players will get Shattershell, become rooted by Crystal Encasement. They will be launched backward to break walls. Position in front of high-stack pins, usually left and right. Don’t destroy all Void walls at once; leave some for spacing future spawns.
Enrage Control
You should track walls on each pin. Always break one from the side with the highest stack to prevent hitting 6. After two full rotations, high stacks will start reaching 5 to 6 walls. Break both sides during every wall break. Once sides are saturated, start placing extra walls in the middle pins and have the tank drop walls on the sides until the fight ends.
Nexus-King Salhadaar

Nexus-King Salhadaar is the second-to-last boss in Manaforge Omega and presents a significant difficulty jump in comparison to the bosses that came before.
Phase 1
During the pull, all players in the raid will get 3 stacks of the Oath-Bound debuff. Remove them before Invoke the Oath happens after three tank combo sets. If you die, you will become a mind-controlled King’s Thrall, and other players must kill you.
The boss should be tanked near the center. Split the raid into two groups for soaking Conquer and for intermission assignments. Only the assigned group should soak each Conquer.
Tank combos are always random:
- Vanquish: Face away from the raid;
- Conquer: Run to your soak group;
- Always taunt during the cast of the next ability.
After each combo, players marked with Behead drop lines away from the group. Avoid clipping others, and tanks should reposition the boss to keep space clear.
Phase 2
Four players will get circles that spawn Dimensional Portals. They should place them at the edge of the room, close but not touching. Then, you should move the boss toward them and face him for Dimension Breath. The tank breath and portal breaths happen together, so dodge all the beams.
Intermission 1
Split into Phase 1 groups to take the left and right portals.
- Manaforged Titans: Kill first, interrupt Self-Destruct. Dodge rotating beams;
- Shadowguard Reapers: Cleave down;
- Nexus-Prince Ky’vor & Xevvos: Interrupt Netherblast, dodge beams.
Return to the main platform, repeat Dimension Breath + Portals.
Intermission 2
The boss drains his dragon for 30 seconds. Dragon will take 100% extra damage during that time. You should use Heroism/Bloodlust and major cooldowns during this part to burn him faster.
Phase 3
Six players (3 ranged, then 3 melee) get Galactic Smash and spawn Dark Stars. Drop them on preset markers around the room to cancel their pull effects. Rings move inward, so you should kite the boss out through safe gaps. When they move outward, return to the middle through openings.
Three players will be targeted with beams to destroy Dark Stars. Each beam must hit only one star. Avoid double hits or simultaneous kills, as both can wipe the raid. Assign targets immediately, line up clean shots, and avoid unnecessary beam damage.
📌 After two Starkiller Swing sets, the cycle returns to Galactic Smash. Repeat until kill.
Dimensius

Dimensius is the eighth and final boss of the Manaforge Omega raid. The fight is split into three phases with a flying intermission after Phase 1. Throughout the entire encounter, stepping into Dimensius’s body is fatal, as Oblivion will instantly kill any player who enters his hitbox.
Phase 1
The fight begins on Dimensius’s platform. One of the first threats is Dark Matter, which targets every player and causes an explosion around them. The raid should spread out to avoid overlapping damage. On Heroic difficulty, place the resulting void zones at the edges of the arena. Periodically, Dimensius will cast Shattered Space. It deals damage and spawns Antimatter spheres. Standing inside these spheres will reduce the explosion damage they deal when they explode.
Tanks should look out for Massive Smash. This is a heavy hit in a 20-yard radius that knocks players back. Position Dimensius on one side of the arena to keep the raid safe and prevent knockbacks from sending players off the platform. After each Massive Smash, adds will spawn across the arena. Killing them produces Excess Mass, a special buff that “Gravity Players” must collect. One stack per player assigned. These stacks are needed for surviving the boss’s Devour ability.
Another mechanic is Reverse Gravity, which sends targeted players floating upward until they die. Gravity Players can save them by standing underneath, using their Excess Mass buff to pull them down. When Dimensius reaches 100 Energy, he casts Devour, an instant raid wipe unless the number of Excess Mass stacks in the raid matches his Growing Hunger stacks. The entire group must stack together inside the gravity zone at this moment to survive.
Intermission
At the end of Phase 1, Dimensius launches the raid into the skies. There, you need to mount up and fly through space and avoid incoming attacks. Pass through circles along the way to restore Vigor and increase flight speed. Try to collect at least one Stellar Core before reaching the landing platform, as they will be useful in the next phase.
Phase 2
After landing, you will have to fight two Voidlords. They must be defeated before they can complete Eclipse, which would seal the worldsoul fragment. The team should focus on one Voidwarden first to clear space for movement. Tanks need to taunt swap carefully to manage stacks of Touch of Oblivion, swapping before either reaches 10 stacks. You should be ready to dragonride quickly to reposition away from attacks. The phase ends when both Voidlords are dead.
Phase 3
The final phase begins with Destabilized, during which Dimensius takes 50% more damage for 15 seconds. This is the time to use all major cooldowns and burn the boss hard. Soon after, he casts Extinguish The Stars, summoning eight Voidstars that orbit the arena. These create Gravity Well, which are vital safe zones during Devour. If a Voidstar dies from Supernova, it leaves behind a deadly Black Hole that must be avoided.
Darkened Sky drops meteors that create expanding Shadowquake rings. Crossing a ring applies a debuff that increases damage taken from future rings, so players should stagger their crossings to avoid stacking the debuff. Cosmic Collapse is a powerful tankbuster that requires the active tank to remain still so the raid can position correctly; in Heroic difficulty, it also pulls all players toward the tank, making it important to avoid being dragged through the boss’s body.
Phase 3 layers multiple high-damage mechanics, shrinking safe space, and increasing movement demands. Coordination on Voidstar positioning, tank swaps, and ring crossing order is essential to survive until Dimensius dies.
Alternatively, you can get your Dimensius Kill with our help instead of having to suffer through the mechanics yourself!
Manaforge Omega Loot
The Manaforge Omega raid is the main source of loot in Season 3 of The War Within. Here you can find a breakdown of what loot each boss drops, and detail all the loot available in MFO raid.
Manaforge Omega Tier Sets
The Manaforge Omega raid features its own class-themed Tier Sets, each offering a set of bonuses tailored to enhance your spec’s strengths.
| Boss | Token | Armor Type |
|---|---|---|
| Loom’ithar | Mystic Silken Offering | Legs |
| Soulbinder Naazindhri | Mystic Binding Agent | Hands |
| Forgeweaver Araz | Mystic Foreboding Beaker | Helm |
| The Soul Hunters | Mystic Yearning Cursemark | Shoulder |
| Fractillus | Mystic Voidglass Contaminant | Chest |
| Dimensius | Hungering Void Curio | Any Armor Slot |
Plexus Sentinel Loot
The Plexus Sentinel drops a selection of early-raid weapons, armor pieces, and accessories.
| Item | Type |
|---|---|
| Mounted Manacannons | Cloth Shoulders |
| Singed Sievecuffs | Cloth Wrists |
| Irradiated Impurity Filter | Leather Helmet |
| Atomic Phasebelt | Leather Waist |
| Chambersieve Waistcoat | Mail Legs |
| Arcanotech Wrist-Matrix | Mail Wrist |
| Manaforged Displacement Chassis | Plate Chest |
| Sterilized Expulsion Boots | Plate Feet |
| Logic Gate: Alpha | Finger |
| Overclocked Plexhammer | One-Hand: Mace |
| Factory-Issue Plexhammer | One-Hand: Mace |
| Obliteration Beamglaive | Two-Hand: Polearm |
| Eradicating Arcanocore | Trinket |
Loom’ithar Loot
Loom’ithar drops mid-raid weapons, trinkets, and armor pieces.
| Item | Type |
|---|---|
| Laced Lair-Steppers | Cloth Feet |
| Deathbound Shoulderpads | Leather Shoulders |
| Colossal Lifetether | Mail Waist |
| Discarded Nutrient Shackles | Plate Wrist |
| Prodigious Gene Splicer | One-Hand: Dagger |
| Piercing Strandbow | Ranged: Bow |
| Ward of the Weaving-Beast | Off-Hand: Shield |
| Astral Antenna | Trinket |
| Loom’ithar’s Living Silk | Trinket |
| Dreadful Silken Offering | Tier: Legs |
| Mystic Silken Offering | Tier: Legs |
| Venerated Silken Offering | Tier: Legs |
| Zenith Silken Offering | Tier: Legs |
Soulbinder Naazindhri Loot
Soulbinder Naazindhri drops weapons, trinkets, and tier set pieces for multiple classes in Manaforge Omega.
| Item | Type |
|---|---|
| Frock of Spirit’s Reunion | Cloth Chest |
| Bindings of Lost Essence | Leather Wrist |
| Deathspindle Talons | Mail Feet |
| Fresh Ethereal Fetters | Plate Waist |
| Chrysalis of Sundered Souls | Neck |
| Unbound Training Claws | One-Hand: Fist Weapon |
| Voidglass Spire | Two-Hand: Staff |
| Soulbinder’s Embrace | Trinket |
| Naazindhri’s Mystic Lash | Trinket |
| Dreadful Binding Agent | Tier: Hands |
| Mystic Binding Agent | Tier: Hands |
| Venerated Binding Agent | Tier: Hands |
| Zenith Binding Agent | Tier: Hands |
Forgeweaver Araz Loot
Here is what you can expect to loot from Forgeweaver Araz:
| Item | Type |
|---|---|
| Forgeweaver’s Journal Holster | Cloth Waist |
| Laboratory Test Slippers | Leather Feet |
| Harvested Attendant’s Uniform | Mail Mail |
| Breached Containment Guards | Plate Hands |
| Logic Gate: Omega | Finger |
| Marvel of Technomancy | Two-Hand: Staff |
| Photon Sabre Prime | Two-Hand: Sword |
| Iris of the Dark Beyond | Off-Hand |
| Araz’s Ritual Forge | Trinket |
| Dreadful Foreboding Beaker | Tier: Helm |
| Mystic Foreboding Beaker | Tier: Helm |
| Venerated Foreboding Beaker | Tier: Helm |
| Zenith Foreboding Beaker | Tier: Helm |
The Soul Hunters Loot
This is an optional boss, but the loot is very well worth the effort. Here is what you can loot:
| Item | Type |
|---|---|
| Bloodwrath’s Gnarled Claws | Cloth Hands |
| Interloper’s Silken Striders | Cloth Feet |
| Darksorrow’s Corrupted Carapace | Leather Chest |
| Interloper’s Reinforced Sandals | Leather Feet |
| Clasp of Furious Freedom | Mail Waist |
| Interloper’s Chain Boots | Mail Feet |
| Yoke of Enveloping Hatred | Plate Wrist |
| Interloper’s Plated Sabatons | Plate Feet |
| Collapsing Phaseblades | One-Hand: Warglaives |
| Event Horizon | Off-Hand: Shield |
| Sigil of the Cosmic Hunt | Trinket |
| Brand of Ceaseless Ire | Trinket |
| Dreadful Yearning Cursemark | Tier: Shoulder |
| Mystic Yearning Cursemark | Tier: Shoulder |
| Venerated Yearning Cursemark | Tier: Shoulder |
| Zenith Yearning Cursemark | Tier: Shoulder |
Fractillus Loot
Fractillus Chest Tier Set tokens and other great loot. Take a look:
| Item | Type |
|---|---|
| Conjoined Glass Bracers | Cloth Armor: Wrist |
| Kinetic Dunerunners | Leather Armor: Feet |
| Bite of the Astral Wastes | Mail Armor: Helm |
| Shrapnel-Fused Legguards | Plate Armor: Legs |
| Voidglass Kris | One-Hand: Dagger |
| Lacerated Current Caster | Ranged: Crossbow |
| Fractillus’ Last Breath | Held In Off-Hand |
| Diamantine Voidcore | Trinket |
| Unyielding Netherprism | Trinket |
| Dreadful Voidglass Contaminant | Tier: Chest |
| Mystic Voidglass Contaminant | Tier: Chest |
| Venerated Voidglass Contaminant | Tier: Chest |
| Zenith Voidglass Contaminant | Tier: Chest |
Nexus-King Salhadaar Loot
Nexus-King Salhadaar drops high-end weapons and armor.
| Item | Type |
|---|---|
| Sandals of Scarred Servitude | Cloth Feet |
| Twilight Tyrant’s Veil | Cloth Helm |
| Reaper’s Dreadbelt | Leather Waist |
| Elite Shadowguard Legwraps | Leather Legs |
| Pactbound Vambraces | Mail Wrist |
| Royal Voidscale Gauntlets | Mail Hands |
| Darkrider Sabatons | Plate Feet |
| Beacons of False Righteousness | Plate Shoulders |
| Salhadaar’s Folly | Neck |
| Vengeful Netherspike | One-Hand: Dagger |
| Voidglass Sovereign’s Blade | One-Hand: Sword |
| Oath-Breaker’s Recompense | One-Hand: Axe |
| Maw of the Void | Two-Hand: Mace |
| Perfidious Projector | Trinket |
| Nexus-King’s Command | Trinket |
Dimensius Loot
Dimensius drops top-tier weapons, trinkets, and armor pieces, arguably the best gear in the expansion.
| Item | Type |
|---|---|
| Singularity Cincture | Cloth Armor: Waist |
| Stellar Navigation Slacks | Cloth Armor: Legs |
| Time-Compressed Wristguards | Leather Armor: Wrist |
| Winged Gamma Handlers | Leather Armor: Hands |
| Claws of Failed Resistance | Mail Armor: Shoulder |
| Greaves of Shattered Space | Mail Armor: Feet |
| Artoshion’s Abyssal Stare | Plate Armor: Plate |
| Ultradense Fission Girdle | Plate Armor: Waist |
| Band of the Shattered Soul | Accessories: Finger |
| Ergospheric Cudgel | One-Hand: Mace |
| Supermassive Starcrusher | Two-Hand: Mace |
| All-Devouring Nucleus | Trinket |
| Screams of a Forgotten Sky | Trinket |
| Hungering Void Curio | Tier Set Curio |
| Cosmic Hearthstone | Toy |
Manaforge Omega Achievements
The Glory of the Omega Raider is the meta-achievement for this raid tier. As usual, to earn it, players will need to complete a set of achievements during each boss fight on Normal difficulty or above. Here is what needs to be done for the Glory meta-achievement:
| Achievement | Objective |
|---|---|
| Of Mice and Manaforges | Defeat the Plexus Sentinel after saving all mice from atomization. |
| Mother of All Tantrums | Defeat Soulbinder Naazindhri after defeating all Little Unbound Souls. |
| I See… Absolutely Nothing | Defeat the Soul Hunters after all players have worn Adarus’ spare blindfold at least once. |
| King’s Ransom | Defeat Nexus-King Salhadaar alongside a hidden assassin. |
| Time to Vote! Cute or Scary? | Defeat Loom’ithar after all players choose to /cower or /cuddle before the fight. |
| Cheat Meal | Defeat Forgeweaver Araz after destroying a Void Forged Echo. |
| Breaking the Fourth Wall | Defeat Fractillus after destroying a fourth wall 18 times. |
| Defying Gravity | Defeat Dimensius after every raid member has been hit by Reverse Gravity at least once. |
Completing all of these challenges not only grants the Glory of the Omega Raider achievement but also rewards a unique mount — Umbral K’arroc.
Want to get all raid achievements this season, but don’t have a coordinated team to do it with? Our Glory of the Omega Raider service got you covered!
Manaforge Omega Renown
Just like in the previous WoW raid tiers, Manaforge Omega has its own exclusive Renown progression track called the Manaforge Vandals. This Renown can only be earned by running this raid. This makes it a purely raid-focused progression system. Here is what you can earn with this renown track:
| Renown Level | Reward |
|---|---|
| 1 | Vendors and Auctioneers are now available at Shadow Point. |
| 2 | Loom’ithar now drops Loombeast Silk when defeated, which can be used to fashion Cloak Appearances at Shadow Point. |
| 3 | Movement Speed while out of combat is increased by 15% while in the Manaforge Omega raid. Gain access to Arcane Flow Control for the Cultivation Chambers and The Unbound Vault, allowing you to weaken non-boss enemies in this area. |
| 4 | Grants players a Shadowguard Translocator, which teleports players back to Shadow Point when used inside Manaforge Omega. This effect only lasts briefly before sending you back inside the raid. While inside Manaforge Omega, your Warband’s damage and healing is increased by 3%. |
| 5 | Raid Skip |
| 6 | Speak to Ba’choso at Shadow Point to further enhance your resonance with the Reshii, increasing the effectiveness of your Enchantments and Mana Oils while inside Manaforge Omega. |
| 7 | Extends the Arcane Flow Control access to the Technomancers’ Terrace, allowing you to weaken non-boss enemies in this area. While inside Manaforge Omega, your Warband’s damage and healing is increased by 6%. |
| 8 | Ba’choso at Shadow Point will bestow upon you new Enchanting and Inscription recipes. Gain access to the Vandal’s Gearglider mount. Zo’ya, the furtive purrkin at Shadow Point, has warmed up to you and wishes to follow you. |
| 9 | Defeating The Soul Hunters will grant you three to six Soulgorged Augment Rune. These Augment Runes do not expire on death. |
| 10 | Movement Speed while out of combat is increased by 15% while in the Manaforge Omega raid. While inside Manaforge Omega, your Warband’s damage and healing is increased by 9%. |
| 11 | Extends Arcane Flow Control access to The Shadow Docks, allowing you to weaken non-boss enemies in this area. Additionally, all consoles can now be activated in tandem. Named Elite enemies inside Manaforge Omega now have a chance to drop Warbound items when defeated each week. |
| 12 | Nexus-King Salhadaar now drops Ethereal Essence Sliver when defeated, which can be traded for a cosmetic appearance of your choice at Shadow Point. |
| 13 | While inside Manaforge Omega, your Warband’s damage and healing is increased by 12%. Looker, descendant of the slain Watcher Gaz’kreth, seeks revenge. Or to join you. Zo’turu at Shadow Point will put you in touch. |
| 14 | Grants the title ‘Star Savior’. Grants access to The Bone Freezer mount. |
| 15 | While inside Manaforge Omega, your Warband’s damage and healing is increased by 15%. Gain the ability to teleport to Manaforge Omega whenever you wish. |
Complete Manaforge Vandals Renown track without having to raid yourself with the help of our services!
In essence, higher Renown tiers unlock account-wide perks, like raid entrance skips or bonus loot rolls.
4.9And this is it! In this Manaforge Omega guide, we have covered everything you need to know about the raid, from entry requirements and raid location to detailed boss strategies, loot tables, and tier set drops. With this information, you should be ready to plan your route, handle every fight, and make the most of the gear available in Manaforge Omega. Good luck with your raids!