Aberrus, the Shadowed Crucible, patch 10.1 raid, was released on May 9, and returned again in Season 4. So, it’s time to prepare yourself for the new encounters and get a closer look at the Aberrus boss list, tactics, and valuable loot players can get in this raid.
 4.9
4.9Aberrus, the Shadowed Crucible Overview
Aberrus is the second Dragonflight raid based on the past of Neltharion and dracthyrs. Aberrus is located in the new Dragon Isles zone, the underground location called Zaralek Cavern. Inside the grim laboratory of Neltharion players will face the craziest experiments of ex-Aspect, get an opportunity to defeat Neltharion itself as an echo, and try to kill Scalecommander Sarkareth as the last boss.

Let’s see the full Aberrus, the Shadowed Crucible raid boss list:
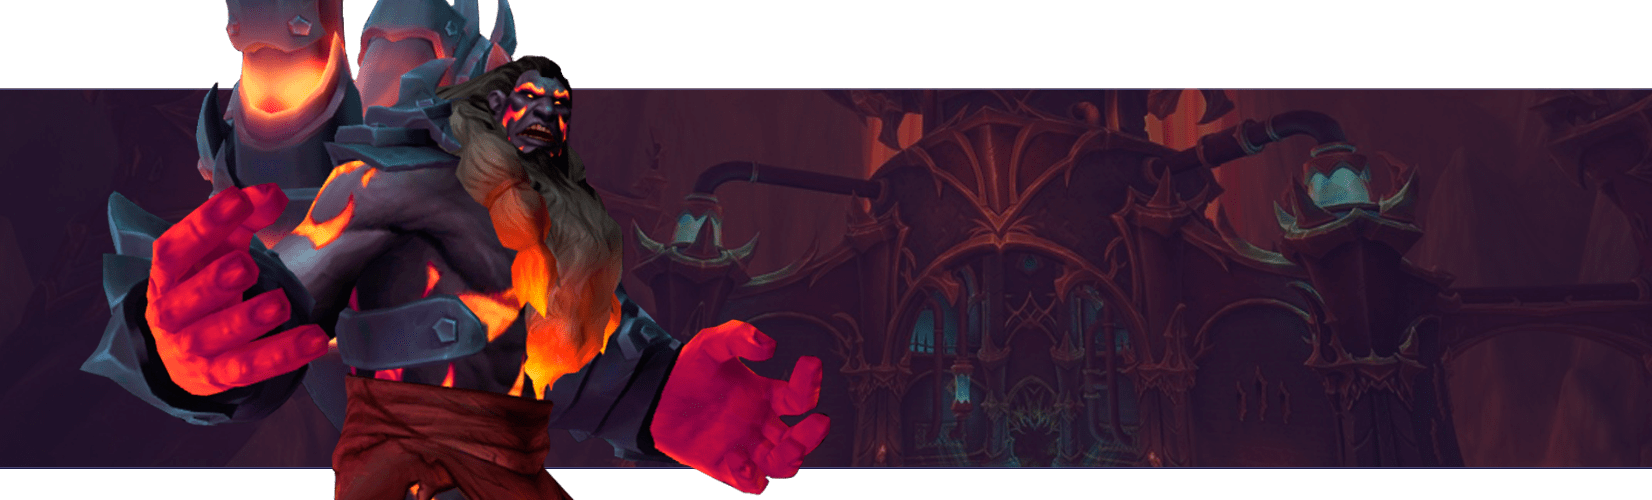
- Kazzara, the Hellforged
- The Amalgamation Chamber
- The Forgotten Experiments
- Assault of the Zaqali
- Rashok, the Elder
- The Vigilant Steward, Zskarn
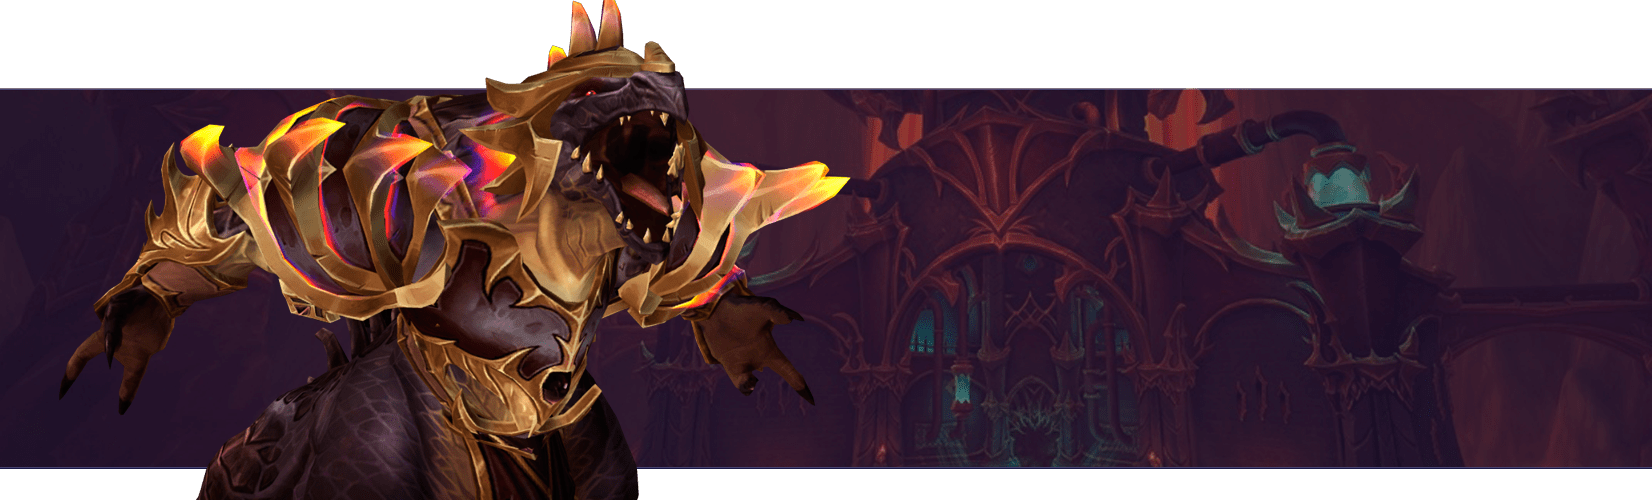
- Magmorax
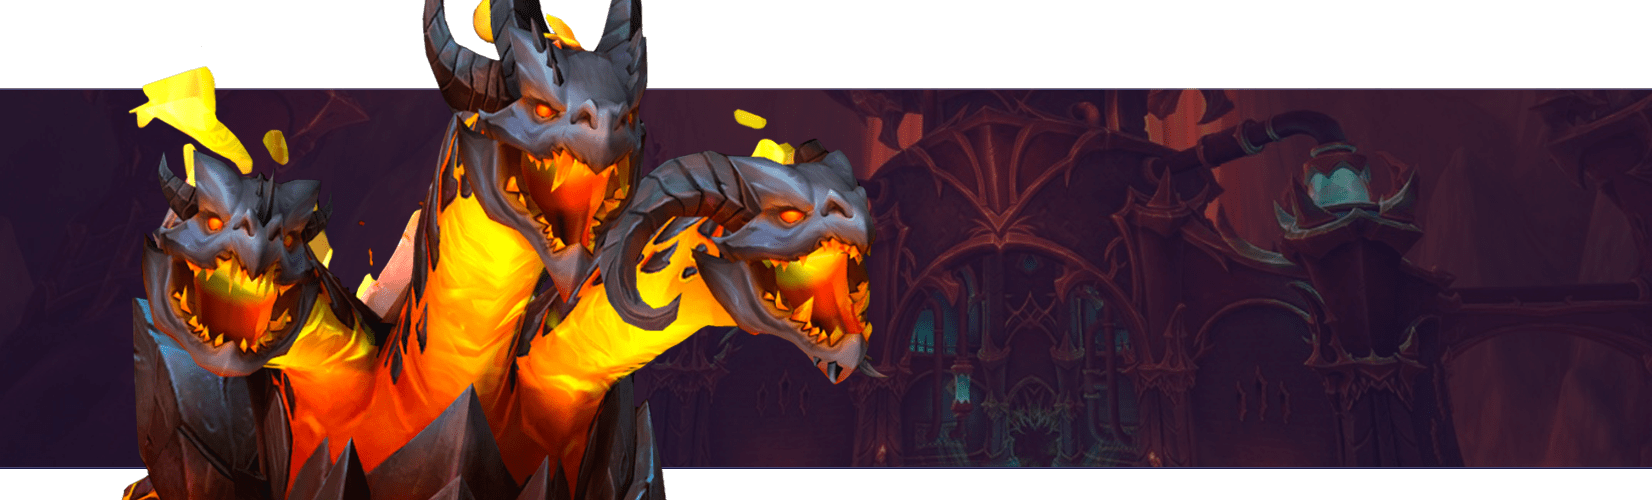
- Echo of Neltharion
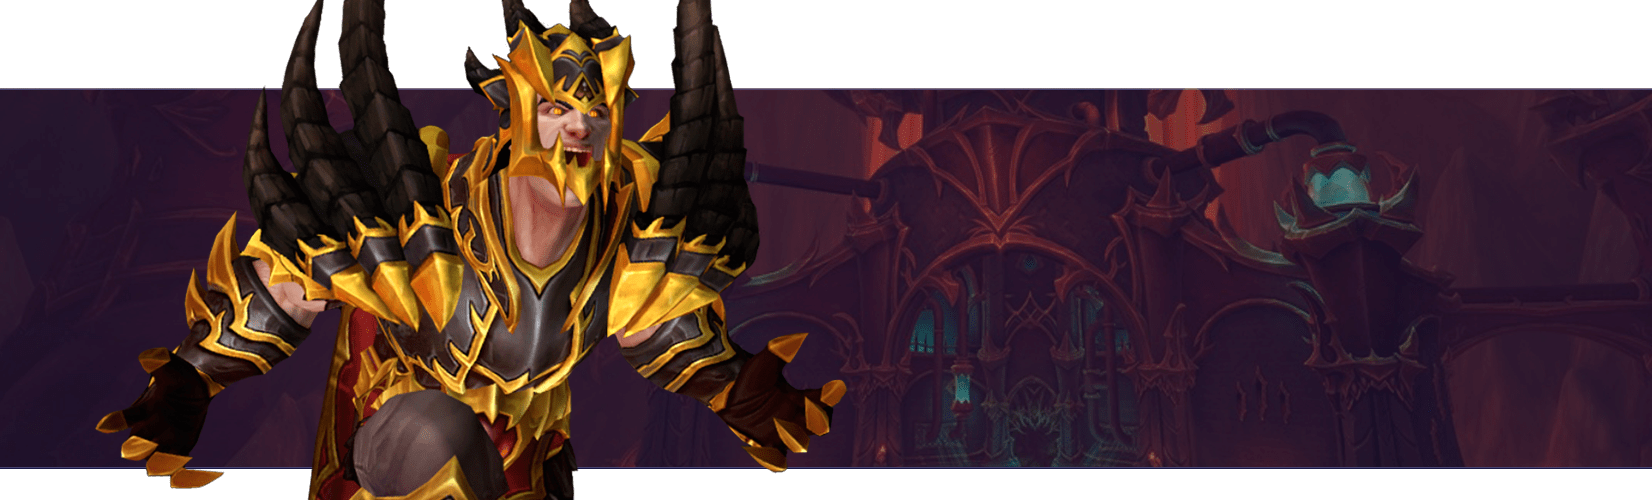
- Scalecommander Sarkareth
During Dragonflight Season 4, Aberrus raid receives a potent Awakened Raid buff. Awakened Aberrus, the Shadowed Crucible brings new challenges and rewards:
- Awakened Aberrus is significantly harder than the base version. Bosses will have new abilities and mechanics to challenge players.
- Awakened Aberrus offers the best loot in Dragonflight Season 4. You can expect items with a much higher item level than usual.
- Chance to get Nasz’uro, the Unbound Legacy, a weapon of unparalleled power.
Aberrus, the Shadowed Crucible Raid Release Schedule
In Dragonflight, raids in all difficulties except the LFR opened their doors at the same time. For Aberrus, the Shadowed Crucible, that date was May 9th. Cross-faction also became available immediately, allowing you to freely play with friends from opposite factions from the second week of Dragonflight 10.1.
But don’t forget that joining Mythic Aberrus, the Shadowed Crucible Hall of Fame requires at least 16 out of 20 raiders from the same guild and faction. So you should have a pretty experienced guild to complete this challenge.
When is Aberrus Raid Awakened?
Awakened Aberrus, the Shadowed Crucible is available for weeks 2 and 5 from the start of Season 4. Also, starting in week 7, all 3 Dragonflight raids will be Awakened, so you will also be able to complete Awakened Aberrus during this time.
| Week | Raid Schedule |
|---|---|
| Week 1 | Vault of the Incarnates |
| Week 2 | Aberrus, The Shadowed Crucible |
| Week 3 | Amirdrassil, The Dreams Hope |
| Week 4 | Vault of the Incarnates |
| Week 5 | Aberrus, The Shadowed Crucible |
| Week 6 | Amirdrassil, The Dreams Hope |
| Week 7 | All Raids (Open access to all three) |
| Week 8+ | All Raids (Open access to all three) |
Aberrus, the Shadowed Crucible Entrance
You can find the entrance to Aberrus in the north part of Zaralek Cavern, right at the top of the map.

Without Dragoriding, it’s just impossible to get to the entrance because the platform is located at a decent height, and no one ground mount can’t help you.
Aberrus, the Shadowed Crucible Tactics
Now, let’s talk about the Aberrus bosses mechanics you will face in the raid. Please, be aware that these Aberrus tactics aren’t a detailed guide but a short cheat sheet you can use for preparation for the first tries. However, if you find the mechanics of any boss difficult for you, don’t worry, we are ready to help you. Even if you to get Glory of the Aberrus Raider achievement.
Kazzara, the Hellforged Strategy
Fighting with the first of Aberrus, the Shadowed Crucible bosses will test how good are your raid group in single-target encounters:
- Every time you will decrease boss HP to 70%, 50%, and 30%, your healers should be ready to protect the raid group from significant DoT damage. Also, during these phases, try to avoid Hellsteel Fragments and Revenants Blood puddles on the ground;
- Players under the Dread Rift marks should stay away from the others to not damage them. Players which became targets of the Rays of Anguish cast can use Dread Rift puddles to remove the laser damage;
- Every time boss reaches 100 energy, you should track the path of the Hellbeam spell. Just stay away from its trajectory;
- Avoid the Wings of Extinction knockback cast to not get damaged by DoT;
- Tanks should track Terror Claws and replace each other.
The Amalgamation Chamber Strategy
The fight with the three bosses simultaneously in two phases. During the fight, you will deal with Krozgoth, Moltannia, and Molgoth. Also, the room of the boss has two sides, the Krozgoth side and the Moltannia side. You can stay all the fight in one zone or switch them. In the first case, you will stack too many Fire/Shadow debuffs. In the second case, you will face the new bosses’ abilities when they change their side;
- On the Krozgoth side, try to place the Umbral Detonation swirls toward the side or back of the room to have room for maneuver;
- Ranged players should stay in one place to bite Coalescing Void, and after quickly run away from this place (Warlock gates are preferred);
- During the first phase, the damage on the raid will grow up, so don’t forget to use your personal defensive/healing skills;
- On the Moltannia side, soak the Fiery Meteor, or use players with immunities to protect the raid from unnecessary damage;
- Bite Swirling Flame to the sides of the room where your teammates don’t locate;
- Use BL at the start of the second phase;
- Tanks should track Shadowflame Burst frontal cast and face the boss away from the raid;
- At this time, melee players should soak Gloom Conflagration and quickly run away;
- Players under Blistering Twilight should run away from the raid to place cuddles in safe spots;
- Don’t forget to soak Convergent Eruption circles and avoid the Orbs that spawn afterward.
The Forgotten Experiments Strategy
During this boss fight, your group will face three encounters Neldris, then Thadrion, and finally Rionthus one by one. Mostly, you should prefer single-target DPS builds, but some cleave damage also will not be superfluous:
- The raid group should stay away from the tanks. Tanks should try to keep Infused Strikes as long as possible to prevent the raid damage;
- During the fight with Neldris, try to avoid the extra Rending Charge stacks. Run away from the boss during the Bellowing Roar cast and avoid the swirls;
- When the second encounter (Thadrion) starts, use BL;
- Players under Unstable Essence should survive until 6-8 stacks. After that, healers can dispel Unstable Essence, and tanks should move the boss to the adds to get an opportunity to cleave all of them;
- Healers should track the Violent Eruption, while DPS should try to kill all adds before the boss starts casting this spell to decrease damage;
- Dodge the one-shooting swirls;
- During the fight with Rionthus, also don’t forget about Unstable Essence, but be aware, that there is no Violent Eruption at this phase;
- Focus on Temporal Anomaly when it appears;
- Avoid Disintegrate and Deep Breath trajectory.
Assault of the Zaqali
Assault of the Zaqali offers a frenzied encounter with relentless waves of additional enemies. The boss leaps between platforms, adding an extra layer of intensity. The primary objective in this encounter is to effectively thwart the summoned adds, preventing them from breaching the protective barrier and causing damage.
- Divide the raid into two equal groups. After the start of the encounter, the whole raid fights the boss, after which they run to one of the two platforms
- On the platforms, each group must kill all the adds and prevent them from reaching the gate. Magma Mystics are the highest priority by far.
- It is important for healers to exercise caution when multiple Zaqali Wallclimbers appear, as they tend to draw aggression before the tank can engage them effectively.
- You can prevent new adds from appearing. Just pick up Cave Rubble, and throw it at adds which are scaling the wall.
- In the second phase, the boss will return to the starting point at the gate. When Boss reaches 100 energy, he will cast a shockwave towards the barrier. At least 10 players have to soak this damage. Use defensive cd’s
Rashok, the Elder Strategy
Another single-target boss fight, enjoy:
- Players under the Searing Slam mark should run away from the raid and place it in the corners of the room;
- Track the Living Lava pools to avoid lava puddles;
- Soak all the Doom Flame circles;
- Bite the Shadowlava Blast toward the wall and quickly run away from its trajectory;
- At 100 energy the boss will start Siphon Energy intermission. Go to the middle of the room and avoid all lava puddles.
The Vigilant Steward, Zskarn Strategy
Another mostly single-target encounter, but sometimes you will face the adds you want to cleave:
- One of the tanks should pull the boss to one of Dragon Statues until the first traps become active. After it, run to the next statue clockwise and repeat;
- The second tank should soak every Shrapnel Bomb. Players with immunities can help the tank;
- Stay spread to not damage your teammates with Unstable Embers;
- When Golems spawn, pull them to the boss to cleave all enemies;
- Be aware of the Blast Wave cast to not get knocked out at the traps. Healers should do their best every Blast Wave because of high DoT damage;
- At 100 Energy, the boss will activate several statues and all players should run away from them to find a safe spot.
Magmorax Strategy
Clearly single-target encounter, everything that you need:
- The tanks should position the boss near one of the edges of the platform. The raid should stay right at the back of the boss to be knocked towards the back of the room, away from lava;
- Also, stay away from Magma Puddle zones;
- The tanks should swap at 1-2 stacks of Incinerating Maws;
- During the fight, melee players should place their puddles in the melee zone and casters in the range zones. 3 players should soak the puddle: it’s enough for soaking and prevent other players from unnecessary damage;
- Sometimes you can leave the Magma Puddle at the edge of the platform if you’re away from other raid members;
- Don’t soak Magma Puddle during the Igniting Roar cast;
- In the second half of the fight, it’s better to use Warlock gates to skip Overpowering Stomp. Just stay near gates before the cast and use them in the last 0.5 seconds before the cast finish;
- In the last 30% of boss HP, leave Magma Puddle at the edge of the platforms and stack your DPS members in one place for massive healing.
Echo of Neltharion
The first phase of this fight is full single-target damage. The next phases depend on execution – the worse you get to perform tactics, the more adds.
- As the phase commences, Neltharion will unleash the formidable spell, Twisted Earth, resulting in the conjuration of a configuration of walls depicted in the pattern presented below.
- You must destroy the wall with Rushing Darkness. However, the boss casts this spell on several players and only the tank should break the wall with it. The rest of the players must stand against an indestructible wall.
- If you break too many walls, the entire raid will take massive damage.
- Some players will be marked with Volcanic Heart, a debuff that explodes after 7 seconds. They should spread out at least 15 yards from other players to avoid damage.
- After Calamitous Strike, the off-tank should taunt and keep the boss in the main tank’s knocked section for Echoing Fissure to drop.
- Phase 2 at 70%. The boss builds new walls, so the mechanics of the first phase remain and you still need to carefully break the walls.
- Kill all three adds while getting Neltharion as close to 35% health as possible.
- Adds have a shield that can only be damaged by players with the Corruption debuff.
- In the third phase, stand on top of a portal to avoid being killed by Ebon Destruction
Scalecommander Sarkareth
Scalecommander Sarkareth serves as the ultimate boss encounter in Aberrus, the Shadowed Crucible. Initially, he employs conventional Dracthyr abilities. However, as the encounter progresses through various phases, Sarkareth gradually succumbs to the corrupting influence of the void, thereby amplifying his powers and abilities.
- Scorching Bomb will deal massive damage to the raid when they explode.
- Pick up 10 Astral Flares in each intermission to start the phase with a large haste buff.
- Quickly kill any Null Glimmers which spawn in Phase 2 or Phase 3.
- Glittering Surge will deal a lot of raid damage, so it’s best to stack and use healing cooldowns during its channel.
- Always taunt swap after each tankbuster hit.
- To optimize safety during the casting of Scouring Eternity, it is advisable to entice the Astral Formation near the “throne” area. By doing so, a substantial region will be unveiled, enabling players to utilize a line of sight as a protective measure.
- Look for a visual indicator in proximity to the Astral Formation, as it will indicate the designated safe spot.
Aberrus, the Shadowed Crucible Drops Item Level
First of all, you should know that the WoW Aberrus, the Shadowed Crucible ilvl within raid difficulty mode is more flexible like it was in Vault of the Incarnation. If, in the previous expansion, players could get higher level items only from the several last bosses, now drop item level increases more often.
| Raid difficulty | Step 1 | Step 2 | Step 3 | Step 4 |
|---|---|---|---|---|
| LFR | 402 | 405 | 408 | 411 |
| Normal | 415 | 418 | 421 | 424 |
| Heroic | 428 | 431 | 434 | 437 |
| Mythic | 441 | 444 | 447 | 450 |
Also, now several bosses have unique Aberrus loot of higher item levels. You can get rare trinkets from Neltharion or Kazzara, as well as the rarest cloak from Scalecommander Sarkareth.
When Aberuss is awakened, it offers more valuable loot:
| Raid Difficulty | Item Level |
|---|---|
| Raid Finder | 480-489 |
| Normal | 493-502 |
| Heroic | 506-515 |
| Mythic | 519-528 |
Aberrus, the Shadowed Crucible Tier Sets
Aberrus tier is more powerful than the VotI tier sets, and you cal look at new bonuses in our Dragonflight Tier Sets guide.
Also, you still have an opportunity to craft Tier Set Pieces from various items including Aberrus, the Shadowed Crucible armor through Catalyst.
Awakened Aberrus, the Shadowed Crucible Tier Sets
In the table below you will find tier sets you can get from Awakened Aberrus:
| Class | Tier Set |
|---|---|
| Death Knight | Risen Nightmare’s Gravemantle |
| Demon Hunter | Screaming Torchfiend’s Brutality |
| Druid | Strands of the Autumn Blaze |
| Evoker | Scales of the Awakened |
| Hunter | Stormwing Harrier’s Camouflage |
| Mage | Wayward Chronomancer’s Clockwork |
| Monk | Wrappings of the Waking Fist |
| Paladin | Heartfire Sentinel’s Authority |
| Priest | The Furnace Seraph’s Verdict |
| Rogue | Lurking Specter’s Shadeweave |
| Shaman | Vision of the Greatwolf Outcast |
| Warlock | Sinister Savant’s Cursethreads |
| Warrior | Irons of the Onyx Crucible |
We understand that getting Tier Sets is quite difficult and time-consuming, so our professional boosters are ready to come to your aid and take on this task.
Awakened Aberrus, the Shadowed Crucible Rewards
You can get cool stuff by beating bosses in the Awakened Aberrus raid on different difficulty levels. Here’s what you can get:
- Normal Difficulty: Beat all 3 Awakened raids on Normal to get the Awakening the Dragonflight Raids achievement and a flying mount called the Voyaging Wilderling’s Harness to fly around Azeroth.
- Heroic Difficulty: If you’re stronger, beat all 3 Awakened raids on Heroic or higher to get the Heroic: Awakening the Dragonflight Raids achievement and a special title called Awakened Hero.
- Mythic Difficulty: For the toughest players, beat all 3 Mythic raids to get the Mythic: Awakening the Dragonflight Raids achievement. This unlocks special teleports Path of the Primal Prison, Path of the Bitter Legacy, Path of the Scorching Dream. They take you directly to each raid entrance, so you can start adventuring faster.
With our Awakened Raids Bundle, you don’t have to waste time completing all three raids, because our team is ready to do it for you.
Awakened Aberrus, the Shadowed Crucible Achievements
- Awakened Shadows: Defeat all bosses on Normal difficulty while Aberrus is an Awakened raid.
- Heroic: Awakened Shadows: Defeat all bosses on Heroic difficulty while Aberrus is an Awakened raid.
- Mythic: Awakened Shadows: Defeat all bosses on Mythic difficulty while Aberrus is an Awakened raid.
Aberrus, the Shadowed Crucible Loot Table
Aberrus loot is not as valuable during Season 4 as loot from its Aveikend version. However, it may still be useful to some players, so let’s take a closer look at what gear you can get from Aberrus, the Shadowed Crucible raid.
Aberrus, the Shadowed Crucible Accessories Drops
| Slot | Item | Boss |
|---|---|---|
| Back | The Vigilant Steward, Zskarn | |
| Back | Kazzara, the Hellforged | |
| Back | (Very Rare) | Scalecommander Sarkareth |
| Finger | Amalgamation Chamber | |
| Finger | Echo of Neltharion | |
| Finger | Rashok, the Elder | |
| Neck | Assault of the Zaqali | |
| Neck | Magmorax |
Aberrus, the Shadowed Crucible Cloth Drops
| Slot | Item | Boss |
|---|---|---|
| Chest | Kazzara, the Hellforged | |
| Feet | Rashok, the Elder | |
| Feet | Echo of Neltharion | |
| Hands | Assault of the Zaqali | |
| Head | Amalgamation Chamber | |
| Legs | Scalecommander Sarkareth | |
| Shoulder | Assault of the Zaqali | |
| Waist | The Forgotten Experiments | |
| Waist | Kazzara, the Hellforged | |
| Wrist | The Vigilant Steward, Zskarn | |
| Wrist | Amalgamation Chamber |
Aberrus, the Shadowed Crucible Leather Drops
| Slot | Item | Boss |
|---|---|---|
| Chest | Assault of the Zaqali | |
| Feet | The Vigilant Steward, Zskarn | |
| Feet | Assault of the Zaqali | |
| Hands | Scalecommander Sarkareth | |
| Head | Kazzara, the Hellforged | |
| Legs | Amalgamation Chamber | |
| Shoulder | The Forgotten Experiments | |
| Waist | Rashok, the Elder | |
| Waist | Scalecommander Sarkareth | |
| Wrist | Kazzara, the Hellforged | |
| Wrist | Magmorax |
Aberrus, the Shadowed Crucible Mail Drops
| Slot | Item | Boss |
|---|---|---|
| Chest | Amalgamation Chamber | |
| Feet | Scalecommander Sarkareth | |
| Feet | The Forgotten Experiments | |
| Hands | Kazzara, the Hellforged | |
| Head | Assault of the Zaqali | |
| Legs | Scalecommander Sarkareth | |
| Shoulder | Kazzara, the Hellforged | |
| Waist | Amalgamation Chamber | |
| Waist | Magmorax | |
| Wrist | Assault of the Zaqali | |
| Wrist | Rashok, the Elder |
Aberrus, the Shadowed Crucible Plate Drops
| Slot | Item | Boss |
|---|---|---|
| Chest | Scalecommander Sarkareth | |
| Feet | Kazzara, the Hellforged | |
| Feet | Magmorax | |
| Hands | Echo of Neltharion | |
| Head | Rashok, the Elder | |
| Legs | Assault of the Zaqali | |
| Shoulder | Amalgamation Chamber | |
| Waist | The Vigilant Steward, Zskarn | |
| Waist | Assault of the Zaqali | |
| Wrist | Scalecommander Sarkareth | |
| Wrist | The Forgotten Experiments |
Aberrus, the Shadowed Crucible Trinket Drops
| Stats | Item | Boss |
|---|---|---|
| Mastery | Scalecommander Sarkareth | |
| Agility | The Vigilant Steward, Zskarn | |
| Agility/ | Amalgamation Chamber | |
| Agility/ | Kazzara, the Hellforged | |
| Agility/ | Magmorax | |
| Critical Strike | (Very Rare — Demon Hunter, Evoker, Mage, Paladin, Warrior) | Echo of Neltharion |
| Haste | Very Rare — Death Knight, Druid, Priest, Rogue | Echo of Neltharion |
| Versatility | (Very Rare — Hunter, Monk, Shaman, Warlock) | Echo of Neltharion |
| Agility/ | The Forgotten Experiments | |
| Intellect | Rashok, the Elder | |
| Agility/ | Very Rare | Kazzara, the Hellforged |
| Intellect | Amalgamation Chamber | |
| Agility/ | Echo of Neltharion | |
| Strength | Assault of the Zaqali |
Aberrus, the Shadowed Crucible Weapon Drops
One-Handed
| Type | Stat | Item | Boss |
|---|---|---|---|
| Axe | Strength | The Vigilant Steward, Zskarn | |
| Axe | Agility | Assault of the Zaqali | |
| Dagger | Agility | Scalecommander Sarkareth | |
| Dagger | Agility | Kazzara, the Hellforged | |
| Dagger | Intellect | The Vigilant Steward, Zskarn | |
| Fist Weapon | Agility | Magmorax | |
| Mace | Intellect | Rashok, the Elder | |
| Mace | Intellect | Magmorax | |
| Mace | Strength | Amalgamation Chamber | |
| Warglaives | Agility | The Forgotten Experiments |
Ranged
| Type | Stat | Item | Boss |
|---|---|---|---|
| Bow | Agility | Assault of the Zaqali | |
| Gun | Agility | The Vigilant Steward, Zskarn |
Off-Hand and Shield
| Type | Stat | Item | Boss |
|---|---|---|---|
| Off-hand | Intellect | Echo of Neltharion | |
| Off-hand | Intellect | The Forgotten Experiments | |
| Shield | Strength/ | Echo of Neltharion | |
| Shield | Strength/ | The Forgotten Experiments |
Two-Handed
| Type | Stat | Item | Boss |
|---|---|---|---|
| Polearm | Agility | Very Rare | Rashok, the Elder |
| Polearm | Strength | Kazzara, the Hellforged | |
| Staff | Intellect | Scalecommander Sarkareth | |
| Staff | Agility | Amalgamation Chamber | |
| Sword | Strength | Echo of Neltharion |
Aberrus, the Shadowed Crucible Rare Drop
Like it was in Vault of the Incarnation, the rare drop items have an item level that is higher by 6-7 points than the basic drop from current bosses.
| Slot | Item | Boss |
|---|---|---|
| Trinket | Seething Black Dragonscale | Kazzara |
| Trinket | Idol of Chaotic Arrogance | Neltharion |
| Trinket | Idol of Debilitating Arrogance | Neltharion |
| Trinket | Idol of Domineering Arrogance | Neltharion |
| Cloak | Voice of the Silent Star | Scalecommander Sarkareth |
We hope that with the help of our guide you will easily overcome Aberrus and even its Awakened version. This guide equiped you to strategically dismantle each boss, exploit their weaknesses, and claim your rightful spoils. So gear up, adventurers, for glory and treasure await!