Dragonflight hasn’t become a game-changing expansion, but almost all key PvP and PvE modes get significant novelties, including dungeons. This guide will overview all Dragonflight dungeons and changes in Dragonflight Mythic+ mode.

Dragonflight Dungeons List
In Dragonflight, players can explore eight dungeons designed for both leveling and endgame content. However, only half of these dungeons are accessible for Mythic+ runs. There are four additional legacy dungeons that can be played in Mythic+ mode. Check out the chart below!
Dragonflight Dungeons | Dragonflight Mythic+ Season 2 |
| Algeth’ar Academy | Brackenhide Hollow |
| Brackenhide Hollow | Halls of Infusion |
| Halls of Infusion | Uldaman: Legacy of Tyr |
| Neltharus | Neltharus |
| Ruby Life Pools | Freehold (from Battle for Azeroth) |
| The Azure Vault | The Underrot (from Battle for Azeroth) |
| The Nokhud Offensive | Vortex Pinnacle (from Cataclysm) |
| Uldaman: Legacy of Tyr | Neltharion’s Lair (from Legion) |
In summary, Dragonflight offers a diverse range of dungeons spanning both new and legacy content. Dive into these challenges and test your skills as you explore the depths of Dragonflight’s immersive world. Adventure awaits!
Season 2 Dungeon Rewards
In Mythic+ mode rewards scale up to a +20 key. This means that players will need to conquer Mythic +20 dungeons for more than just teleport access to dungeon entrances or to complete tough challenges – it’s also essential for optimal gearing. Mythic+ Dungeons offer two distinct loot opportunities: a chest upon completing the instance and the Weekly Great Vault reward. Also you can choose Aspects’ Tokens of Merit instead of weekly chest reward.
In Dragonflight Season 2, Blizzard is once again raising the Item Level of loot obtained from dungeons, with an increase of 26 Item Levels. The updated rewards for Season 2 are:Rewards Scaling
Keystone Level End of Dungeon Item Level Great Vault Item Level 2 402 415 3 405 418 4 405 421 5 408 421 6 408 424 7 411 424 8 411 428 9 415 428 10 415 431 11 418 431 12 418 434 13 421 434 14 421 437 15 424 437 16 424 441 17 428 441 18 428 444 19 431 444 20 431 447
At the Great Vault, if you choose not to claim any loot, you will be granted Aspects’ Tokens of Merit based on the number of slots available to you. These tokens can be exchanged with Evantkis for various items:Aspects Tokens of Merit Reward
Number of Great Vault Slots Aspects’ Tokens of Merit Reward 1 2 2 4 3+ 6
Achievements
In Dragonflight Season 2, players have the opportunity to earn various achievements, titles, mounts, and portals by participating in Mythic+ dungeons. Here is a chart of rewards:
As you can see Dragonflight Season 2 offers players an exciting array of rewards to strive for in Mythic+ dungeons. With achievements, titles, mounts, and portals up for grabs, there’s plenty of motivation to dive into these challenging experiences and push your limits.
With two loot opportunities and the alternative Aspects’ Token of Merit, players have various ways to enhance their gaming experience in World of Warcraft. Push your limits, gear up, and embrace the challenges of Mythic+ dungeons!
Season 2 Mythic+ Affixes
An affix is a supplementary characteristic that modifies the behavior of adversaries within a dungeon.
When your Keystone displays an affix, the majority of foes in that Mythic+ dungeon will acquire this attribute. These Keystone affixes alter on a weekly basis following a predetermined rotation and apply to all players globally. Thus, anyone participating in a Mythic+ dungeon will encounter the same affixes for the week. Seasonal affixes are no longer in use, and affixes now become active at keystone levels 2, 7, and 14.
Upon reaching Mythic Keystone level 2, players will encounter their initial affix. This affix can be found on the keystone’s description, as well as within the Font of Power menu and the Objectives frame (where the dungeon’s timer and enemy kill count are shown) throughout the dungeon run. The Level 2 affix will be either Fortified or Tyrannical, with a weekly alternation between the two. As a result, one week will present increased boss challenges, while the next will feature heightened difficulty among non-boss enemies. During a Fortified week, this affix will impact all dungeons. In a Fortified dungeon, non-boss enemies possess 20% increased health and inflict up to 30% extra damage. To successfully navigate a Fortified dungeon, consider the following strategies: During a Tyrannical week, this affix will influence all dungeons. In a Tyrannical dungeon, bosses possess 30% increased health and inflict up to 15% extra damage. To successfully navigate a Tyrannical dungeon, be aware of the following points:Keystone Level 2 Affixes
Damage and Health Modifier Chart
Level Modifier % 2 +0% 3 +8% 4 +17% 5 +26% 6 +36% 7 +47% 8 +59% 9 +71% 10 +85% 11 +104% 12 +124% 13 +146% 14 +171% 15 +198% 16 +228% 17 +261% 18 +297% 19 +336% 20 +380% Fortified
Tyrannical
At Level 7, the affix can be any one of these options: The Afflicted affix spawns Afflicted Souls intermittently during combat. These souls initiate an uninterruptible cast of Afflicted Cry, which diminishes players’ Haste by 100% for 10 seconds. Afflicted Souls possess Cursed Spirit, Poisoned Spirit, and Diseased Spirit debuffs. Dispelling one of these debuffs or healing the soul to full health will interrupt the cast and make the soul disappear. Afflicted Cry has a 60-yard range and can be evaded using line-of-sight tactics. To effectively manage this active affix, players should consider choosing talents that include dispel and off-healing capabilities. Maintaining good health will enable healers to concentrate on restoring the Afflicted Soul rather than focusing on individual players. The Incorporeal affix sporadically summons ethereal entities during combat, which persistently cast Destabilize, decreasing player damage and healing by 50%. These Incorporeal beings remain for 20 seconds before vanishing. They represent all mob types, so crowd control (CC) abilities with specific mob type limitations will be effective against them. However, interrupting Destabilize will only result in an immediate recast. When Incorporeal is active, it is essential for players to invest in their hard crowd control abilities, if available, to efficiently manage this affix. The Entangling affix periodically generates a plant beneath players during combat, applying the Entangled buff and reducing their movement speed by 30%. To break the vine and remove the buff, players must move 10 yards away from the plant. Failing to do so within 8 seconds will result in a 3-second stun. The Entangled buff can be removed using root-breaking effects such as Blessing of Freedom or Tiger’s Lust. When dealing with the Entangling affix, it is advantageous to invest in talents focused on movement abilities or root-breaking effects, like Blessing of Freedom or Tiger’s Lust. In a Volcanic dungeon, enemies will trigger Volcanic Plumes to emerge beneath the feet of players who are far away. After two seconds, the Volcanic Plume erupts, inflicting damage equivalent to 20% of a player’s health to those within 2 yards of the Plume, while also launching them high into the air. This effect can be caused by both bosses and trash mobs. It is important to note that “distant” refers to the proximity between the player and the enemy mob. Generally, melee DPS and tanks are not directly affected by this mechanic. If ranged DPS and healers stay close to the enemies, Volcanic Plumes might not spawn. However, if an enemy leaps away or an additional enemy spawns far from its summoner, Volcanic Plumes may appear within melee range. In a Storming dungeon, enemies will occasionally create Tornadoes that slowly spiral clockwise for roughly 10 seconds. Contact with a Tornado results in a knockback, 15% health damage, and the Tornado’s despawn. The more enemies engaged in combat, the greater the number of Tornadoes that can be active simultaneously. If the situation permits, players should not hesitate to deliberately collide with a Tornado to remove it from the battleground, clearing the area for easier maneuvering.Keystone Level 7 Affixes
Afflicted
Incorporeal
Entangling
Volcanic
Storming
Upon reaching Mythic Keystone level 14, a third affix will be introduced to players’ Keystones. This additional affix can be any of the following options: With the Spiteful affix, when a mob is defeated, it spawns a Spiteful Shade entity that fixates on a random non-tank player. The Spiteful Shade loses 8% of its health every second while relentlessly pursuing its target. Spiteful Shades can be effectively managed using crowd control techniques such as stuns, slows, and knockbacks. It is generally more crucial for players to evade their Spiteful Shade than to continue performing their assigned role. Utilize crowd control abilities to your advantage in these situations. The Raging affix causes enemies to Enrage when their health reaches 30%, making them immune to crowd control (except for interrupts) until they are defeated. When dealing with this affix, be cautious with AoE and cleave damage. Mark a priority target for each pull, and when that target becomes Enraged, concentrate fire to eliminate it swiftly. Certain Enraged mobs within a group may need to be prioritized to prevent them from casting harmful abilities that are normally interrupted by crowd control. If an Enraged mob’s health rises above 30% for any reason, it will retain the Enrage status. Druids, Rogues, and Hunters can remove Enrage effects using Soothe, Shiv, and Tranquilizing Shot, respectively. With the Bursting affix, each time a monster is defeated, all players receive a stack of Burst. One or two stacks may not be lethal, but eliminating a large group of 8 monsters simultaneously could likely result in the party’s demise. In Dragonflight, Bursting is a Magic debuff that can be dispelled. To manage Bursting, stagger enemy deaths to prevent the debuff from stacking too high. Exercise caution when using AoE abilities to avoid killing monsters prematurely before the debuff fades. Immunity abilities, such as Cloak of Shadows and Ice Block, can remove all current stacks and prevent new stacks from applying. Beyond Keystone level +15, Bursting damage does not scale further. When the Bolstering affix is active, defeated enemies will grant a Bolster buff to nearby enemies engaged in combat, increasing their damage output by 20% for 20 seconds. This effect can stack multiple times, resulting in a highly dangerous and time-consuming adversary to defeat. The buff’s range is 30 yards. The Bolstering affix does not apply to adds within a boss encounter. However, if players pull trash packs into a boss fight, the dying trash mobs will apply Bolster to the boss, which is unfavorable. To save time and avoid this situation, if players decide to bring trash into a boss fight, they should pull the trash more than 30 yards away from the boss before eliminating it. With the Sanguine affix, whenever a non-boss enemy is defeated, a pool of Sanguine Ichor forms at its location. The pool starts from the point of death and expands, lasting for 12 seconds. The Sanguine Ichor has two effects: it heals enemies within it for 5% of their health per second and deals damage to players within it for 15% of their health per second. To manage this affix effectively, tanks should move the remaining mobs away from the location where the Sanguine Ichor pool forms. Melee DPS players need to exercise caution to avoid standing in the pools. Since it takes several seconds for the Sanguine Ichor to fully form, there is ample time to react and avoid damage. It’s important to note that the first tick of damage from the Sanguine pool is applied immediately. Placing the Sanguine pools in safe locations becomes crucial for the group’s progression through the dungeon. This allows them to traverse without sustaining significant damage from crossing the Sanguine pools after combat has ended.Keystone Level 14 Affixes
Spiteful
Raging
Bursting
Bolstering
Sanguine
The 12-week affix rotation has been updated once more in Dragonflight Season 2. Three novel affixes have been introduced: Entangling, Afflicted, and Incorporeal, while three others – Explosive, Quaking, and Grievous – have been removed from the rotation.
Season 2 Dungeon Tactics
Now, let us share simple bits of advice for Mythic Dungeons and Dragonflight Season 2 Mythic+ Dungeon bosses. We won’t discuss all specific packs of trash and their abilities. Only bosses in the format of the short cheat sheet, which helps you prepare for all challenges.
Algeth’ar Academy, in the past, was a heart of higher learning for all dragons. Now its doors are open for various Azeroth citizens, including Alliance and Horde players. You can find the dungeon entrance in Thaldraszus at /way 58.28 42.35. In this dungeon, players will face 4 bosses. But it is important not to rush to join the fight in the Academy right from the start because near the entrance, you can find 5 Dragonkin Recruiters from different Dragonflights, providing you with useful permanent buffs. Now, let’s see the boss’s tactics. Algethar Academy
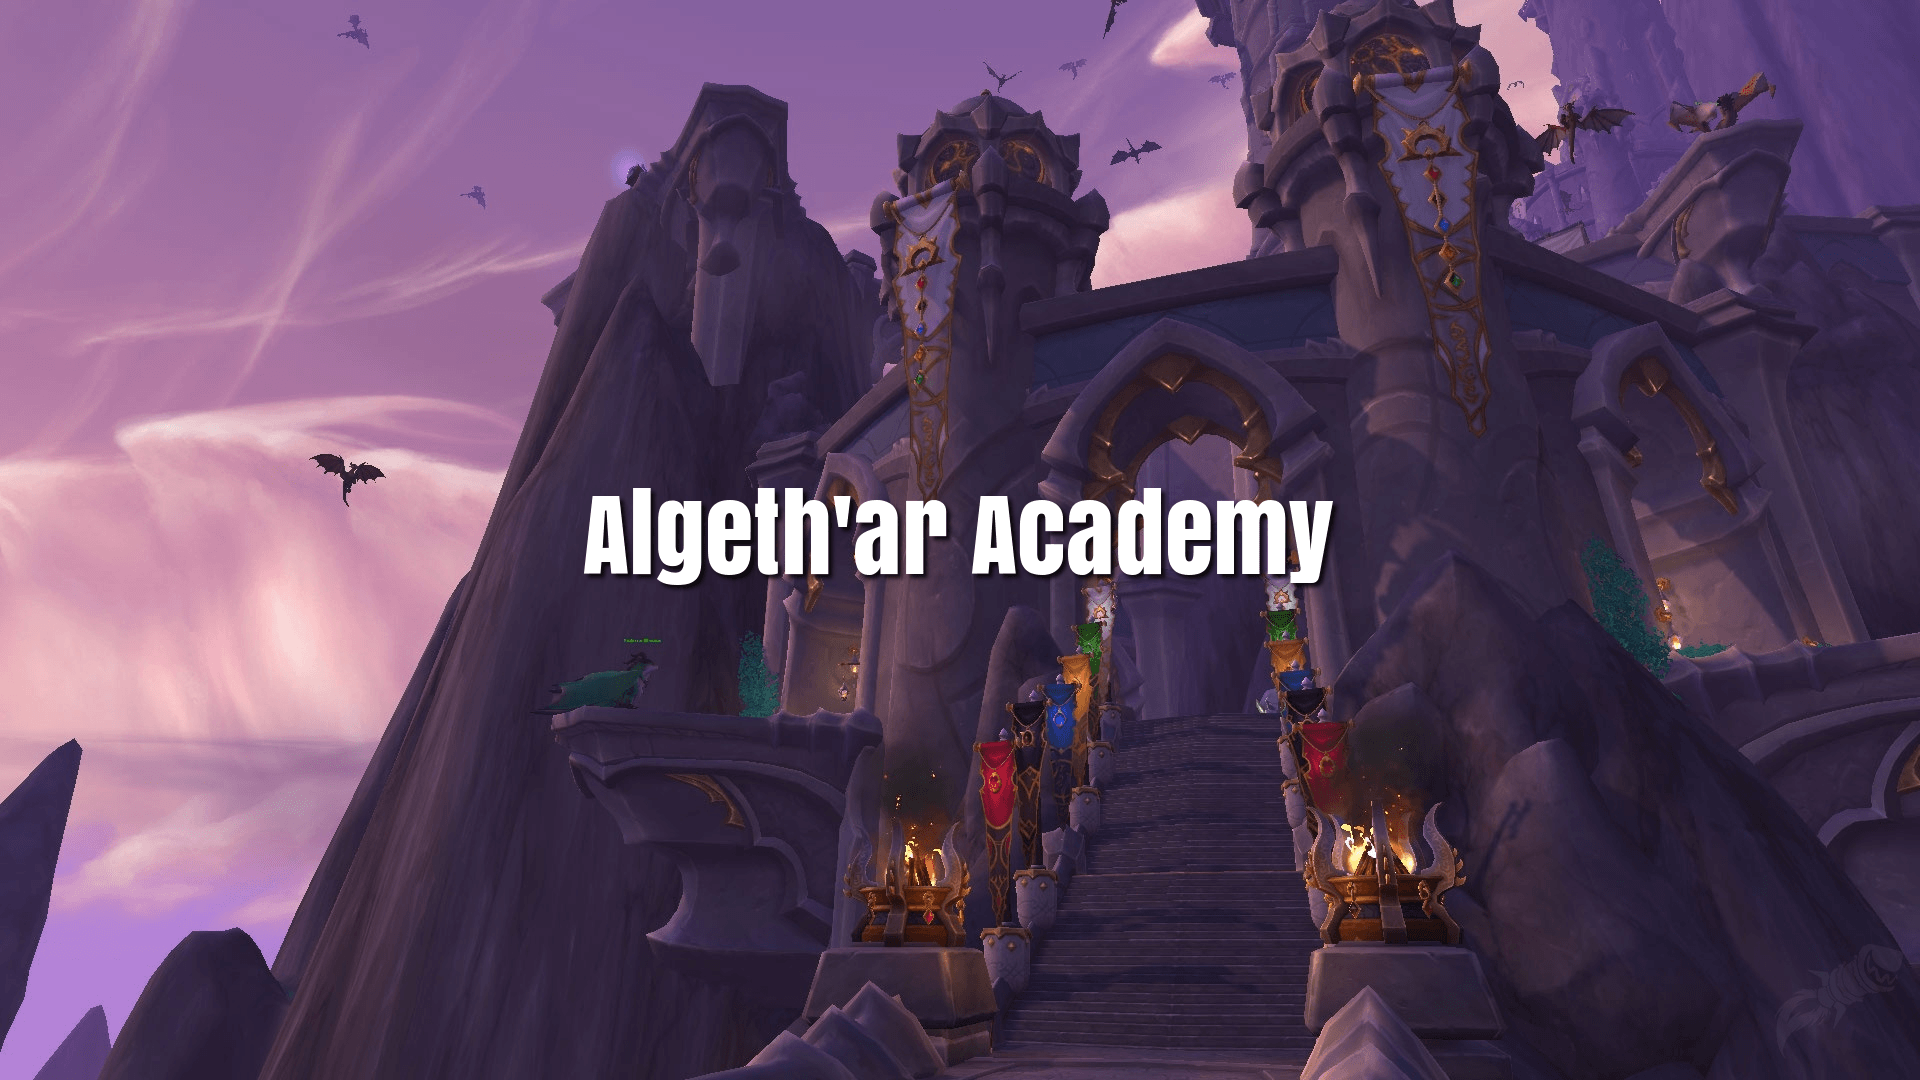
Dragonflight Buff Effect Bronze Dragonflight Recruiter Bronze Dragonflight Pledge Pin 5% Haste Blue Dragonflight Recruiter Blue Dragonflight Pledge Pin 8 Mastery points(584 rating) Green Dragonflight Recruiter Green Dragonflight Pledge Pin 10% Healing taken Red Dragonflight Recruiter Red Dragonflight Pledge Pin 5% Versatility Black Dragonflight Recruiter Black Dragonflight Pledge Pin 5% Critical Strike Vexamus Crawth Overgrown Ancient Echo of Doragosa
Did you miss gnoll, our old classical enemies? Brackenhide Hollow is the largest settlement of this race in the Dragon Isles, located in the Azure Span at /way 11.57 48.78. There are 4 bosses, but let’s start with the Decaying Cauldron you can find during dungeon completion. This object can be used by a player with 25 skills in Dragon Isles Alchemy and allows all party members to collect Cleansed Rot brew to dispel deceases. Also, before you face the first boss, you should join the Tuskarr Rescue Event and rescue 5 tuskarrs. After the event completion, the first boss will appear. Brackenhide Hollow
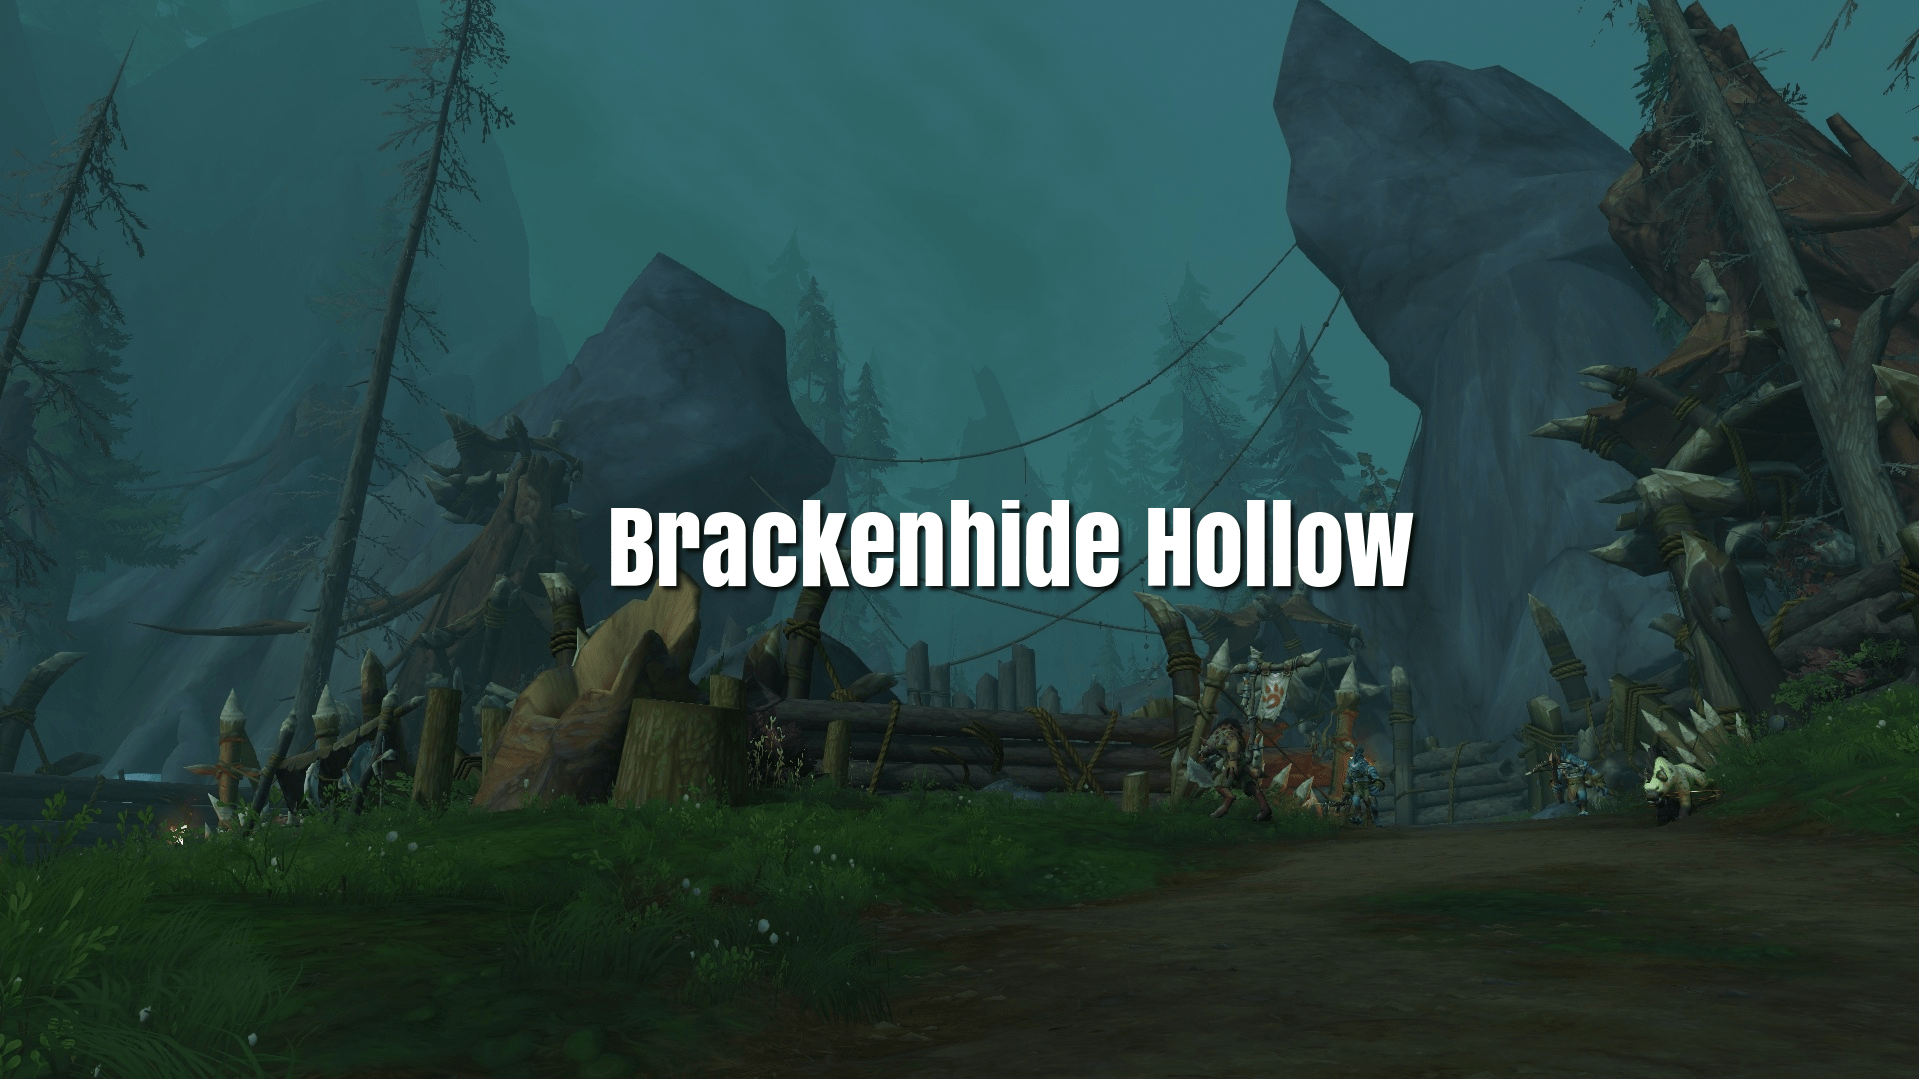
Hackclaw’s War-Band Gutshot Treemouth Decatriarch Wratheye
Halls of Infusion is an ancient dragon structure under Tyrhold created to feed the Life Pools of the red dragonflight by water. The dungeon is located in Thaldraszus at /way 59.24 60.64, but now it’s invaded by Primalist, facing which won’t be an easy walk. Players with Engineering or Herbalism professions always will be welcomed to the Halls because of the helpful bonuses they can provide you. In Infuser’s Rotunda, engineers with at least 25 skill can find Limited Immortality Device to give all teammates Limited Immortality cheat death ability. Herbalists can find Infused Mushroom in the Intake Reservoirs (to the left after defeating the first boss) and in the Khajin’s Gambit (after the third boss) and get Cleansing Spores buff for 30 minutes. Halls of Infusion

Watcher Irideus Gulping Goliath Khajin the Unyielding Primal Tsunami
Neltharus, in the past, was home for the black dragonflight. But now it is invaded by djaradins like the whole Obsidian Citadel. Do you help Wrathion and Sabellian bring Neltharus back? Neltharus
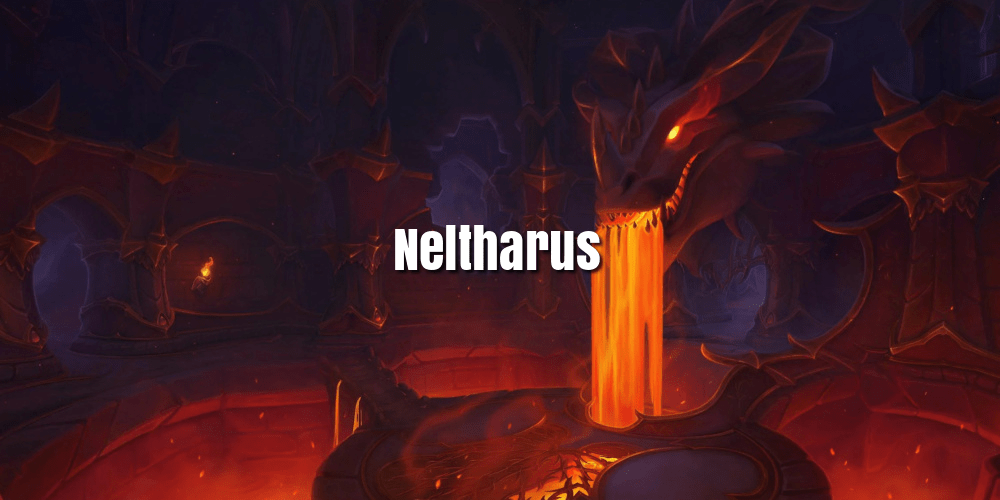
Magmatusk Chargath, Bane of Scales Forgemaster Gorek Warlord Sargha
These nesting grounds from immemorial were a sacred place for all five dragonflight. So it is obvious that Primalist and Raszageth were bound to attack Ruby Life Pools sooner or later. And while Aspects wasn’t got their powers, only the heroes of Azeroth could protect the sanctuary. You can find the Ruby Life Pools entrance in the Waking Shores at /way 60.00 75.77. Ruby Life Pools
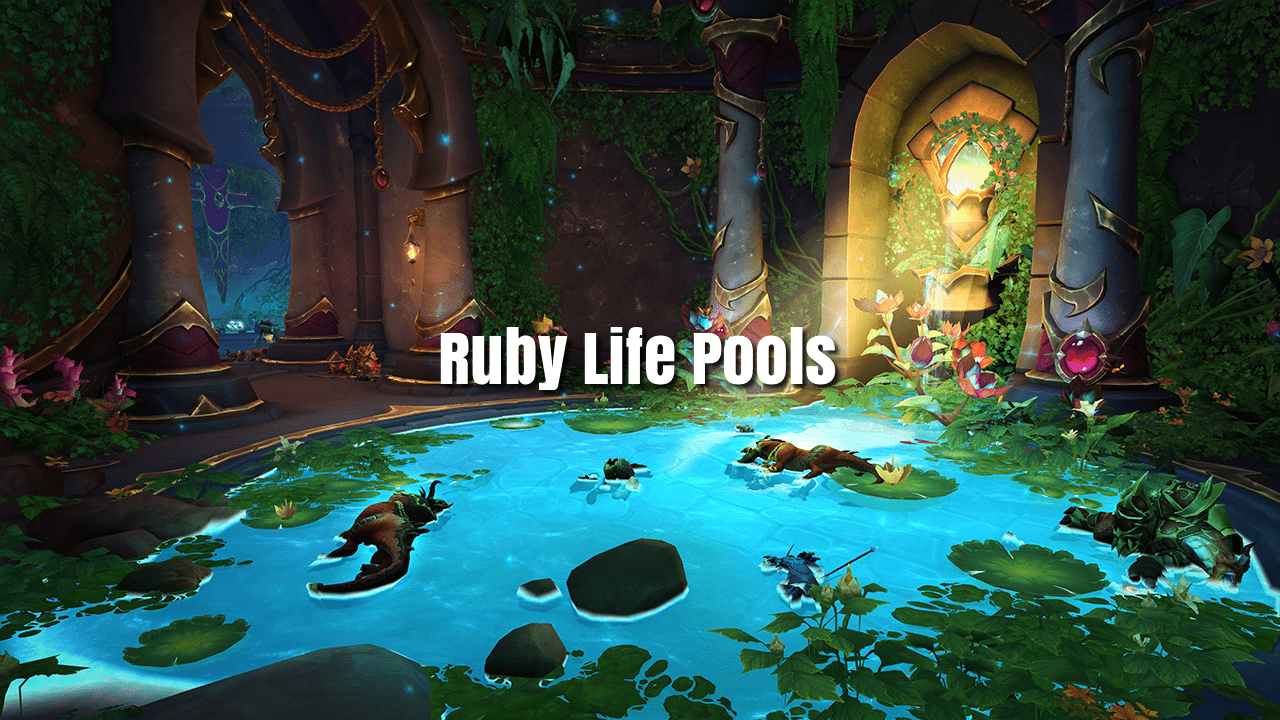
Melidrussa Chillworn Kokia Blazehoof Kyrakka and Erkhart Stormvein
A long time ago, when Malygos and Sindragosa were alive and with healthy minds, this dungeon was the vault of various magician artifacts and knowledge. But who knows what happened with this place for thousands of years? You can find The Azure Vault entrance in the Azure Span at /way 38.89 64.76. First of all, the players with the Inscription profession can get helpful abilities before entering the rings and before heading to the area after Azureblade. Due to the buff, the player gets an additional button to reverse Wild Magic traps on the floor and polymorph enemies. Also, when you get into floating rings between Leymor and Azureblade, you have a chance each time you enter one of the floating rings to get one of the useful buffs for one minute. After death, you can get buffed one more time. Check the list: Now it’s time to meet the bosses. The Azure Vault
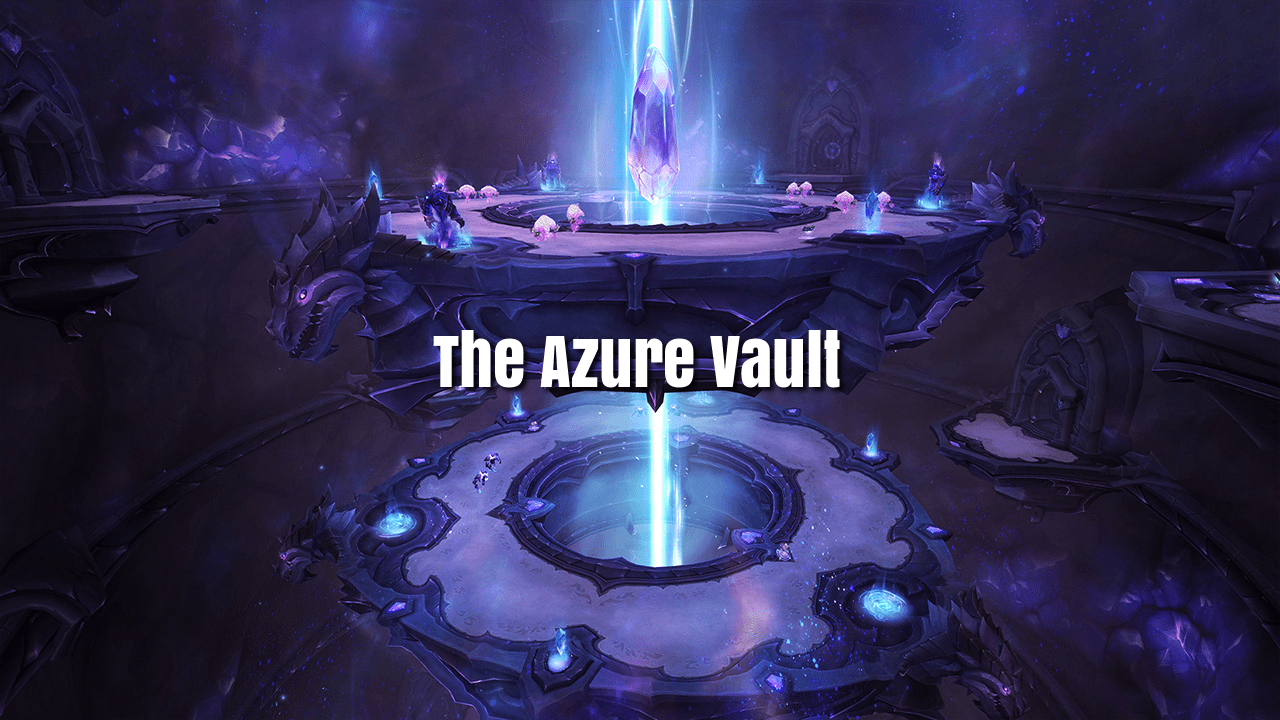
Leymor Azureblade Telash Greywing Umbrelskul
Prepare to become a part of the centaur civil war. While Clan Nokhud and Primalists capture the ancient eagle spirit, Ohn’ahra, players will help Maruuk take it back. The Nokhud Offensive entrance can be found in Ohn’ahran Plains at /way 62.01 42.44. Interestingly, Dungeon doesn’t have a straight route, and all bosses except the last can be killed in a different order. Also, this is the only dungeon where players can use not only mount but Dragonriding too. The Nokhud Offensive
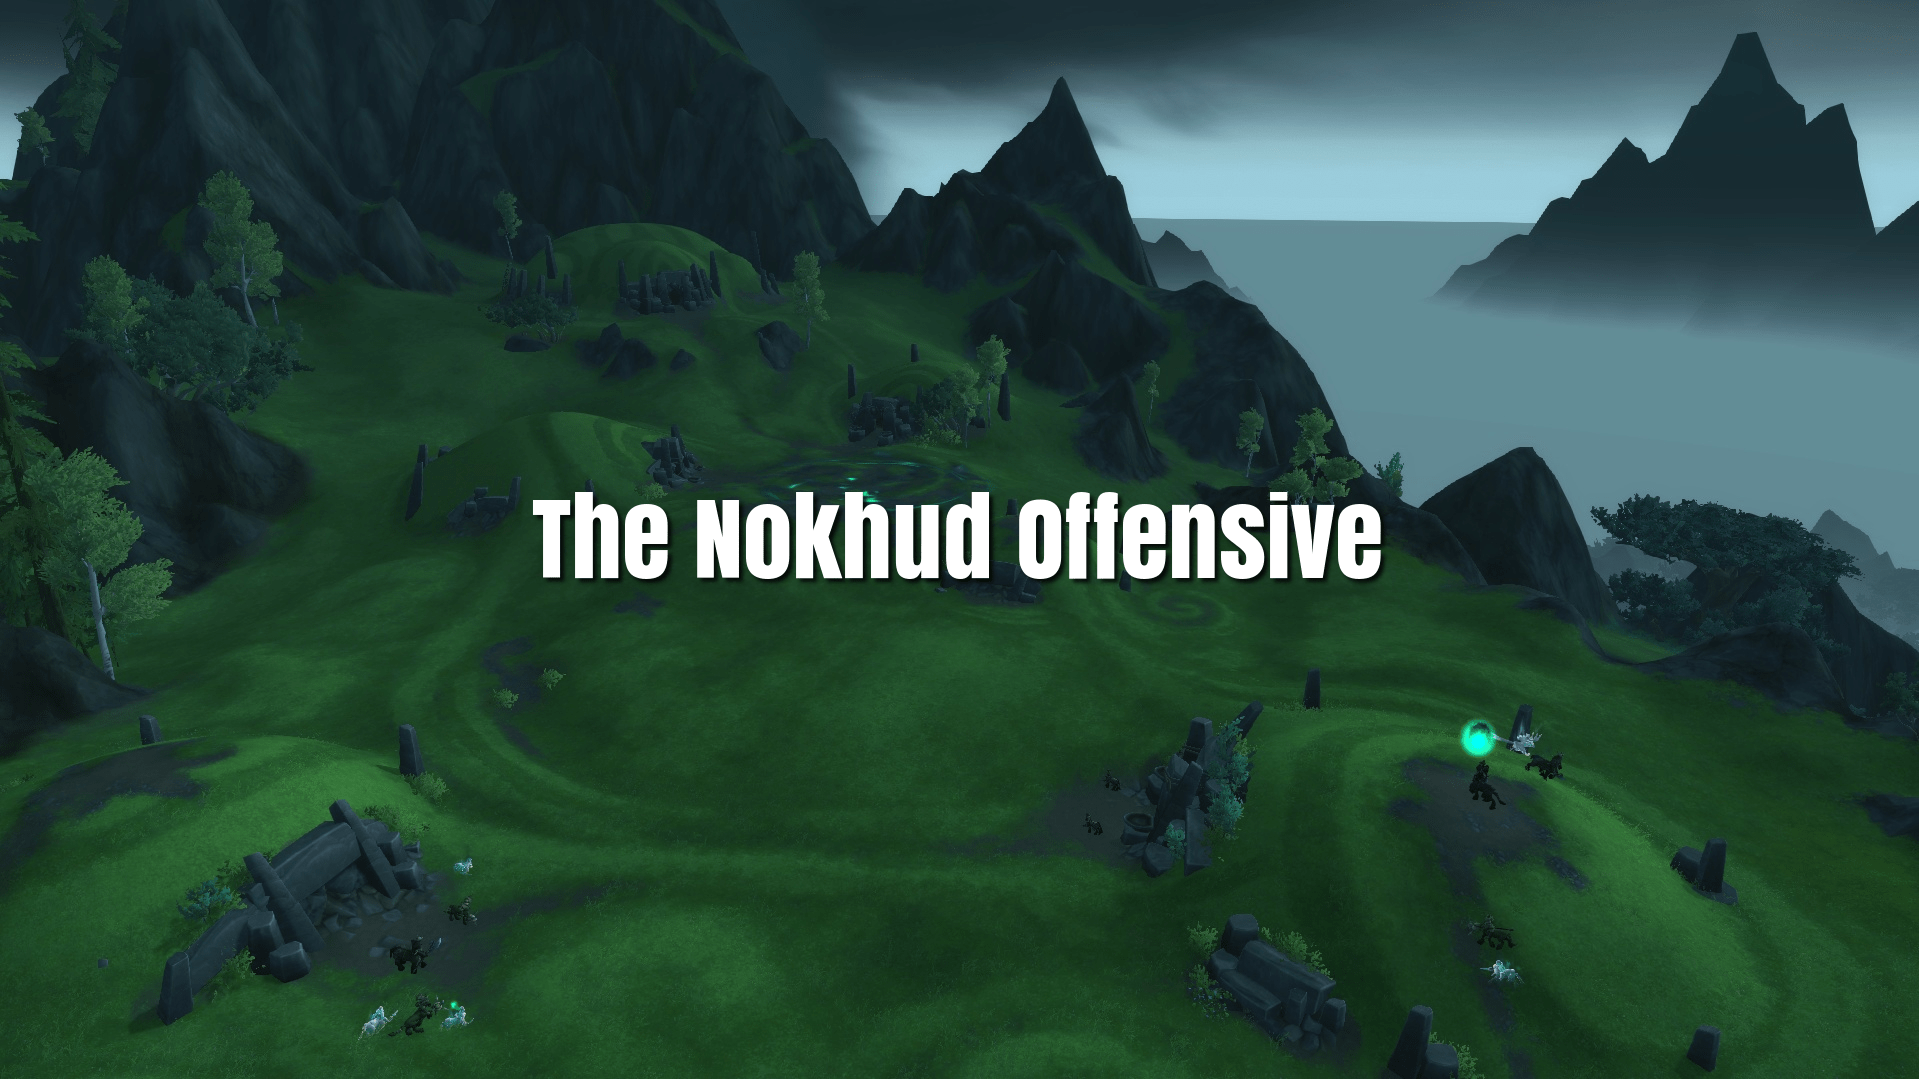
Granyth The Raging Tempest Teera and Maruuk Balakar Khan
Do you ready to return in long-forgotten Uldaman? New bosses, new titan secrets, and one of the Discs of Norgannon, which can help dragon Aspects bring their powers back. Fasten your seat belts now, we are going to the Eastern Kingdoms, Badlands, /way 41.10 10.33. Revamped Uldaman got its unique checkpoints. So after death and release, don’t hurry up to move forward because you can find Neglected Mole near your respawn point and use teleport depending on your dungeon progress. Uldaman: Legacy of Tyr
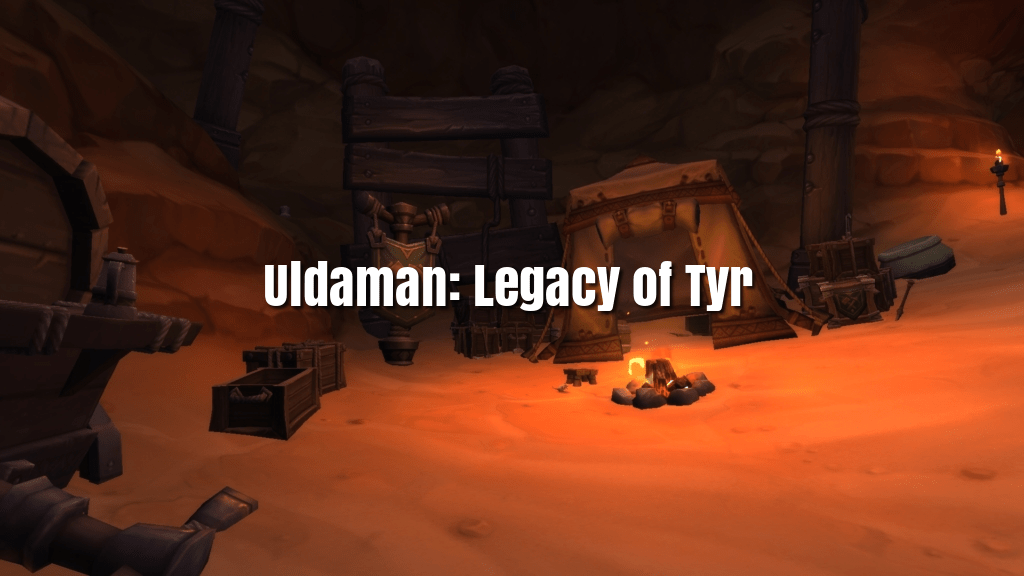
The Lost Dwarves Bromach Sentinel Talondras Emberon Chrono-Lord Deios
The Freehold dungeon, a notable feature in the Battle for Azeroth expansion, is situated in the southern region of the Tiragarde Sound zone on the continent of Kul Tiras. This dungeon is accessible to all players across various difficulty levels – Normal, Heroic, Mythic – and is included in the Mythic+ rotation for Season 2. To find Freehold, head to the coordinates /way 84.6 77.9 in Tiragarde Sound. Stage 2 tips: All Roles: DPS: Tank: Healer: DPS: Tank: Healer: All Roles: DPS: Tank: Healer:Freehold

Skycap’n Kragg Stage 1 tips: Captain Eudora & Raoul Rummy Mancomb: throws various brews, affecting players and bosses Trothak All Roles: Harlan Sweete Harlan Sweete gains buffs at 60% (Loaded Dice: All Hands!) and 30% health (Loaded Dice: Man-O-War)
Neltharion’s Lair makes its return as a Mythic+ dungeon in Dragonflight Season 2, situated in the southern region of Highmountain. Below will provide you with all the crucial details to successfully complete it, including key dungeon mechanics and strategies for all four boss battles. You can find Neltharion’s Lair within Highmountain at coordinates /way 49.6 68.5. Tank: Healer: DPS: Tank: Healer: DPS: Tank: Healer: DPS: Tank: DPS:Neltharions Lair
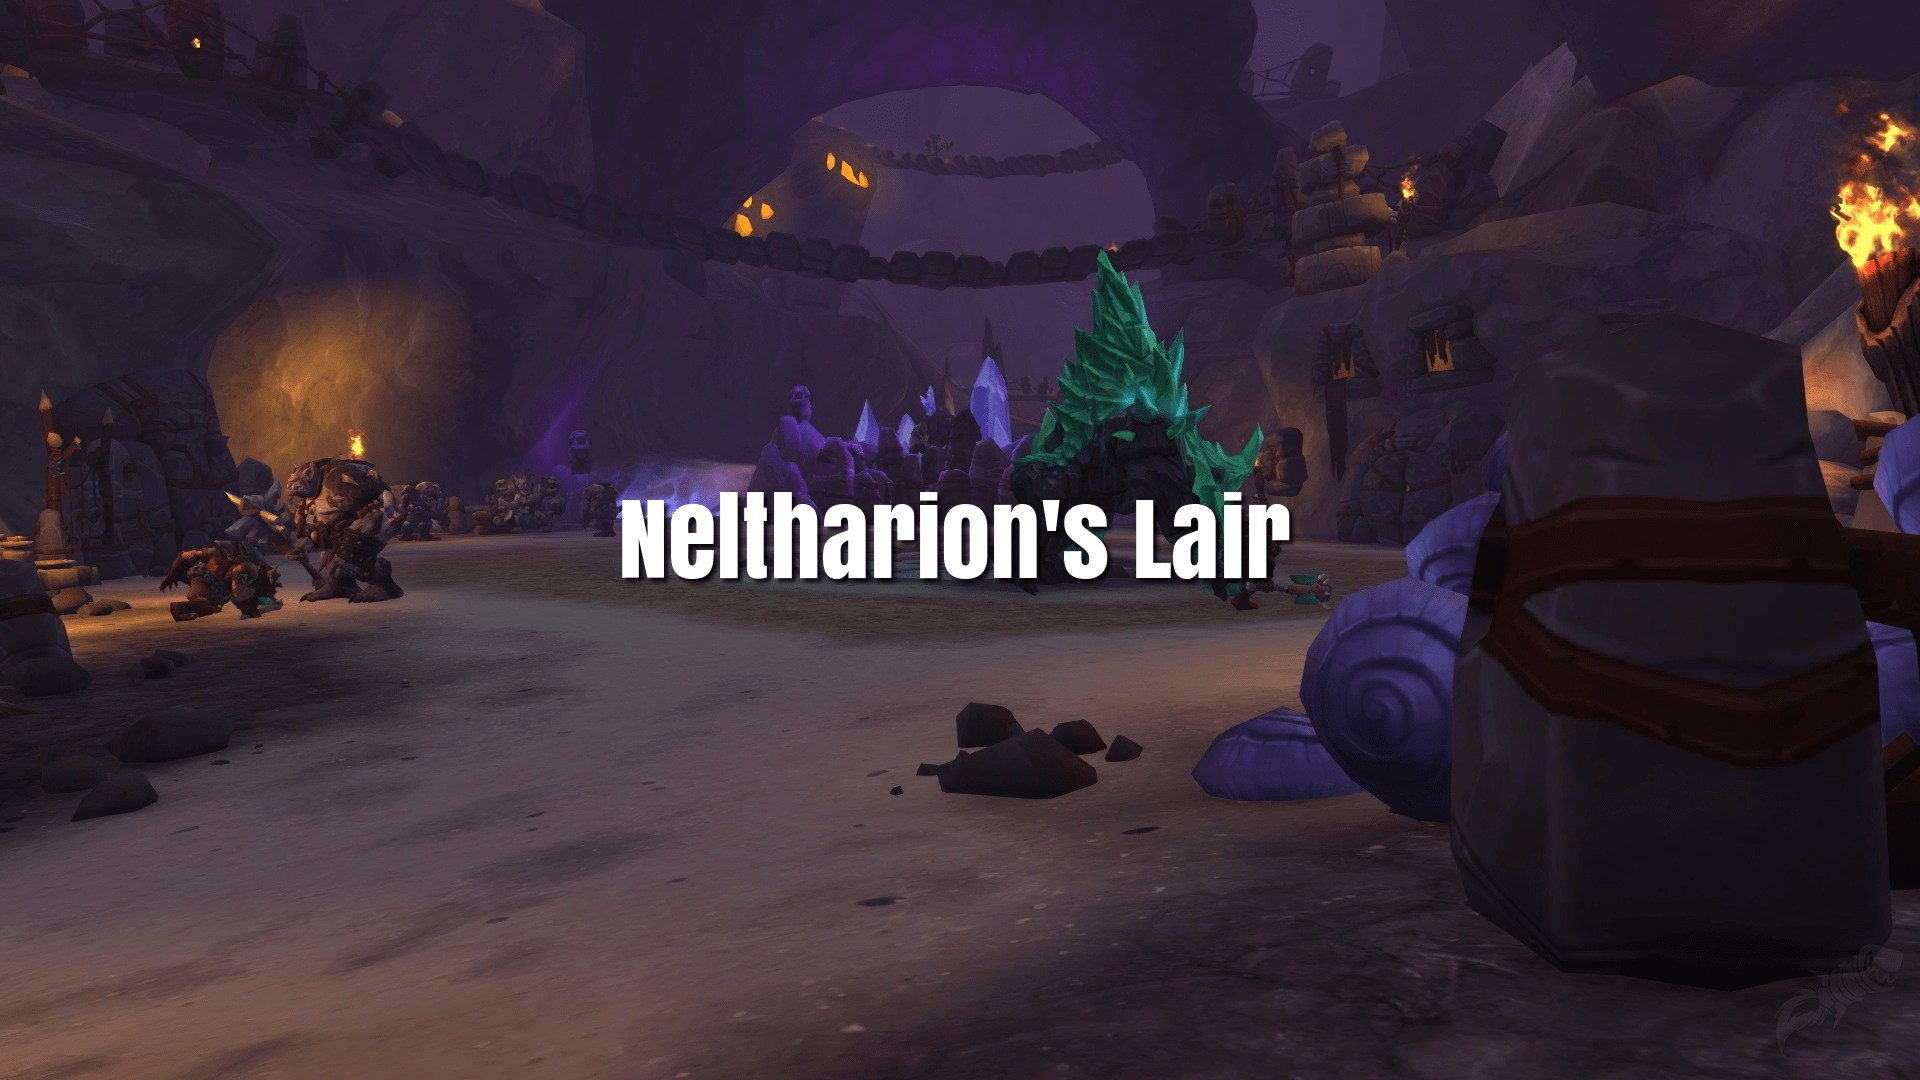
Rokmora All Roles: Ularogg All Roles: Naraxas All Roles: All Roles:
Underrot, a Battle for Azeroth instance, can be found in the heart of Nazmir region on Zandalar continent. Accessible to players in Normal, Heroic, Mythic, and Mythic+ modes, it’s part of the Mythic+ cycle during Season 2. Our in-depth guide to Underrot provides all the crucial details to successfully navigate this dungeon, covering essential boss battles. You can locate Underrot in Nazmir using the coordinates /way 51.9 65.8. Healer: Tank: Healer: Tank: Healer: DPS: Boss Mechanics:The Underrot

Elder Leaxa All Roles: Cragmaw All Roles: Sporecaller Zanzha All Roles: Unbound Abomination All Roles:
The Vortex Pinnacle, a Cataclysm-era dungeon, is nestled in the southern region of the Uldum zone on the continent of Kalimdor. Accessible to players on Normal, Heroic and Mythic modes. It also forms part of the Dragonflight Mythic+ Season 2 rotation. We will provide you with crucial insights for conquering this dungeon, such as vital dungeon mechanics and the four boss battles. You can find the Vortex Pinnacle within Uldum using the coordinates /way 76.6 84.3. DPS: Tank: Healer: DPS: Tank: Healer: DPS: Tank: Healer: The Vortex Pinnacle

Grand Vizier Ertan All Roles: Altairus All Roles: Asaad, Caliph of Zephyrs All Roles:
In summary, these concise Dragonflight Season 2 Mythic+ tips should serve as a quick reference to help you tackle each encounter. Keep practicing, refining your strategies, and remember that teamwork is key to conquering these challenging foes. Good luck and may your adventures be filled with epic victories!
Mythic+ Score System
The Mythic+ Rating system has brought a new level of excitement and competitiveness to the Mythic+ dungeon scene. Players now have a tangible measure of their skill and progress, motivating them to push their limits and strive for better performances.
- The rating is based on the keystone level completed with a linear increase in score.
- Completion time of the dungeon influences the rating.
- Score is accumulated for the highest key completed during both Tyrannical and Fortified weeks.
- The higher key contributes 100% of the score, while the lower key only contributes 33%.
- In LFG, your overall Mythic+ Rating, highest keystone, and Dungeon Mythic+ Rating are displayed to group leaders or applicants.
- Blizzard’s Mythic+ Rating is specific to each character and not account-wide.
The rating system provides a comprehensive evaluation of a player’s abilities, encouraging them to strategize, optimize their gear, and cooperate with teammates to achieve higher ratings. This addition has fostered a thriving community of Mythic+ enthusiasts who are constantly honing their skills and engaging in friendly competition to climb the rating ladder.
So, we’ll hope this guide will help you enjoy Dragonflight dungeons. Don’t forget to rate this article and stay tuned because we will update our Dragonflight Dungeons guide regularly. Also check out our Keystone Hero Boosting Service!