In Season of Arrivals, Prophecy Dungeon was introduced in Destiny 2 Shadowkeep. In this guide we want to tell you how to unlock Prophecy dungeon in Destiny 2, where is Prophecy dungeon in Destiny 2, and all about Prophecy dungeon rewards. Make yourself comfortable, and let’s get started, Guardian.
 4.9
4.9Prophecy Dungeon Loot Table

Prophecy Dungeon is referred to the Trials of Nine from Vanila Destiny 2. All Prophecy Dungeon loot is Nine themed. As notable drops we can mention awesome themed-looking Trials of Nine armor sets. We highly recommend getting them for your collection.
Prophecy Weapon List
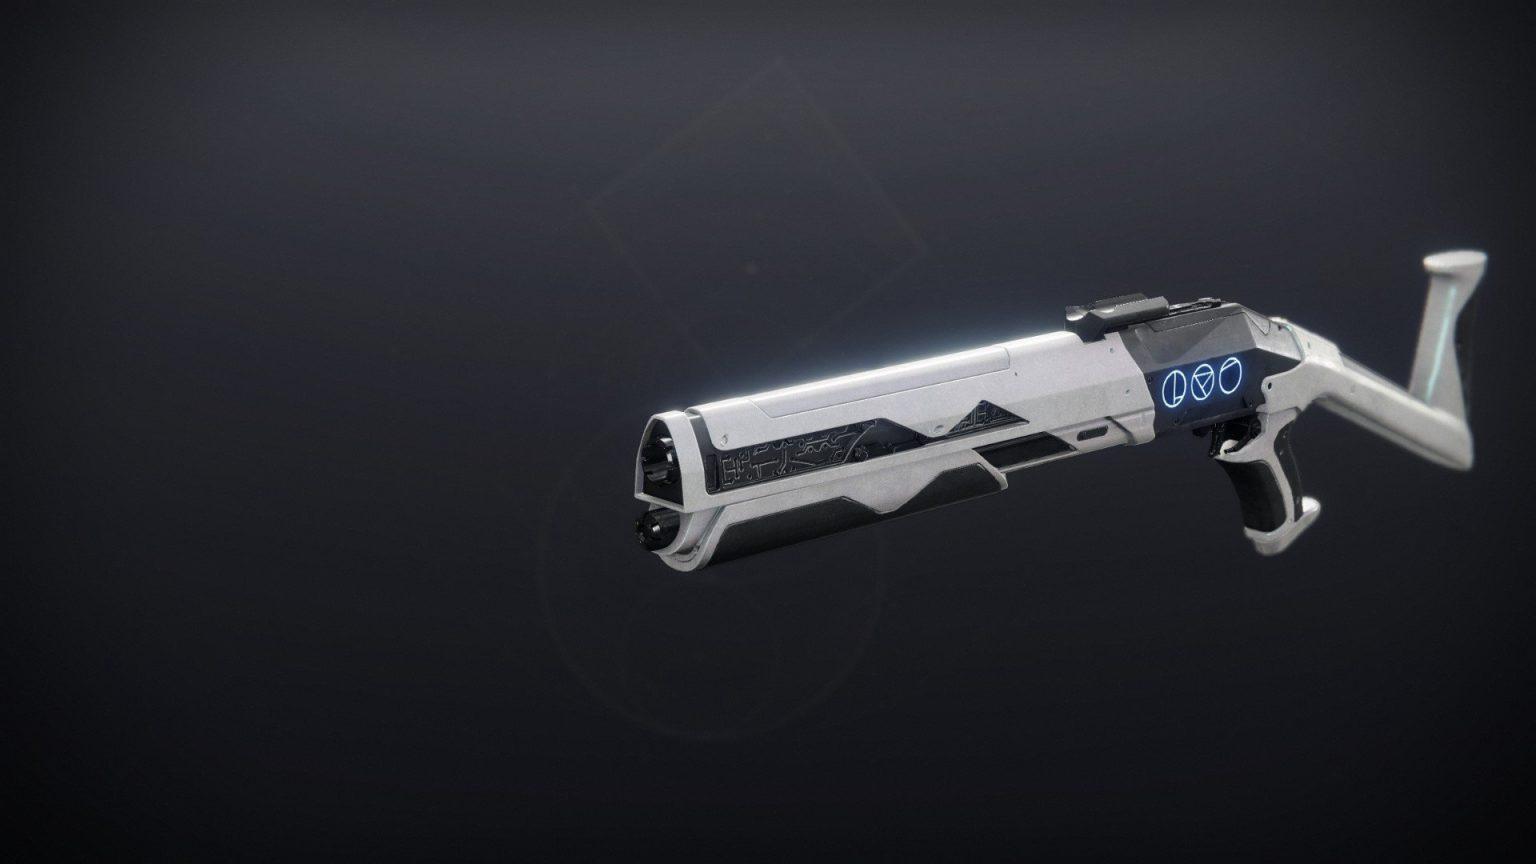
A Sudden Death
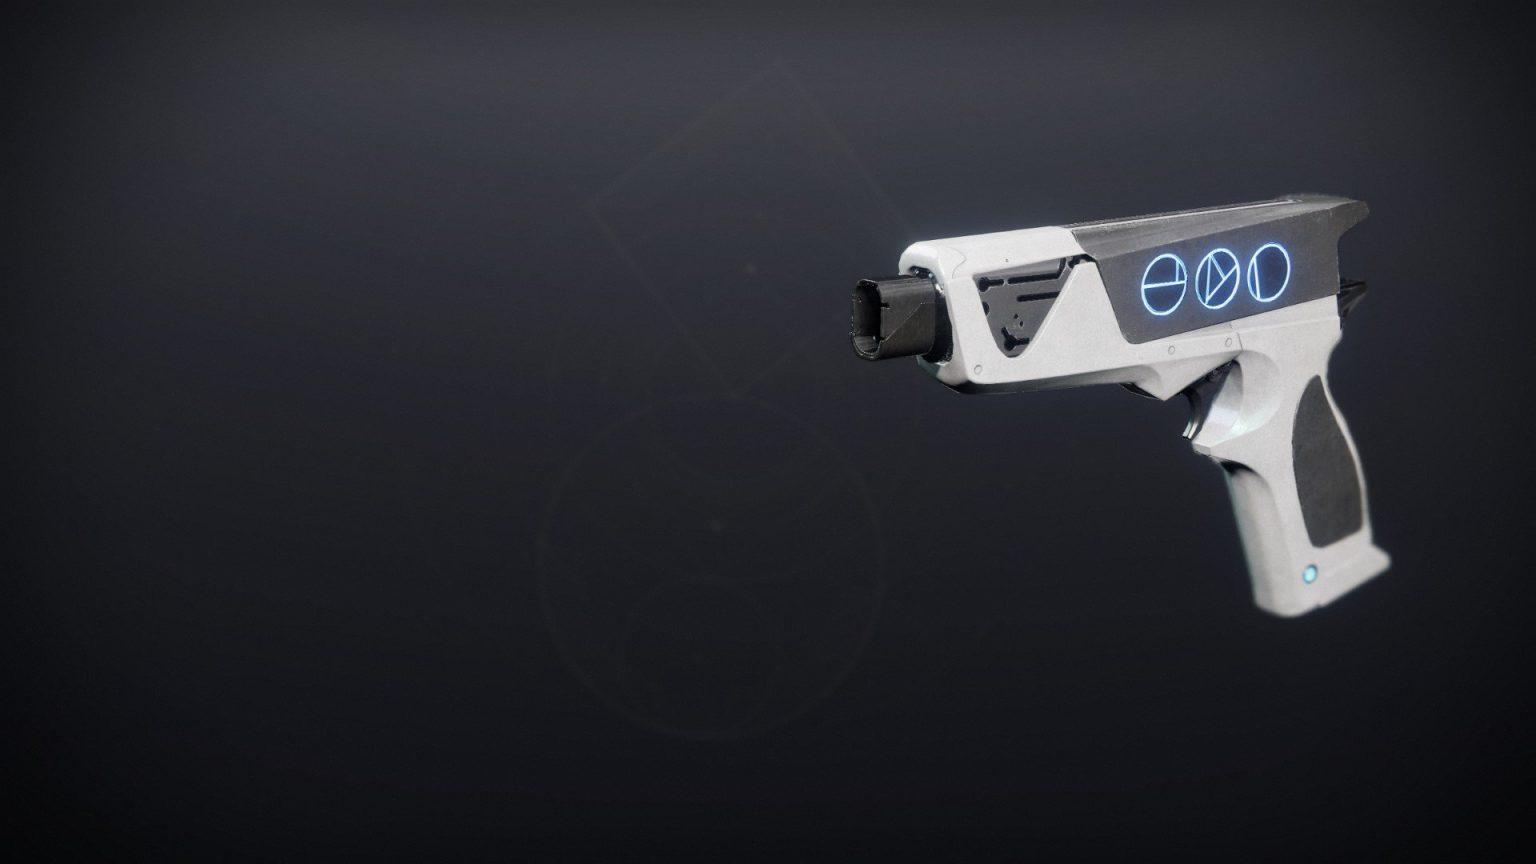
A Swift Verdict
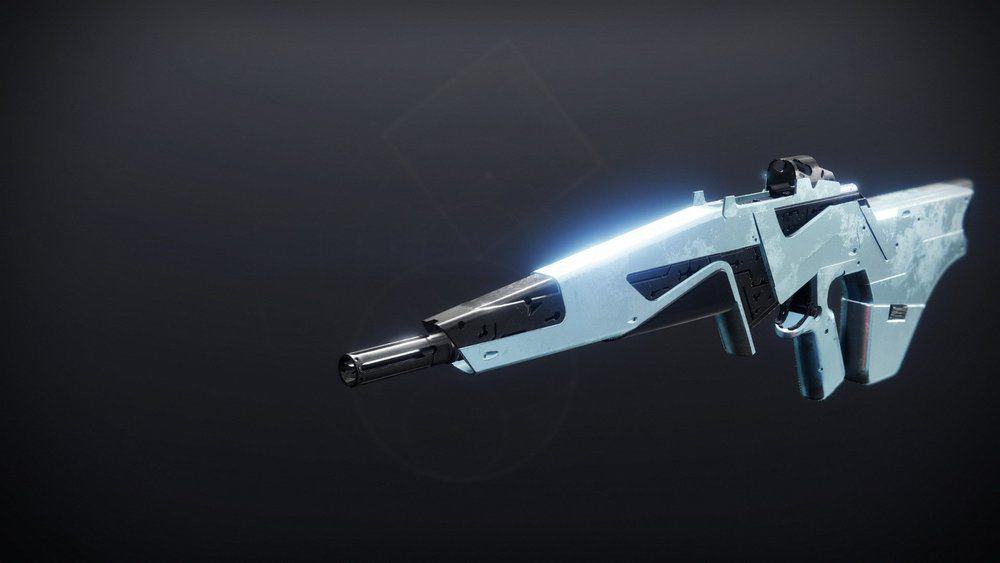
Darkest Before

Judgment
The Last Breath

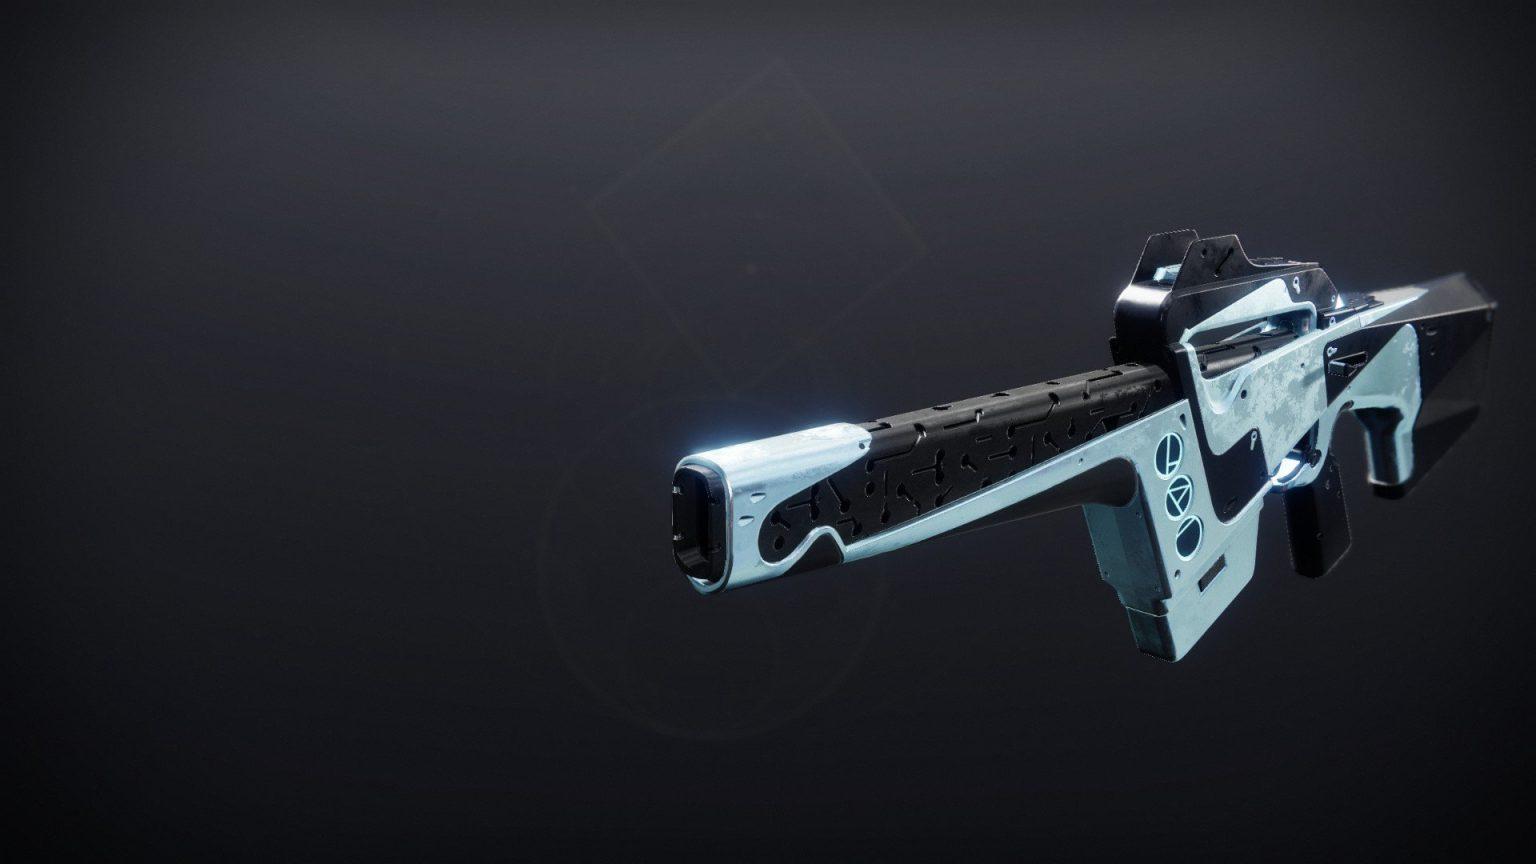
The Long Walk
| Weapon | Type | Ammo | Element | |
|---|---|---|---|---|
 | A Sudden Death | Shotgun | ||
 | A Swift Verdict | Sidearm | ||
 | Darkest Before | Pulse Rifle | ||
 | Judgment | Hand Cannon | ||
 | The Last Breath | Auto Rifle | ||
 | The Long Walk | Sniper Rifle |
In this Prophecy Weapon loot table are weapons we can mention:
- A Sudden Death — mostly for PvP arc Shotgun, look for Surplus and Snapshot Sights perks.
- A Swift Verdict — void Sidearm, Surplus and Rangefinder for PvP.
- Darkest Before — mostly for PvP arc Pulse Rifle, look for Surplus and Elemental Capacitor perks.
- Judgment — mostly for PvP kinetic Hand Cannot, look for Moving Target and Opening Shot perks.
- The Last Breath — kinetic Auto Rifle, Demolitionist and Adrenaline Junkie for PvE.
- The Long Walk — mostly for PvP solar Sniper Rifle, look for Slideshot and Snapshot Sights perks.
Important note: these perks are only recommended based on Light.gg data. If you like any other perks, feel free to use them.
Prophecy Armor List

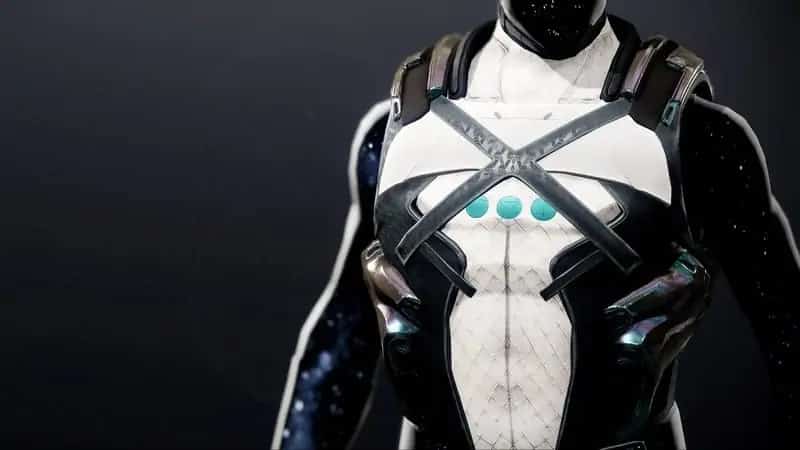
As you can see from the entire Prophecy loot table, Prophecy Dungeon armor drops from different bosses of the dungeon, unlike other dungeons. If you want to farm Moonfang-X7 set you have to complete the entire dungeon. But if you lack a cool Moonfang-X7 Class Item, you can farm Phalanx Echo. And you can always use our Moonfang-X7 Armor set service, if you don’t want to waste your time.
- Helm: Moonfang-X7 Helm
- Arms: Moonfang-X7 Gauntlets
- Legs: Moonfang-X7 Greaves
- Chest: Moonfang-X7 Chassis
- Class Item: Moonfang-X7 Mark
You can also get the second armor set for completing any encounter of Prophecy Dungeon:
- Helm: Crushing Helm
- Arms: Crushing Guard
- Legs: Crushing Greaves
- Chest: Crushing Plate
- Class item: Mark Judgment
How to unlock Prophecy Dungeon in Destiny 2
Prophecy Dungeon has no special requirements to unlock. So how to start Prophecy Dungeon? Head to the Legends in Destinations tab.
This dungeon has no special power level requirements.
How to prepare for Prophecy dungeon
First of all, best Prophecy loadouts — decent burst damage to one-phase Phalanx Echo and one-phase Kell Echo. Here you might need several items from the list to maximize your damage output:
- Divinity — can be useful on Phalanx Echo.
- Tractor Cannon — combine with Galvanic Spear, Needlestorm, Thunderclash, Chaos Reach, instead of Void weakness debuff.
- Xenophage — massive damage to quickly deal with the Knight Echoes.
- Witherhoard — pair it with god-roll Legendaries to clear the hordes of enemies.
- Falling Guillotine — if you have it from the Season of Arrivals season pass, can be a pretty good alternative to deal a high amount of damage.
- The Lament — also a good choice to deal boss damage during first encounter
We will provide additional explanations and recommendations as we go through each encounter.
Prophecy Dungeon Walkthrough
According to lore, in Prophecy Dungeon players seek for the Nine to get knowledge about the Darkness threat. How to do the Prophecy Dungeon?
One of the core mechanics is mote mechanics — when you kill Knight Echoes it can drop 2 types of motes, Dark Mote and Light Mote. Type of Motes depends on where you stand when you kill the Knight Echo. If you are standing in light, literally visually in a light place, it’ll drop a Motes of Light. Otherwise, it’ll drop Dark Mote. Current location of Knight Echo doesn’t matter.
When you collect 5 mote of the same type you get the charge. For example, if you get Light Mote Max Charge by collecting 5 Light Motes, you can clear the smoky plate of the same glow. To do it, hop on the plate and “fire” it into the plate. If you collect Light Mote which differs from previous Motes, it’ll change to the Dark and reset the progress. Mote Buff longs has its 30-second timer and refreshes when you collect the correct mote.
Prophecy Dungeon starts from the hallway where all above mechanics will be introduced to you. Kill the Knight Echo, collect the 5 motes, cleanse correct plates, proceed forward through the hallway. When you reach the end, climb up to reach the boss arena.
Phalanx Echo
First boss encounter is much like you did before. You’ll need to clear four smoke plates. Manage team to collect Light and Dark Charges. It’ll be easier to collect wrong charges if the player will collect only one type of the Charges. Use arena structures as cover during the fight. The boss has an immunity shield. After you cleanse four plates Phalanx Echo becomes vulnerable. Use all your damage amplifiers to maximize the amounts of damage during the damage phase. Well of Radiance is almost a must have here. When Phalanx Echo becomes immune, you’ll need to cleanse four smoke plates again. Repeat until it’s done. One-phase Phalanx Echo is pretty doable for a team of three Guardians. Choosing the correct heavy weapon with a high DPS is a key to do this.
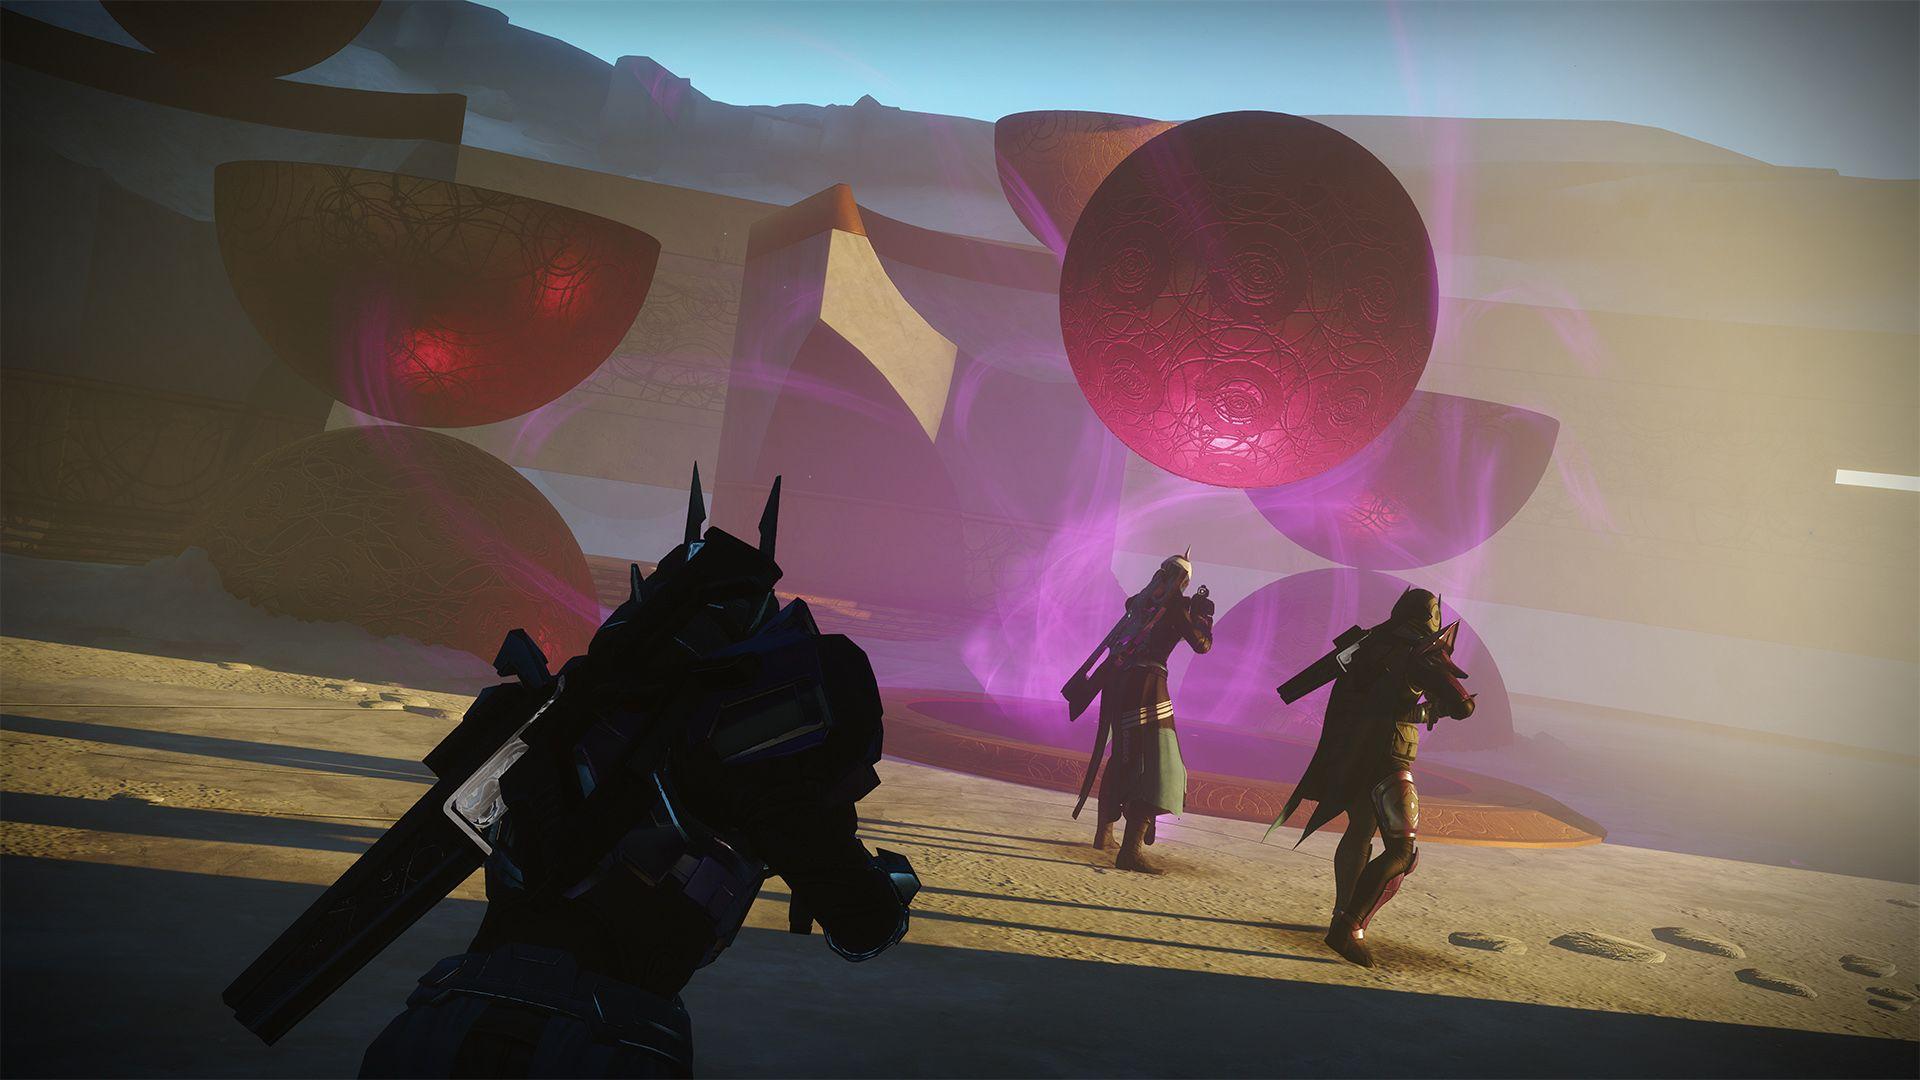
The Wasteland
After the boss is done, stand on a sandy plate to proceed next. The Wasteland is a desolate area where you need to hunt down Taken and clear the blight to get to the next encounter. Use your sparrow to find the blights. If you get lost try to look for Toland, he’ll help you to find your way forward. When you’re done with these sets of blights, find a big stone building with a narrow gap full of pink light to get to the next encounter.
The Cube
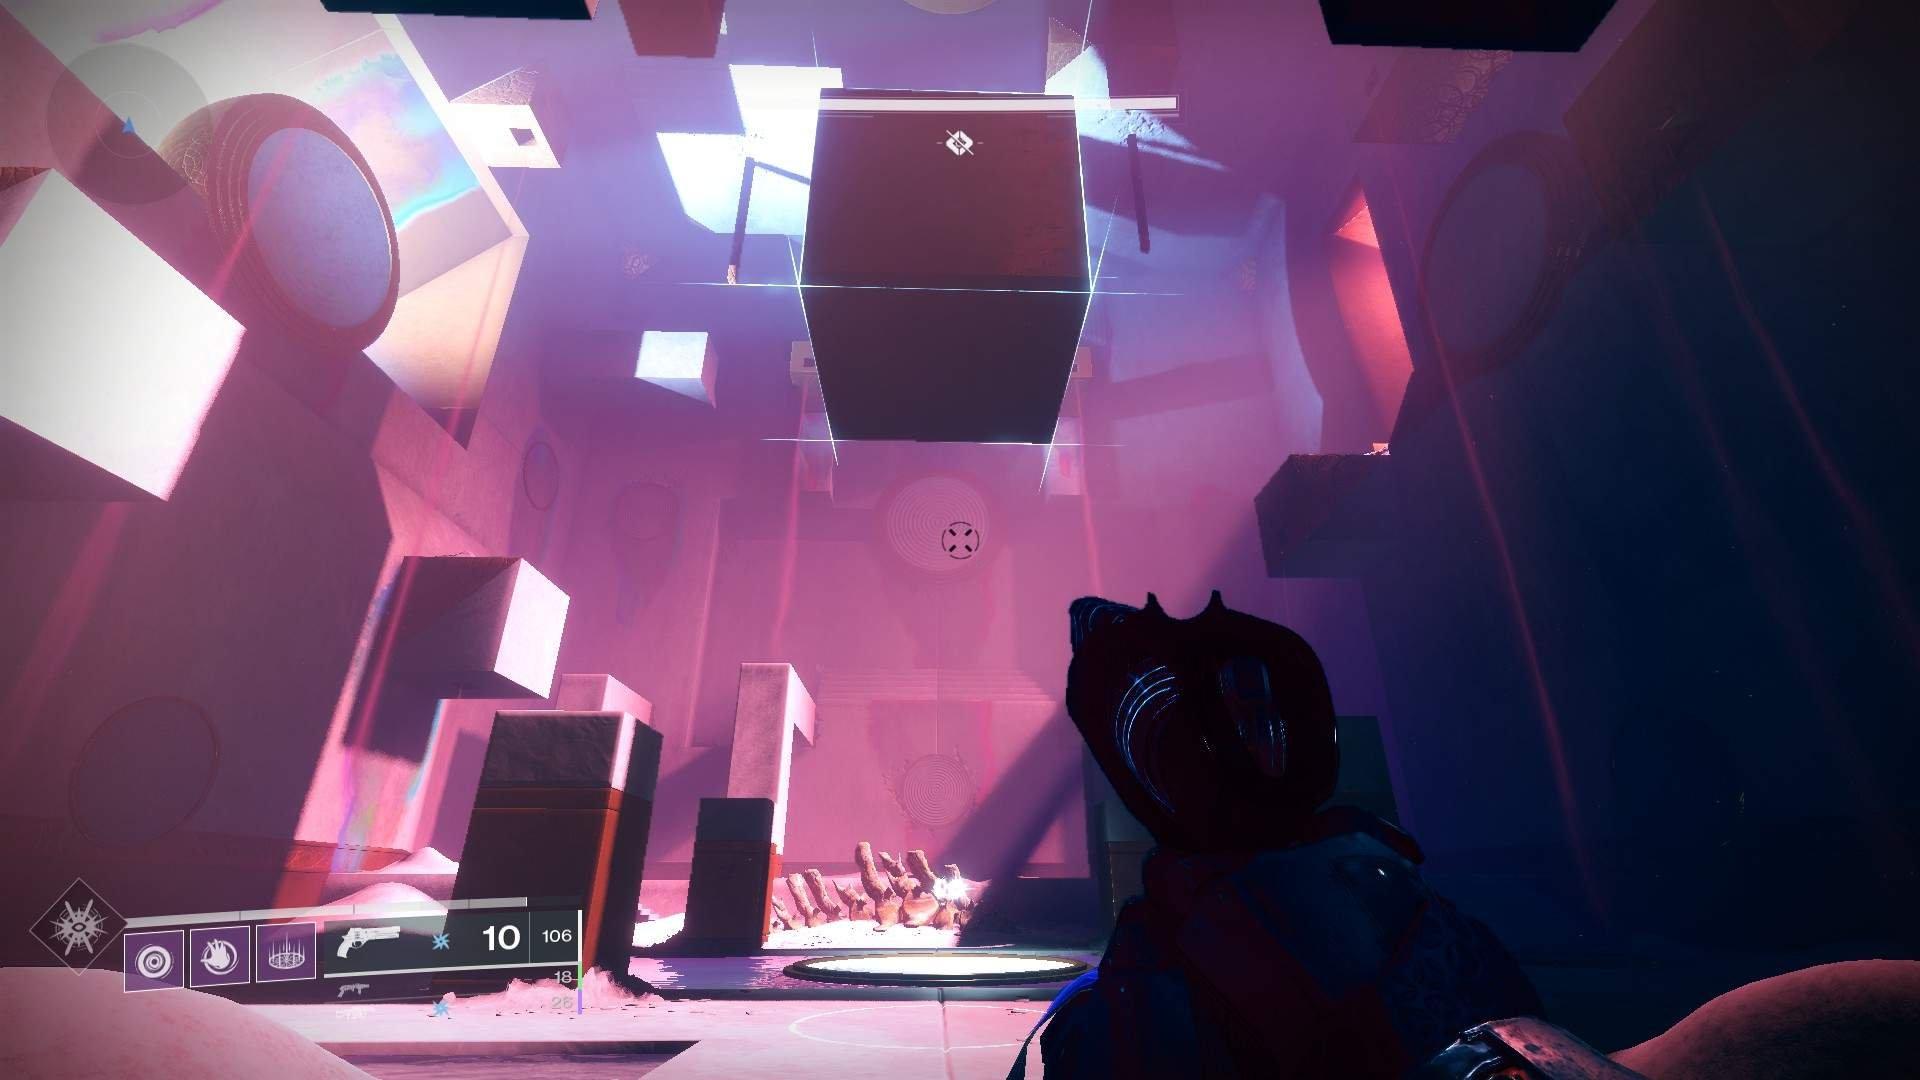
Second encounter area, also called Hexahedron, is a square room with a large amount of plates. To complete The Cube, you’ll need to clear the correct platforms. There are 6 platforms on the walls of the room. Every one refers to a side of the Cube floating mid-air. Toland will be near the correct plate to clear. For example, if Toland is near the “Ceiling” platform, you’ll need to cleanse the platform which is associated with the side that is not lightened. There will be six platforms at all to clear. If you clear the wrong platform, it’ll not reset the progress, continue how it should be. In the end two Centurion Echos bosses appear. Kill them and proceed forward.
Important note: when you kill hobgoblins, Knight Echo will spawn. If you lack motes, use it to generate more motes.
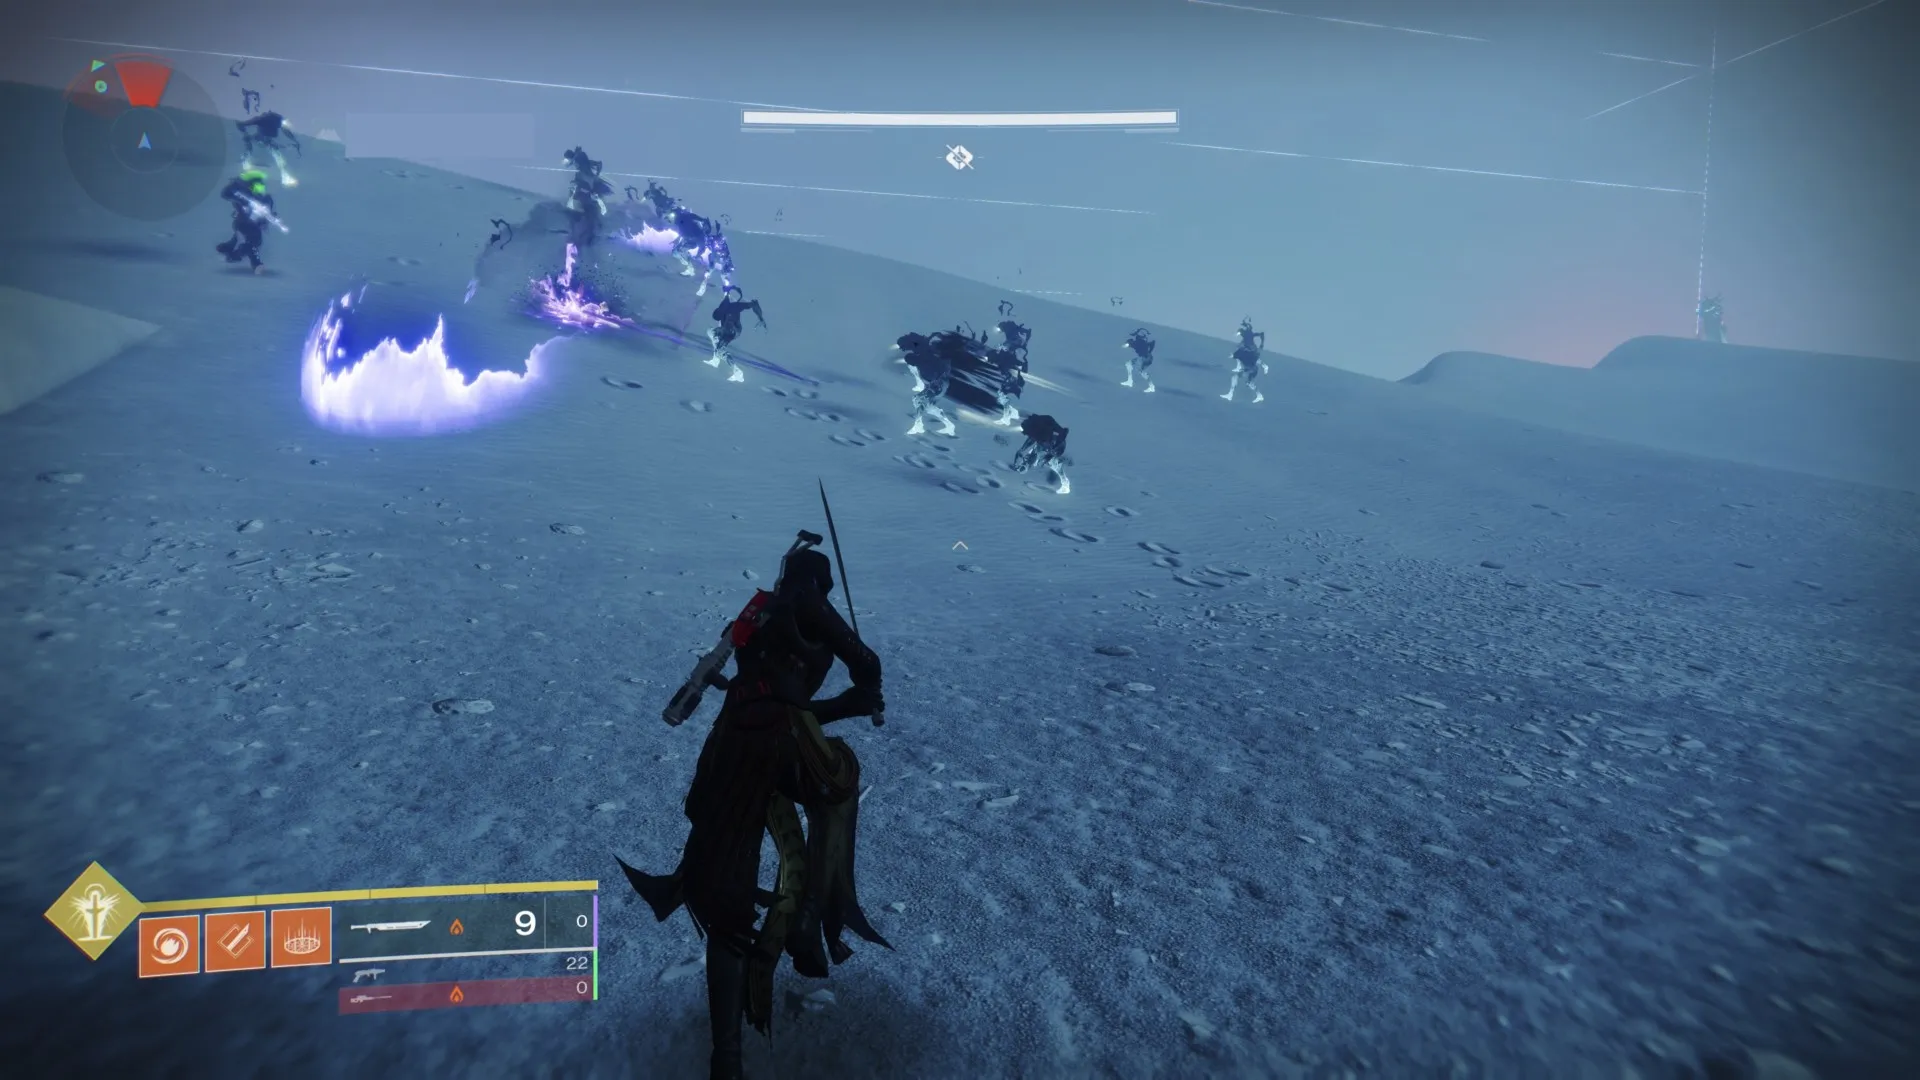
The Wasteland and Deadsea

Find an opening in the wall to get back to the Wasteland. Follow the Kell Echo. Use your sparrow to speed up the process.
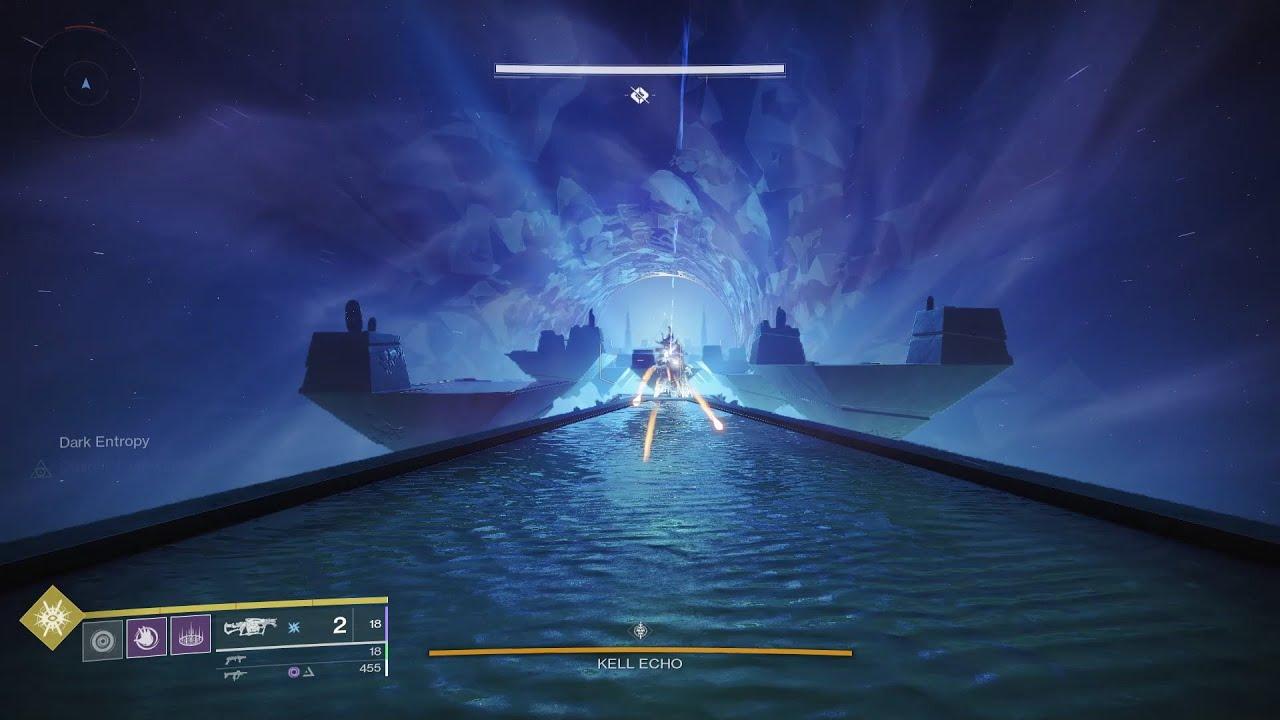
Advance to Singularity; the area consists of ribbon-like roads and diamond-like platforms. Your way here will be pretty straight forward. You can run on foot or use the sparrow. Be careful using a sparrow, it’ll be easy to fall using a sparrow, but significantly faster. The big diamond structure is your final destination point. Stand on a platform against it to fly there.
Kell Echo
Kell Echo boss encounter consists of 2 parts: “Cleansing” phase and Damage phase. In the Cleansing phase you need to cleanse three platforms. During this phase Kell Echo will try to kill you shooting from the corners. Also, adds have their own 60-second respawn timer, keep that in mind.
Boss fight starts from Toland. From the start three Kell Echo bosses will spawn. Look around and find out what platform and which types of motes it should be cleansed. Clear the side platform first to make yourself a safe spot area. Eliminate two Knight Echoes for the correct mote.
After you cleanse a platform, Ogre will spawn. Kill it as fast as you can. When Ogre mini-boss is dead, one Kell Echo boss disappears. Here you have two choices: clear center plate or side plate. Clearing the side platform gives you the opportunity to clear adds faster cause of crossfire. Clearing the middle platform makes your life easier because you can use terrain effectively against the last Kell Echo boss. Choose for yourselves what is better for your team. After you cleanse the last platform, make an ammo run around the room and group up in the middle platform to get to the damage phase.
On the DPS phase you advance to the long hallway with lots of long stretched platforms. Kell Echo will have an aura around him where you need to stand to avoid getting Dark Entropy stacks. If you get 10 stacks of Dark Entropy, you will die. Also, Kell Echo can teleport you back to the start with his attack. It travels through the covers, keep that in mind. Chase Kell Echo and try to damage him on your way forward. Also, you’ll face continuously spawning Hobgoblins. Avoiding the Kell Echo attacks and hobgoblins snipers at the same time can be difficult.
That’s why dealing with hobgoblins lowers your DPS but increases your survivability. If you’re already feeling overwhelmed, take advantage of our Prophecy Dungeon Coaching. At the end you’ll have 20 seconds to finish off the Kell Echo. If he doesn’t run out of health, you will be teleported back and repeat the entire process.
How to one phase Kell Echo
To make your life easier during this encounter, you should use at least one Warlock with Well of Radiance. Better to use it from the start, because Kell Echo stands in one place for a decent amount of time.
Next one — choose the correct power weapon to damage the boss. Damaging with swords may be a bit difficult because Kell Echo will stomp you and throw you away. Here you can use Leviathan’s Breath with a catalyst, Izanagi’s Burden with a catalyst, Whisper of the Worm, and other long range weapons with high DPS.
For one-phase Kell Echo we highly recommend to use Tractor Cannon paired with crafted fusion rifle to maximize the damage output from the “debuffer” Guardian. Shadowshot can be a good replacement for Tractor Cannon damage buffs, but Galvanic Spear with Star-Eater Scales works better in terms of overall DPS. You may use this setup on a player with Tractor Cannon.
Also, you can use crafted rocket launchers with Gjallarhorn. Usage of grenade launchers takes place as well. But if it’s your first run for a long time don’t rush, try to follow the initial tactic and finish this run as it should be.
After you defeat Kell Echo, proceed forward where Emissary of Nine awaits you with your deserved loot. And to achieve an insanely difficult Triumphs get our Destiny 2 Prophecy Solo Flawless.
Prophecy Dungeon Secret Chests Locations
There are two secret chests in the Prophecy Dungeon. They are easy to get so try not to skip them during your run.
Prophecy 1st Secret Chest Location
This chest location is right after the first encounter. The best timing to get it if any weapon dropped before. Look around and try to find giant rocky structures. Head right there. Find a small opening and get there. Follow the way to obtain your loot.
Prophecy 2nd Secret Chest Location
You can find a second chest right before the last encounter. On the “ribbon” road, when you enter in a purple light environment, you can see a big triangle structure. Get there and turn right. Find a spot in the ground where you can see the path underground. Head there and loot your chest.
4.9Our small journey through the dungeon comes to an end. We tried to tell you all about this dungeon in our Prophecy guide. Though most experienced players thought that this dungeon needed to be reworked, you should at least complete this Prophecy dungeon once. Our team hopes this guide will help you on your way through this dungeon.
