Welcome, Guardian! Our team is glad to present our Last Wish Raid guide — the most iconic raid of Destiny 2. How to complete Last Wish? What do I get for completing Last Wish? How to access Last Wish Raid? Answers to these questions and many others can be found in this guide. Let’s get started!
 4.9
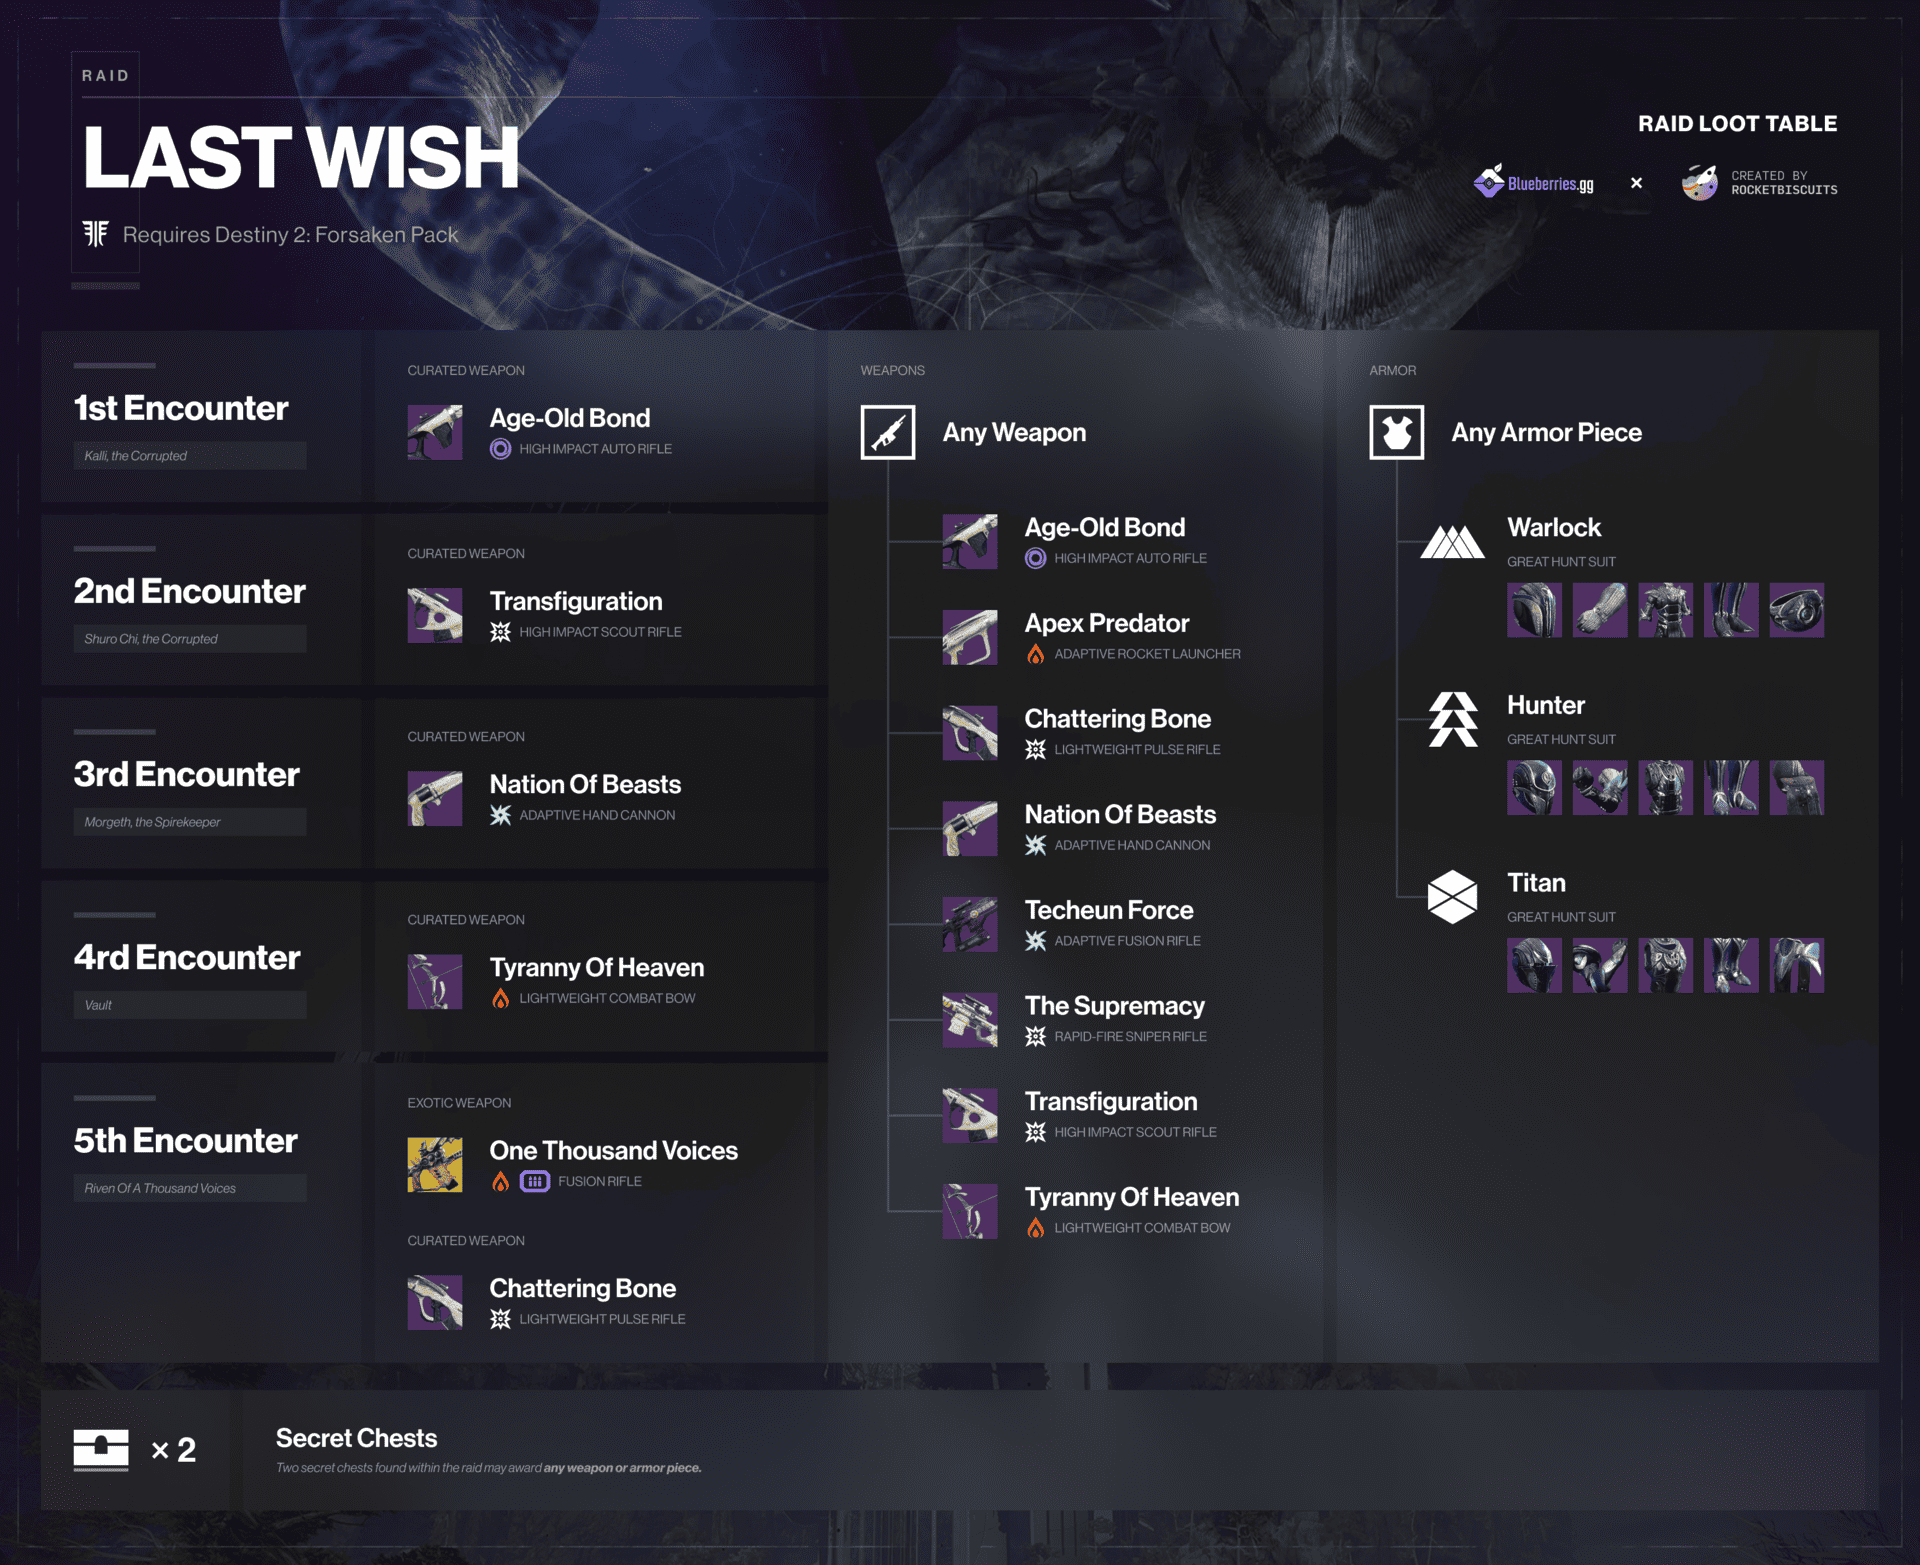
4.9Last Wish Loot Table
From Destiny 2 Season 21, Season of the Deep, weapons from Last Wish raid can be shaped, and their original trait was updated.
Don’t forget to take pursuit from Hawthorne, which will grant you an additional shaped weapon from Last Wish. Also, you should know that completing challenges will award you bonus loot.
Last Wish Weapon Loot Table

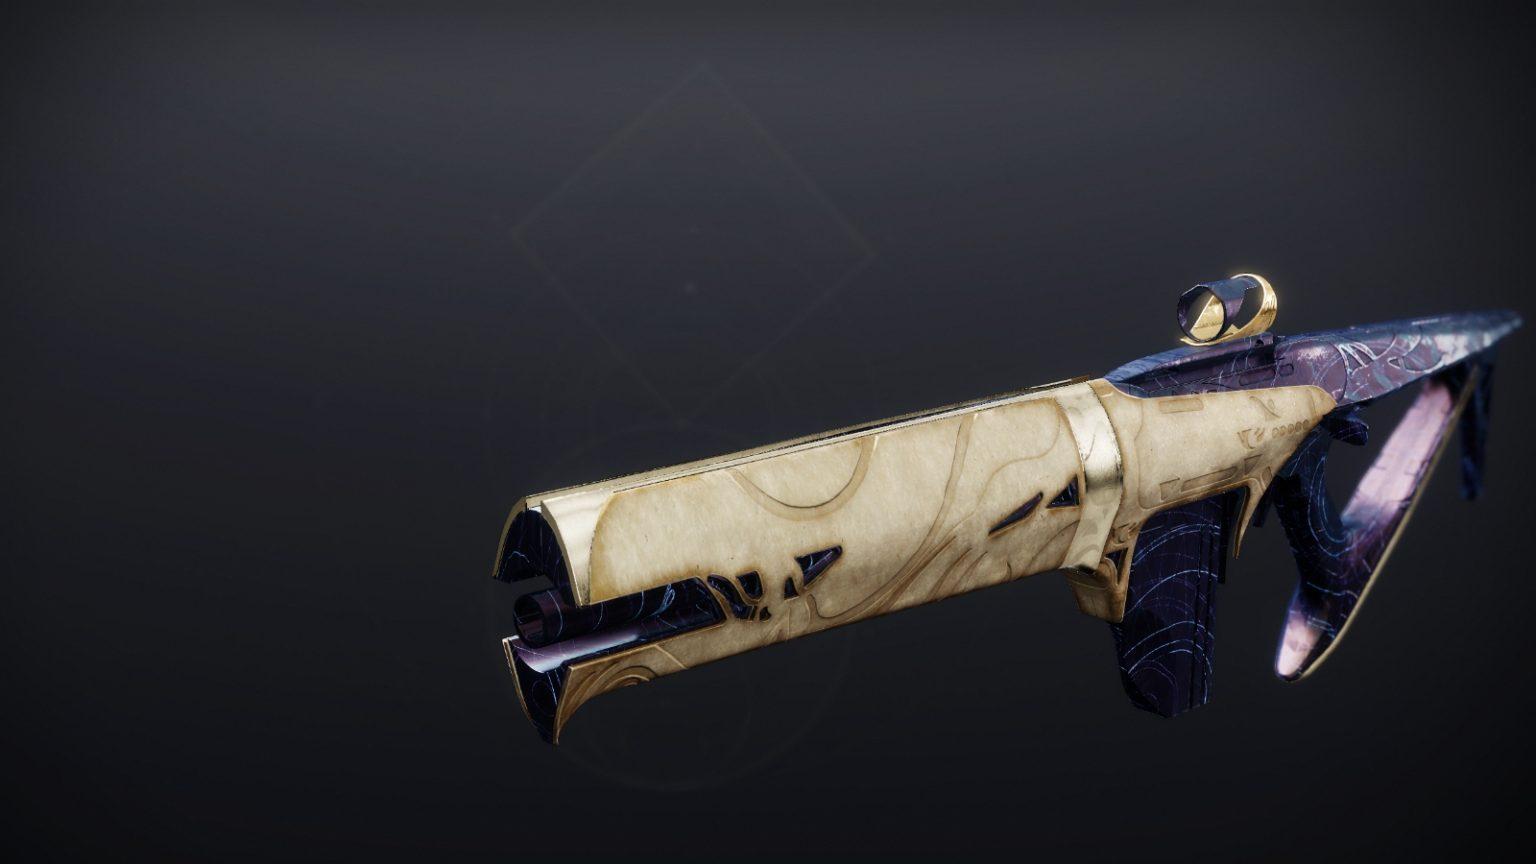
One Thousand Voices
Age-Old Bond
Apex Predator

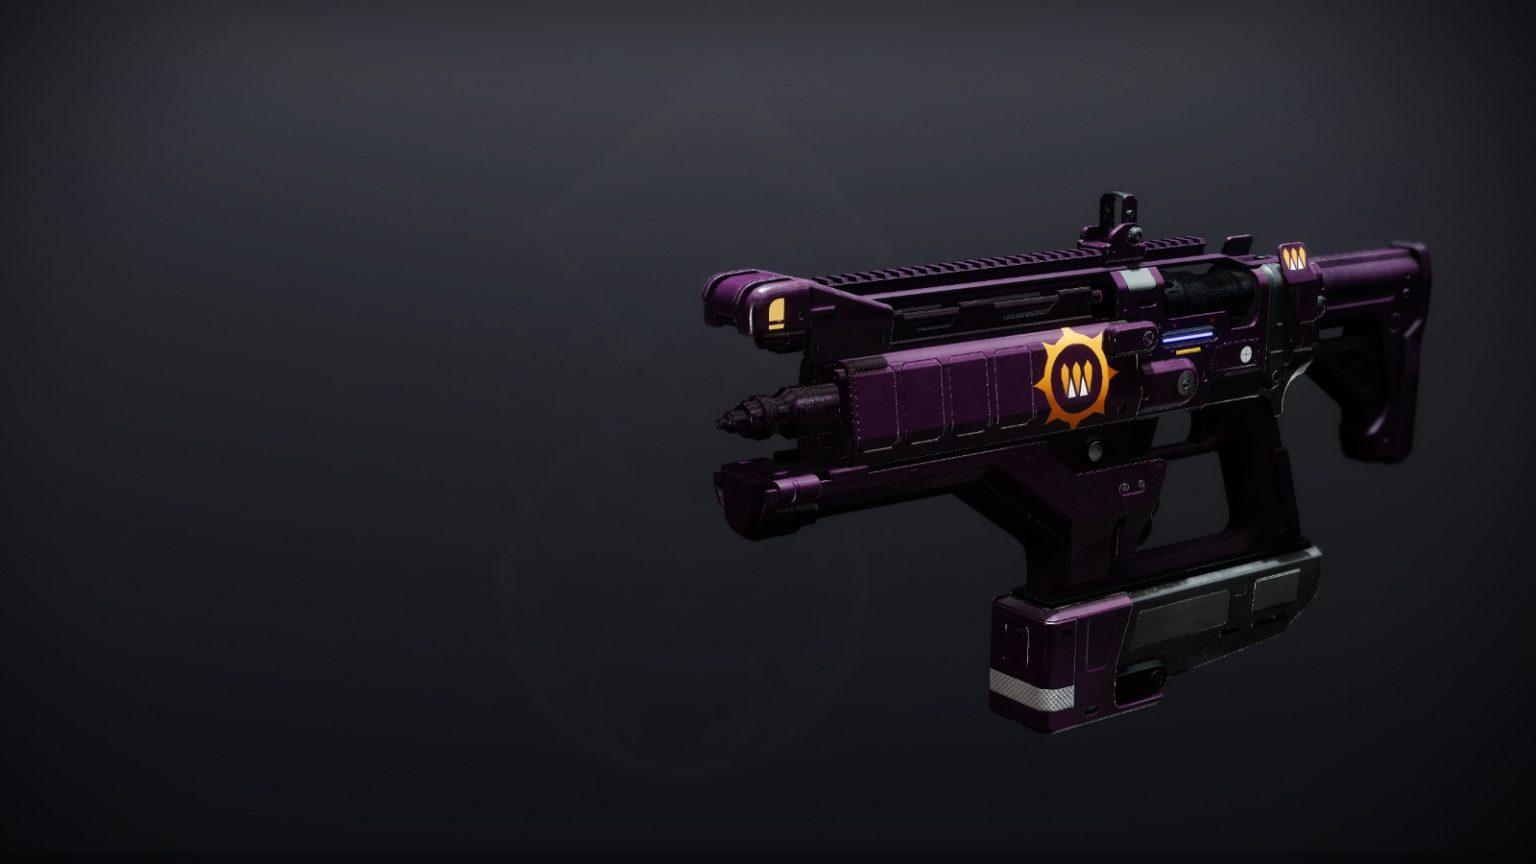
Chattering Bone
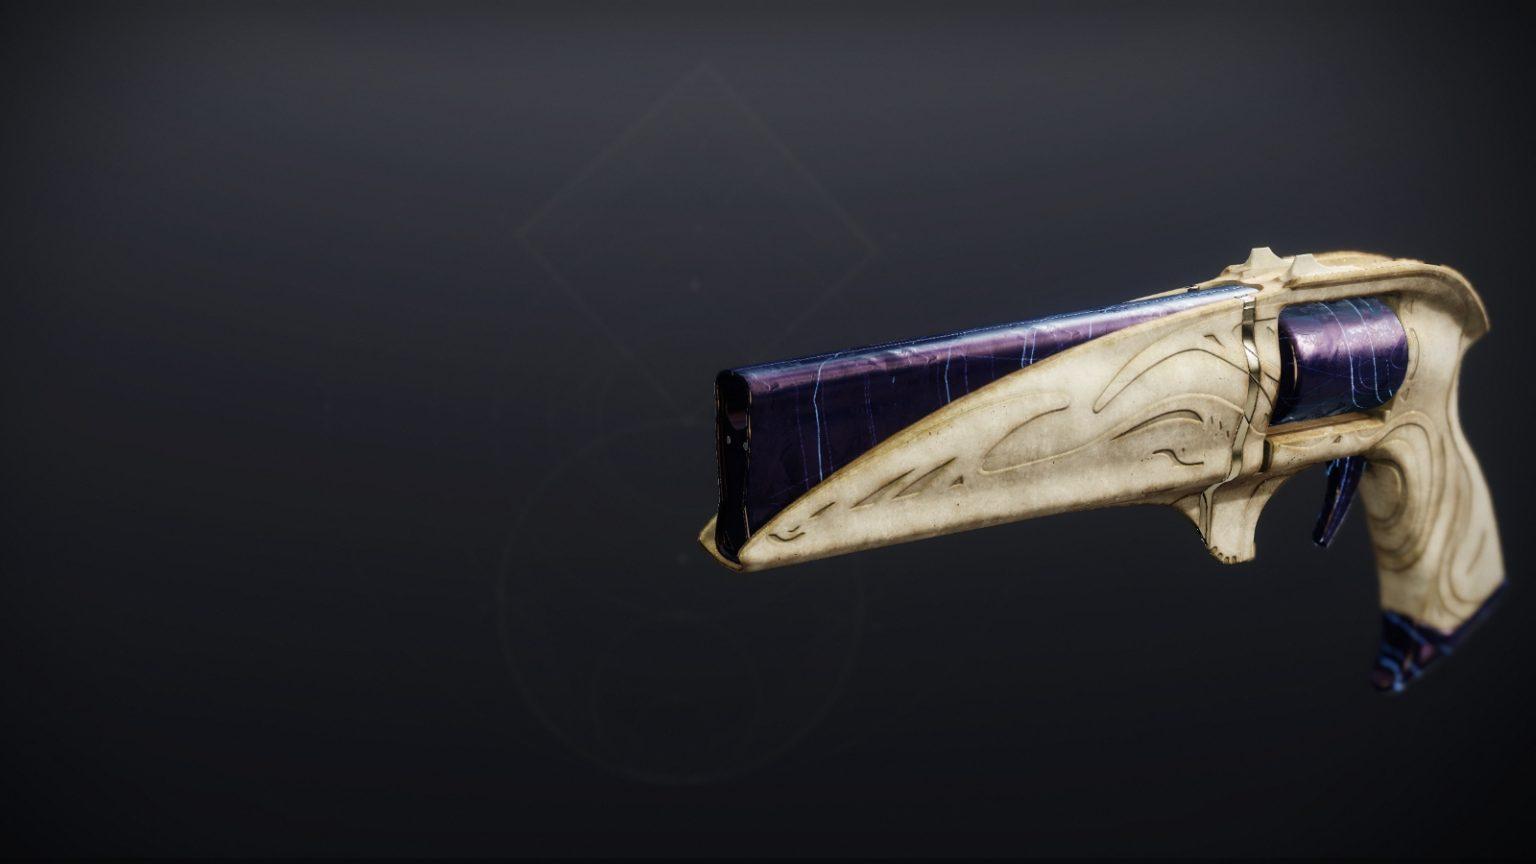
Nation of Beasts
Techeun Force
The Supremacy

Transfiguration

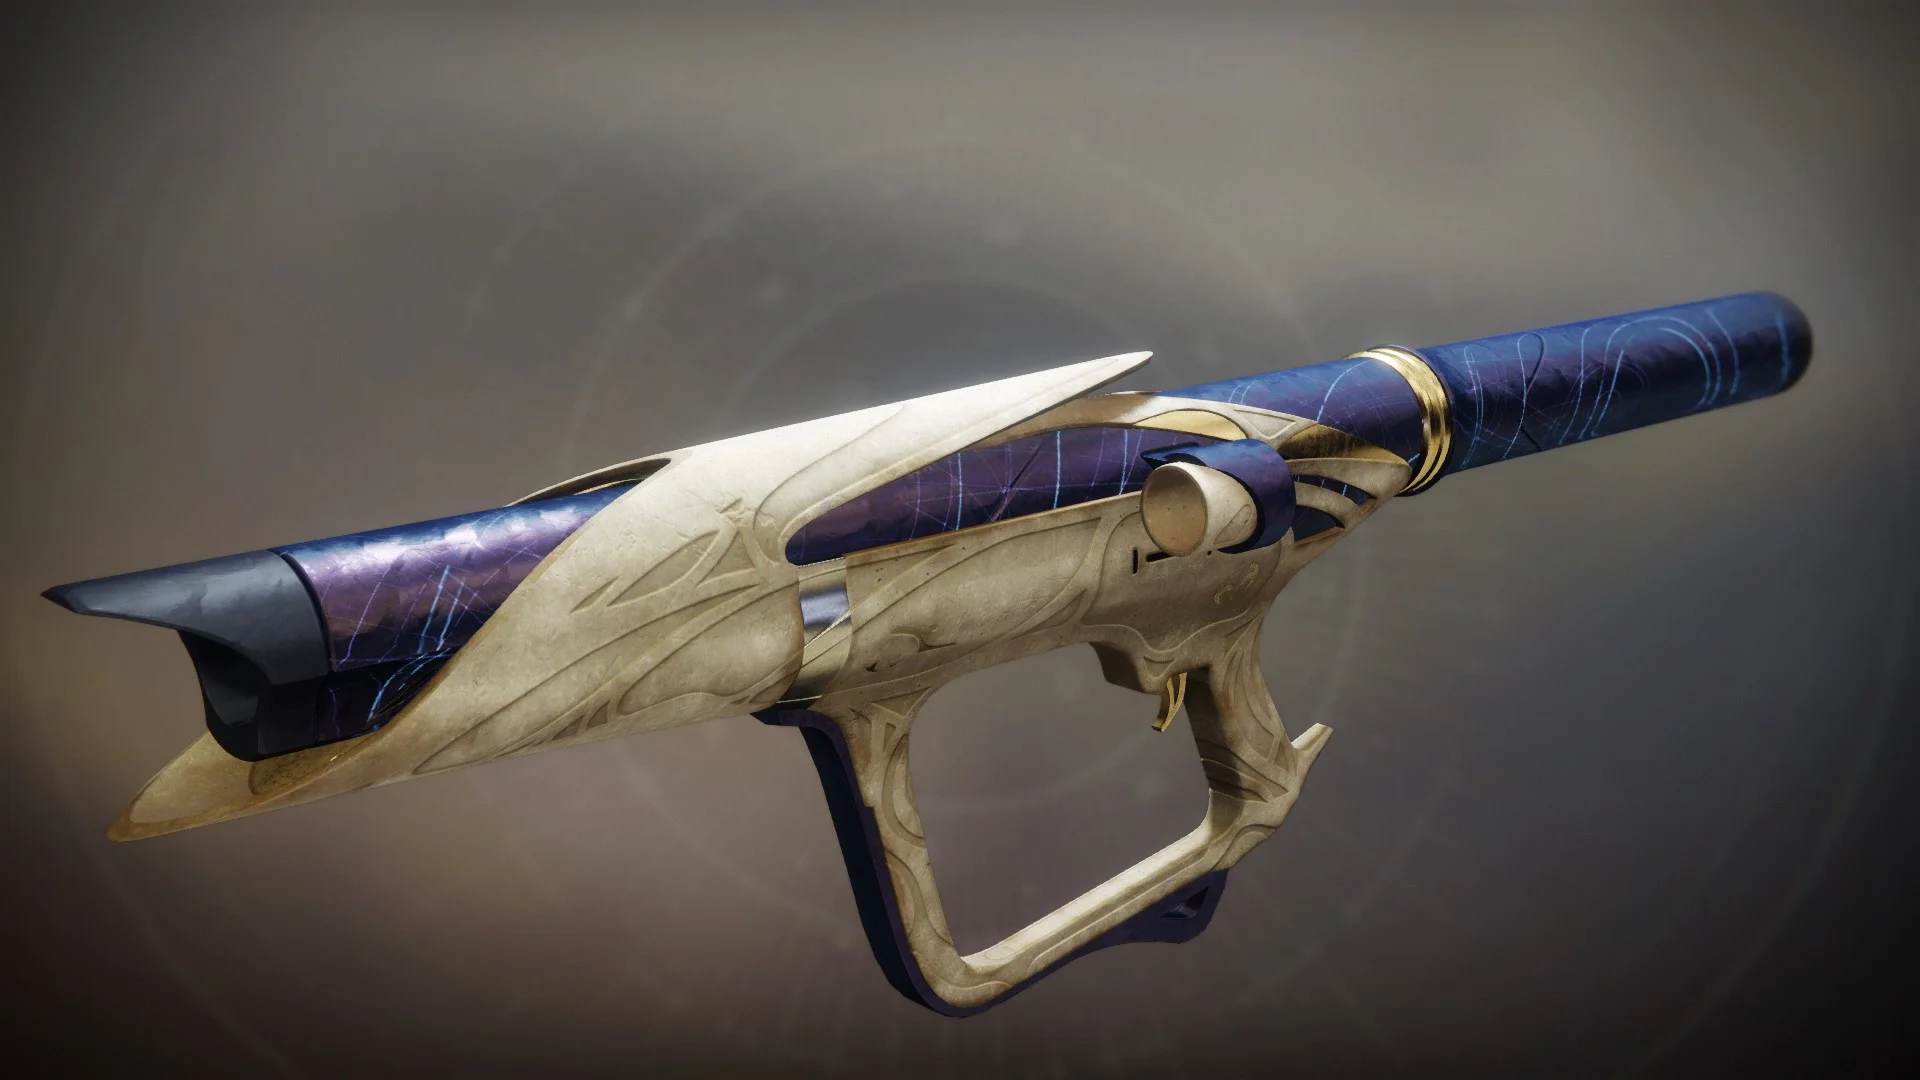
Tyranny of Heaven
| Weapon | Type | Ammo | Element | |
|---|---|---|---|---|
 | One Thousand Voices | Fusion Rifle | ||
 | Age-Old Bond | Auto Rifle | ||
 | Apex Predator | Rocket Launcher | ||
 | Chattering Bone | Pulse Rifle | ||
 | Nation of Beasts | Hand Cannon | ||
 | Techeun Force | Fusion Rifle | ||
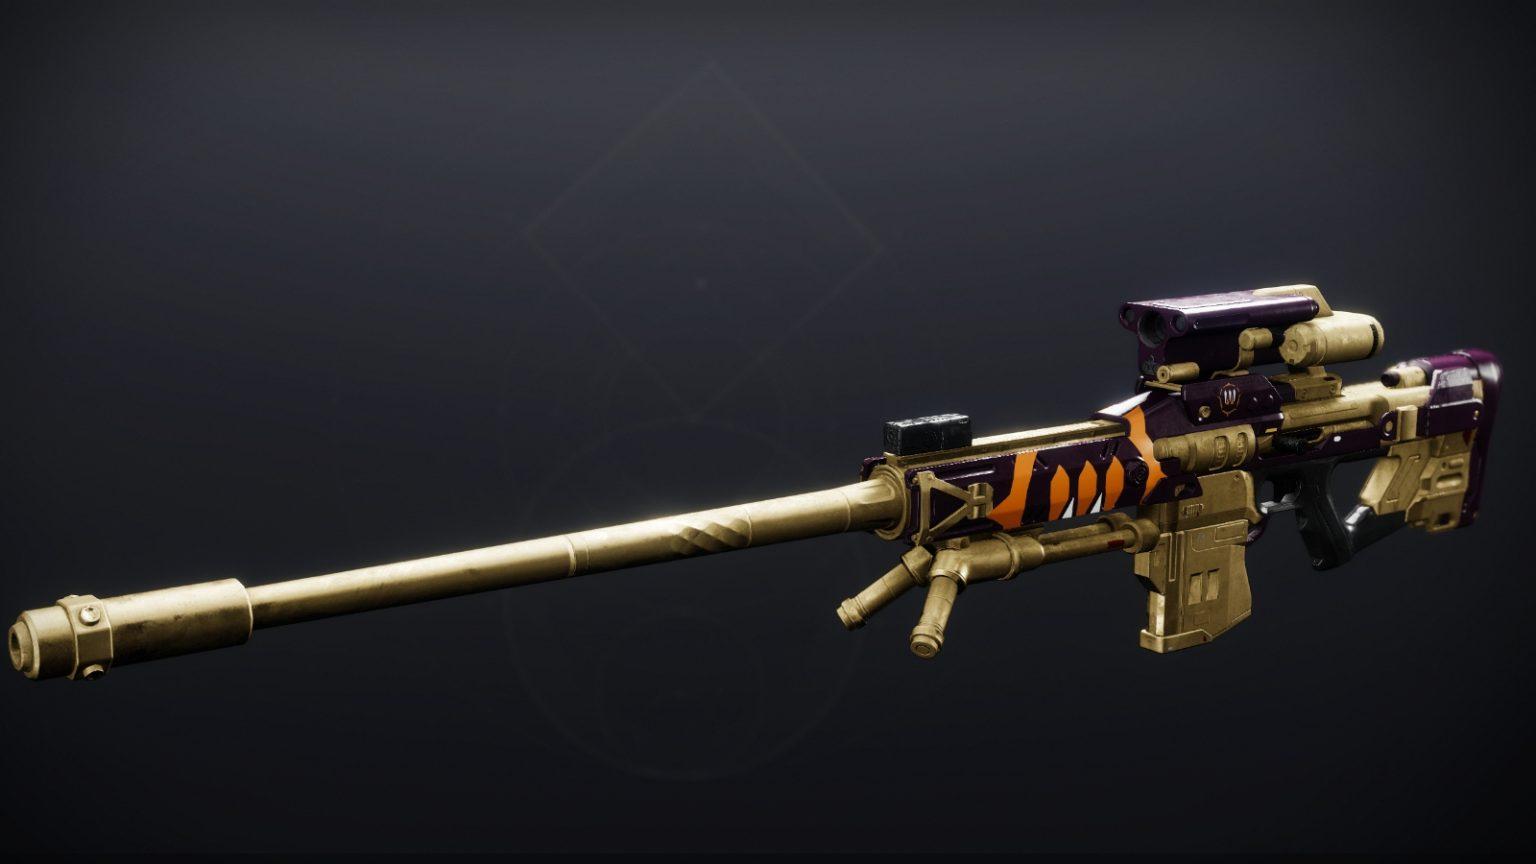
 | The Supremacy | Sniper Rifle | ||
 | Transfiguration | Scout Rifle | ||
 | Tyranny of Heaven | Combat Bow |
All weapons are craftable, except One Thousand Voices Exotic.
The updated Origin Trait specific to Last Wish Weapons is Explosive Pact, which is extremely good.
Explosive Pact: This weapon gains bonus stability and reload speed when activating a grenade ability. Healing grenades and grenade final blows grant additional stacks of the bonus.
Each of the Last Wish Raid weapons can drop from any encounter and secret chest. From the list, we can mention:
- Age-Old Bond Legendary Auto Rifle;
- Apex Predator Legendary Rocket Launcher;
- The Supremacy Legendary Sniper Rifle;
- One Thousand Voices Exotic Fusion Rifle, which can only be dropped by Riven.
Get all of this weapon with our Last Wish Weapons Bundle fast.
Last Wish Armor

In Last Wish, like any other raid in Destiny 2, you can get one set of armor for each class.
- Head: Helm of the Great Hunt
- Arms: Gauntlets of the Great Hunt
- Chest: Plate of the Great Hunt
- Legs: Greaves of the Great Hunt
- Class Item: Mark of the Great Hunt
How to Prepare for Last Wish Raid
Before you get to Destiny 2’s Last Wish Raid, you’ll need to build your team setup and fix your own build. To make your life easier, it’ll be better to make your group with Warlocks with Well of Radiance, Hunters with Shadowshot, and Titans with Ward of Dawn. To clear out hordes of enemies and deal massive damage to bosses, it’ll be good to have some heavy weapons or specials:
- Thunderlord or any other machine gun with decent perks like reconstruction, target lock, killing tally, and sword logic — for ad-clearing;
- Divinity Exotic Trace Rifle;
- Gjallarhorn Exotic Rocket Launcher;
- Tractor Cannon Exotic Shotgun.
Primary weapon and secondary weapon choices are up to you. You should use what you are comfortable with. But you may discuss with your team what items you’ll use in the raid for any situation. Remember that your main goals are survivability and solid damage output.
Last Wish Raid Walkthrough
You should keep in mind that Last Wish raid encounters were very hard back in the day. The main raid mechanic is its symbols.
It’s not so hard to memorize them, so you should do this before you get in the raid.
During this raid, you will face 6 challenging encounters and 2 secret chests and experience a full spectrum of emotions; awesome landscapes are included.
How to Access the Last Wish Raid
Last Wish has no power level requirements. You can access the raid from the Dreaming City map.
Kalli, the Corrupted
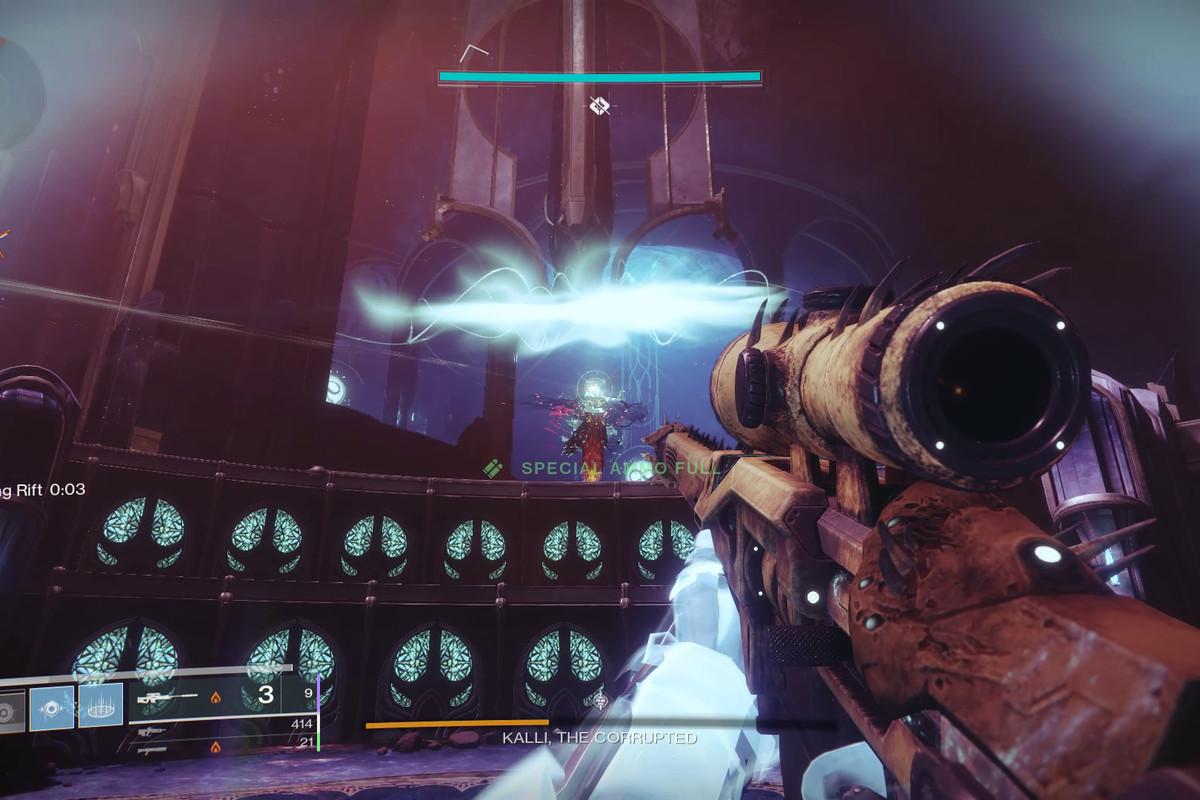
In the first boss encounter, you have to fight with Kalli. It is pretty complex, so there is a quick walkthrough of the mechanics of the boss fight:
- Remember 3 types of symbols in the middle;
- Make 3 groups of 2 people and assign each symbol to each group;
- Each player is looking for the symbol he is assigned for;
- Stand on the plate till the knight is spawned; kill him;
- The damage phase is in the middle of the room;
- Use safe rooms to survive wipe mechanic;
- Repeat until it’s done.
Kalli, the Corrupted Walkthrough
The boss room is a big round area, with 9 plates, each marked with a symbol. Also, there are symbols in the middle part of the room. It would help if you took note of these symbols and split them into three teams of two players.
The room is split into three parts, with 3 plates in each sector. Each symbol should be assigned to 2 players, and their part will be to find these symbols. Players must work together to help each other to survive during this phase. First, you need to clear the ads and avoid Kalli if she teleports. Then, on each plate, there will be two wiping bombs, which each player can see so it’ll be easy to dodge them. Stand on the correct plates till bombs explode three times, and Taken Knight will spawn. Kill the knight, and the symbol in the middle disappears, marking the plate as completed.
When all platforms are marked as completed, the damage phase will begin, and you’ll have a chance to attack the boss. Use Well of Radiance and all other amplifiers and do as much damage as you can. After several seconds, you’ll see a message: “Kalli prepares to wield her weapon.” this is a sign that safe rooms in the center are opened to avoid her wipe mechanic. It’ll be six rooms, one per player, to hide. When the explosion goes off, you must go on to damage Kalli. If you miss one knight during the plate phase, 3 rooms will be locked per each Knight. After three parts with rooms are used, you begin the plate phase again until you kill the Kalli.
Shuro Chi, The Corrupted
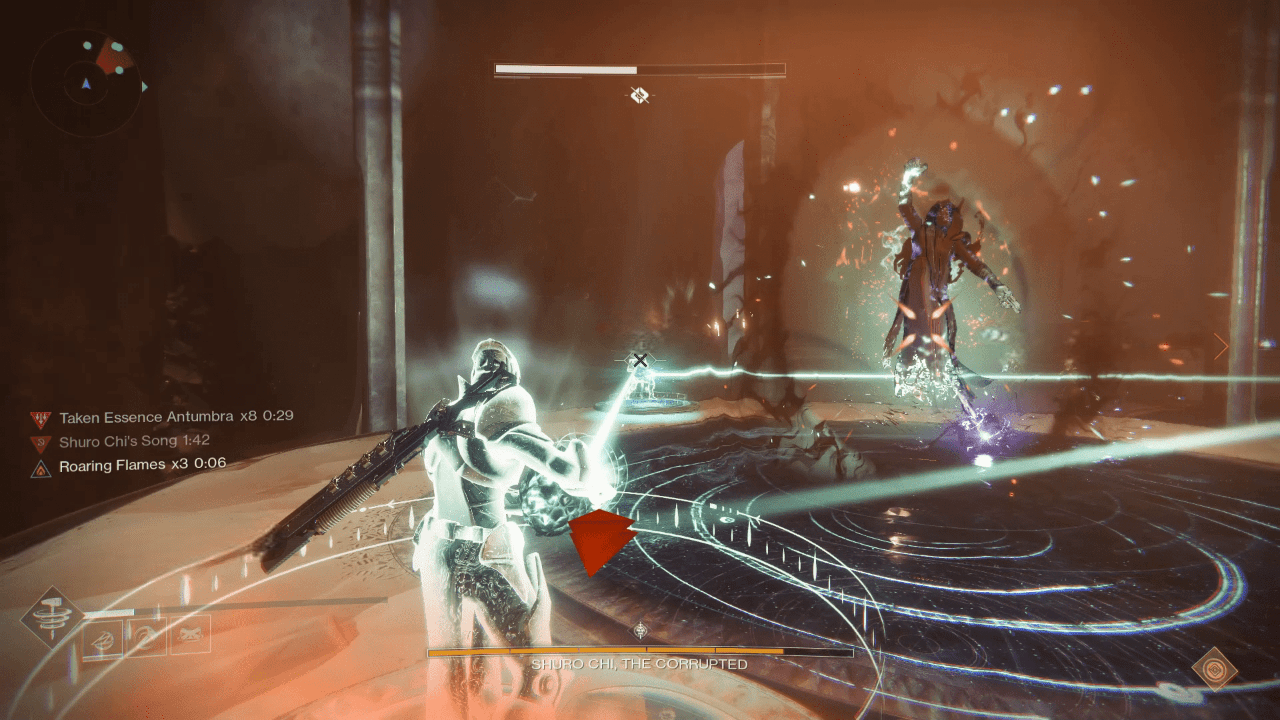
In the second Last Wish raid encounter, you will face Shuro Chi, the Corrupted. This boss has its own and pretty complex mechanic of the boss fight. Here is a quick review:
- Clear the adds
- Kill the Captain, take the Eye of Riven
- Pick up Prism Weapon, stand on the plate, shoot another player to form a triangle, and break the shield
- Remove one health bar after the shield is broken. Don’t forget to interrupt Shuro Chi
- Repeat the previous steps and enter the puzzle room
- Solve the puzzle, reset the timer
- Proceed to the next level
- Repeat until the boss fight is done
Shuro Chi, the Corrupted Walkthrough
First of all, let’s speak about players’ roles in this entire fight. There are Prism Weapon holders, Eye of Riven holders, and Plate Puzzle solvers. Prism Weapon holders — take Prism Weapon and shoot with it. Eye of Riven holders — interrupt Shuro Chi with eye’s super. Puzzle solvers — should solve the puzzle to proceed in the bossfight.
The boss room has three levels. On each level different types of adds will spawn. Each level will spawn A taken Knight, a Taken Captain, and a Taken Ogre. Taken Captain drops Eye of Riven. After the encounter begins, it also starts a 4 minute countdown. Clear the adds and head to the “stage”. After you kill the Captain, take the eye, and use it, you’ll get the 90 seconds debuff, which prevents the player from picking up the eye. Another Eye of Riven holder should pick it up and interrupt Shuro Chi.
When Prism Weapons spawn, the countdown will fasten until Shuro Chi’s shield is broken. To do this, you need to form a triangle with Prism Weapons lasers while standing on a correct plate. Be careful, as plates will damage you over time. The faster you break the shield, the more time you will save for yourselves. Also, after the shield is broken, you need to deal enough damage to remove 1 of her health bars. During this fight, Shuro Chi will try to wipe, which your team must interrupt with Eye of Riven.
Not to mention, if you don’t remove the health bar till this time, Shuro Chi can try to make another wipe attempt; be prepared for this.
When the 1st health bar is removed, you proceed to the next area. Here, you repeat all you did before. After the 2nd health bar is removed, you’ll enter the puzzle room.
The puzzle room has 9 buttons in the middle and 3 pictures on the wall. Each part of the puzzle corresponds to each button on the floor. Fill the missing parts with players, and take note that you need to stand on it all at the same time. Also, you cannot stay on the same button twice, and the buttons deal damage to players over time, so keep this in mind. To lessen the damage from the buttons, someone should stay in enemy control.
Start to solve the puzzle from the left to the right. Don’t forget about the time limit; when you solve all three puzzles, the 4-minute timer will reset. With puzzle solving platforms floating above the puzzle room will activate. Use them to climb to the second floor to complete the mechanics you’ve already done. After you deal with the 2nd floor, proceed to the 3rd floor. When the last health bar is removed, the bossfight is completed.
Morgeth, the Spirekeeper 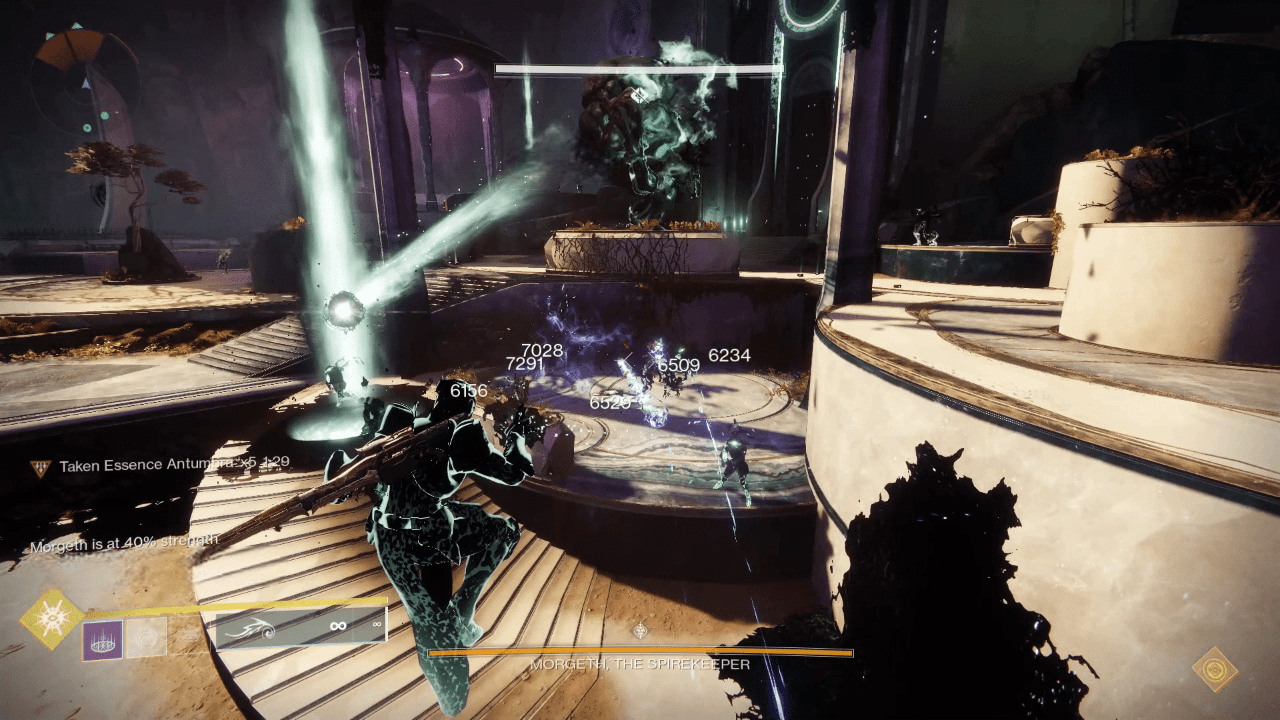

In the 3rd encounter, you have to deal with Morgeth. But, unlike the 1st two bosses, this encounter demands players’ communication skills.
Morgeth, the Spirekeeper Walkthrough
To start the bossfight, you need to take Taken Strength under the boss. Collecting Taken Strength is the key to killing the boss.
The first thing to know is that each player can hold a maximum of 2 stacks, 3rd will instantly kill the player.
Second thing — when you get 2 Strengths, the boss can trap this player. To free your teammate and save him from death after 20 seconds, you need to kill Eye of Riven, get Taken Essence, and use its grenade ability on this player. After this, 2 stacks of Taken Strength from trapped players will transfer to the player with Taken Essence.
So, there is a little problem that can happen during the fight. If a player with Taken Essence has 1 or 2 Taken Strength debuffs, after freeing the player, he will get 2 more and die; you should avoid this by communication.
When you collect all strength from the arena, the last one will appear right under the boss, where you take it to start the bossfight. Group up for the damage phase and do your stuff. Morgeth’s back is the crit spot; use it to deal more damage. During the damage phase, Morgeth will continue to build up his strength.
At 100% strength, Morgeth will wipe your entire team. To avoid this player holding Taken Essence after 90% of the boss’ strength, you should use Essence’s super on Morgeth. This is all you should know about the Morgeth bossfight.
Here are some tips that can help you:
- Split the team into 2 groups on each side
- After the player with Essence cleanse is trapped player, he cannot interact with it for 90 seconds
- Taken Essence will remain on the ground for 45 seconds; no need to pick it up right away
- Also, when you pick up Taken Essence, it will begin to stack a debuff; when it reaches 10 stacks, you will die
- Keep in mind that Eyes of Riven can spawn on one side; when it happens, don’t panic; just let the player from another side carry it where it should be
- During the damage phase, Morgeth will send out volleys of the homing orbs; they can be shot out using the Well of Radiance to save you from a couple of orbs, but others should be destroyed
- You can use a player with roaming super to clear out the adds during the bossfight, but don’t forget about Nightstalker’s Shadowshot
The Vault

The 4th encounter is completely different from the other raid encounters. Here you are facing symbols mechanic without bossfight. The main objective is to remove duplicate symbols using Taken Essence within 3 minutes. To complete Vault, your team ought to show a high level of communication.
The Vault Walkthrough
The location splits into 4 chambers: 3 distinct rooms and a central lock mechanism, which is always labeled tree, ball, and rock. Standing on all three locks will start the encounter, and the first set of symbols will appear in the middle lock.
The main goal is to call out the middle symbol and find its duplicate on the left or right. For example, if a player on the tree has up fish in the middle and someone has up fish on the left, it will be their left duplicate. It’s really important to correctly identify left or right duplicates because Taken Essences can be 2 types: Penumbra and Antumbra. Antumbra cleanses left duplicates, Penumbra cleanses right duplicates. If you cleanse the lock with the wrong Essence, the Essence holder will die from the explosion with all players in close range. From the example above, the tree lock should be cleansed with the Antumbra Taken Essence.
When Eye of Riven dies, and the player picks up Taken Essence, two of three rooms will be sealed. Players with the Taken Essence should run through connected tunnels to the central lock. During this, you should take note of which Essence you have, and, of course, after picking up the Taken Essence, you cannot take another Essence for a while.
Not to mention, a Taken Knight called Might of Riven will appear when the player with the Essence runs and heads to the lock. Your team needs to prevent the Might of Riven Knight from reaching the lock and put the sword into the lock. Otherwise, it’s a wipe. 1st round spawns one knight, 2nd — two knights, 3rd — three knights; numbers reset after three locks are cleansed. If you see a beam of light connecting the lock and the vault door, it means that 1st stage is completed. Repeat two times, and the job is done.
Some tips for completion of the Vault encounter:
- Blade Barrage, Gathering Storm, Bladefury, etc., can be very helpful in clearing the ads; don’t ignore such opportunities.
- Crowd control abilities can also be a handful
- More burst damage into Might of Riven is a key to avoiding silly wipes.
Riven of a Thousand Voices

We almost came to the end of our interesting and challenging journey through the Last Wish raid. Riven was the most difficult among the raids. Only 2 teams could kill it on the first day, according to raid.report.
The bossfight begins after all six players will stand on the plates. After that, you will fall down into lower rooms. Beforehand you should split into 2 groups. Each of these groups should take its own room — yellow or blue.
Now depending on what happens in your room, Riven or Eye of Riven appears, each group will do different stuff and call some intel for the other team. If Riven appears in the room, bait its tentacles or shoot its mouth, deal enough damage that will trigger its eyes to glow, and tell the other group which eyes to glow.
If Eye of Riven appears: clear the room, eliminate Eye of Riven, take the Essence, and tell which symbol appears 5 times, and call out this symbol to the other team. Someone should stay behind the glass and direct the Essence holder to the correct symbol to clear it.
Later on, if your room starts with Riven appearing, Eye of Riven comes after it, and vice versa. Shoot the correct eyes that were called. If you’ve been mistaken, it’ll be a team wipe. After the correct eyes are destroyed, you can proceed to the next level. Here, you repeat what you did before and continue to the next stage.
When you reach the upper level, your team should group up. Clear up the enemies, while damaging Riven. Here, you also need to bait its tentacles and shoot its mouth to stagger the boss. Two eyes will glow again, repeat 2 more times and shoot glowed eyes on the damage phase. Hope we won’t tell you what will happen if you make a mistake. Small advice: you can assign 2 players to remember the eyes that should be destroyed on each interphase. After all 6 eyes are destroyed, Riven will appear in one of the black gates. Shoot its mouth and bait tentacles. Remember the eyes and continue to clear the enemies. When Riven appears for the 4th time with a taken orb in the mouth, with enough damage done, its mouth will close. Destroy eyes once again, clear the room, and stand on the plates to proceed further.
When you begin to slowly descend, you will see glowing orbs on Riven’s body. It is its weak points that your team should shoot out. For each weak point, Riven loses a bunch of health from its health bar. When you reach the bottom, split into 2 groups and continue to shoot out weak points. Once all of the weak points are destroyed, your team will teleport to Ascendant Plane.
Here, you need to reach the beam of light. When at least 1 player reaches the beam, all players will teleport back to finish the Riven. The main problem is Ascendant Atrophy debuff, which prevents health regeneration and deals some damage over time. Also, there are Taken Phalanxes that can push you out, don’t forget to eliminate them ASAP.
When you teleport back, the last stand phase begins. Group up and be ready. Riven opens its mouth, where you can notice a taken orb. Deal damage until it’s done. Then, it runs through its mouth to its throat. When you see Riven’s heart, destroy it, and this part will be over. The biggest problem here is Metaphysical Blood debuff. It will deal damage over time; that’s why there is no time to waste.
Our professional players are ready to kill Destiny 2 Riven for you to save your time and effort.
Riven’s Heart
The last encounter of the Destiny 2 Last Wish raid, technically, is part of the Riven, but with its own checkpoint and raid banner. If you wipe here, you won’t have to kill Riven 1 more time. On this part of the raid, you will take Riven’s Heart and carry it back through the jumping puzzle to the Vault entrance while it’s still beating.
One player will be randomly chosen as a heart carrier. He should proceed forward as much as he can. Other players will start to receive stacking debuff; when it reaches 10 stacks, the player will die. To remove the stacks, stay close to the heart carrier. The cleansing aura will be shrunk over time until the heart carrier teleports to the other realm. Be cautious. Everyone who is too close will teleport with him.
In the other realm, you can see beams of light. Collect them at the same time to reset the timer of the heart carrier. Beams appear once per heart carrier. Also, there will be lots of enemies you should kill to survive as much as you can.
Take note that heart carriers can only walk and single-jump. Staying behind allows others to clear debuff stacks and prevent occasional teleports to the other realm. The route is pretty straight. After exiting Riven’s body, head left to the open door. Stick to the left side until you reach the next room. Avoid poisonous floors when you cross the room. The toughest part will be to get through the Vault. The way down is locked, so you need to use open side rooms. Circle around the Vault using a tunnel, then drop down. Head straight to the stairs to the statue of Riven. When you come close to the bowl, your heart will be put in. Your team will teleport to the statue of Riven. Select a chest to spend your Ethereal Key. Congratulations! You’ve completed the Last Wish raid.
Last Wish Raid Challenges
Completing Raid Challenges awards your team a bonus loot. Try your best to get them.
Kalli, the Corrupted – The Summoning Ritual
Activate and cleanse all nine plates. Clear the Knights and Ogres before damaging Kalli.
Shuro Chi, The Corrupted – Which Witch
Guardians must not get hit or take damage from Shuro Chi’s Arc Blast attack.
Morgeth, The Spirekeeper – Forever Fight
Don’t kill lesser Ogres.
The Vault – Keep Out
Don’t let Might of Riven reach the center lock mechanism.
Riven of the Thousand Voices – Strength of Memory
Guardians cannot shoot the same eye twice.
Last Wish Secret Chest Locations
Last Wish has 2 secret chests. To get one of them, we will use Wall of the Wishes, or you can do it without the wall if you are clearing the raid with your team. If you are using the wall to switch symbols, just shoot them.
Last Wish 1st Chest Location
Using this pattern, your team will wipe and teleport to the Shuro Chi. Then, you should go back to the bridge and go up using the wall. When you get to the top, jump to the bridge and proceed further. When you get to the end, jump down and find a little opening in the wall. Pick up the chest and enjoy your loot and spoils.
Last Wish 2nd Chest Location
After the Shuro Chi, climb the tower past the taken ball and head back to the bridge. Before you go to the Ascendant Plane, climb the trees to your right up the mountain to a cliff, where you can get your chest.
Finally, our small journey through the Last Wish raid has come to an end. Our team hopes that this guide will help you to complete the raid without any trouble. We would be glad if you read our other guides; maybe you found them interesting. Thank you for reading.
