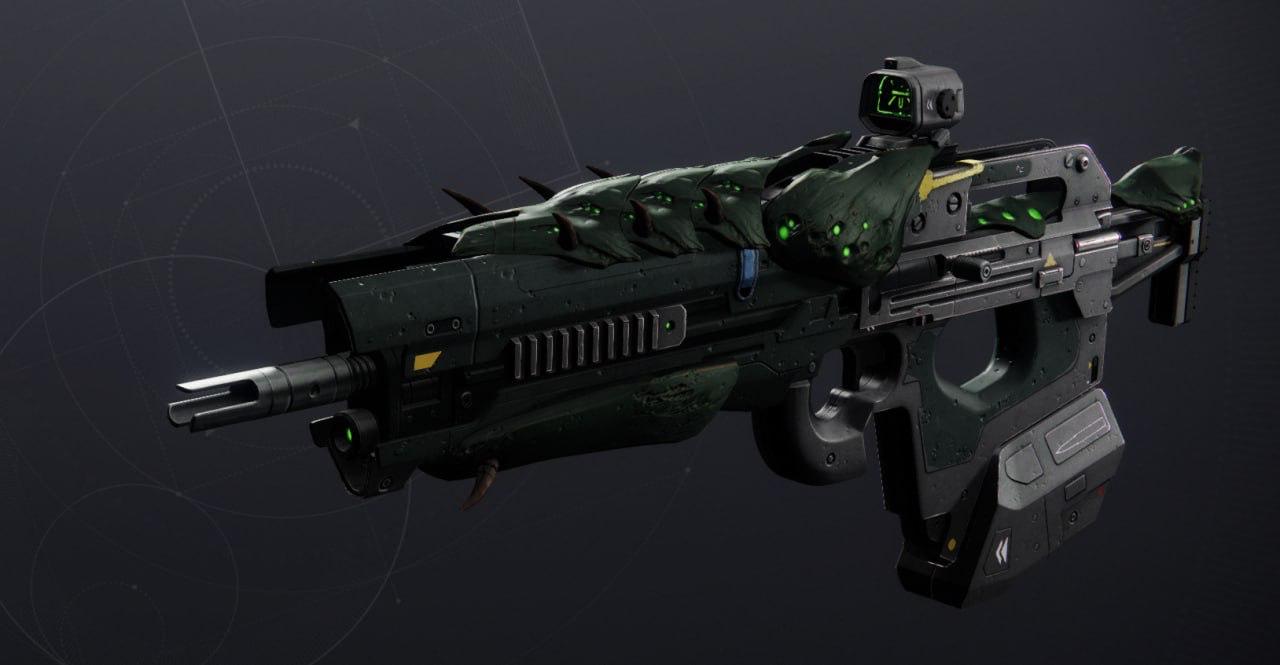
The long-awaited return of the legendary Crota’s End raid from Destiny is here, Guardian! The raid launched September the 1st, brings us Necrochasm Exotic Weapon with Catalyst, 6 Legendary weapons, beautiful armor sets for each class and many other rewards. In this guide we will show you how to prepare for the raid and complete all 4 encounters, describe raid mechanics, where to find secret chests and of course everything about rewards with handy loot tables.
 4.9
4.9Destiny 2 Crota’s End Loot Table
While the most courageous and brave Guardians pass Day One of the raid, we try to collect as much information about the loot as possible, so we will update it soon. Here we have six Legendary Weapons, one raid Exotic and Armor sets for each class.
Crota’s End Weapons Loot Table
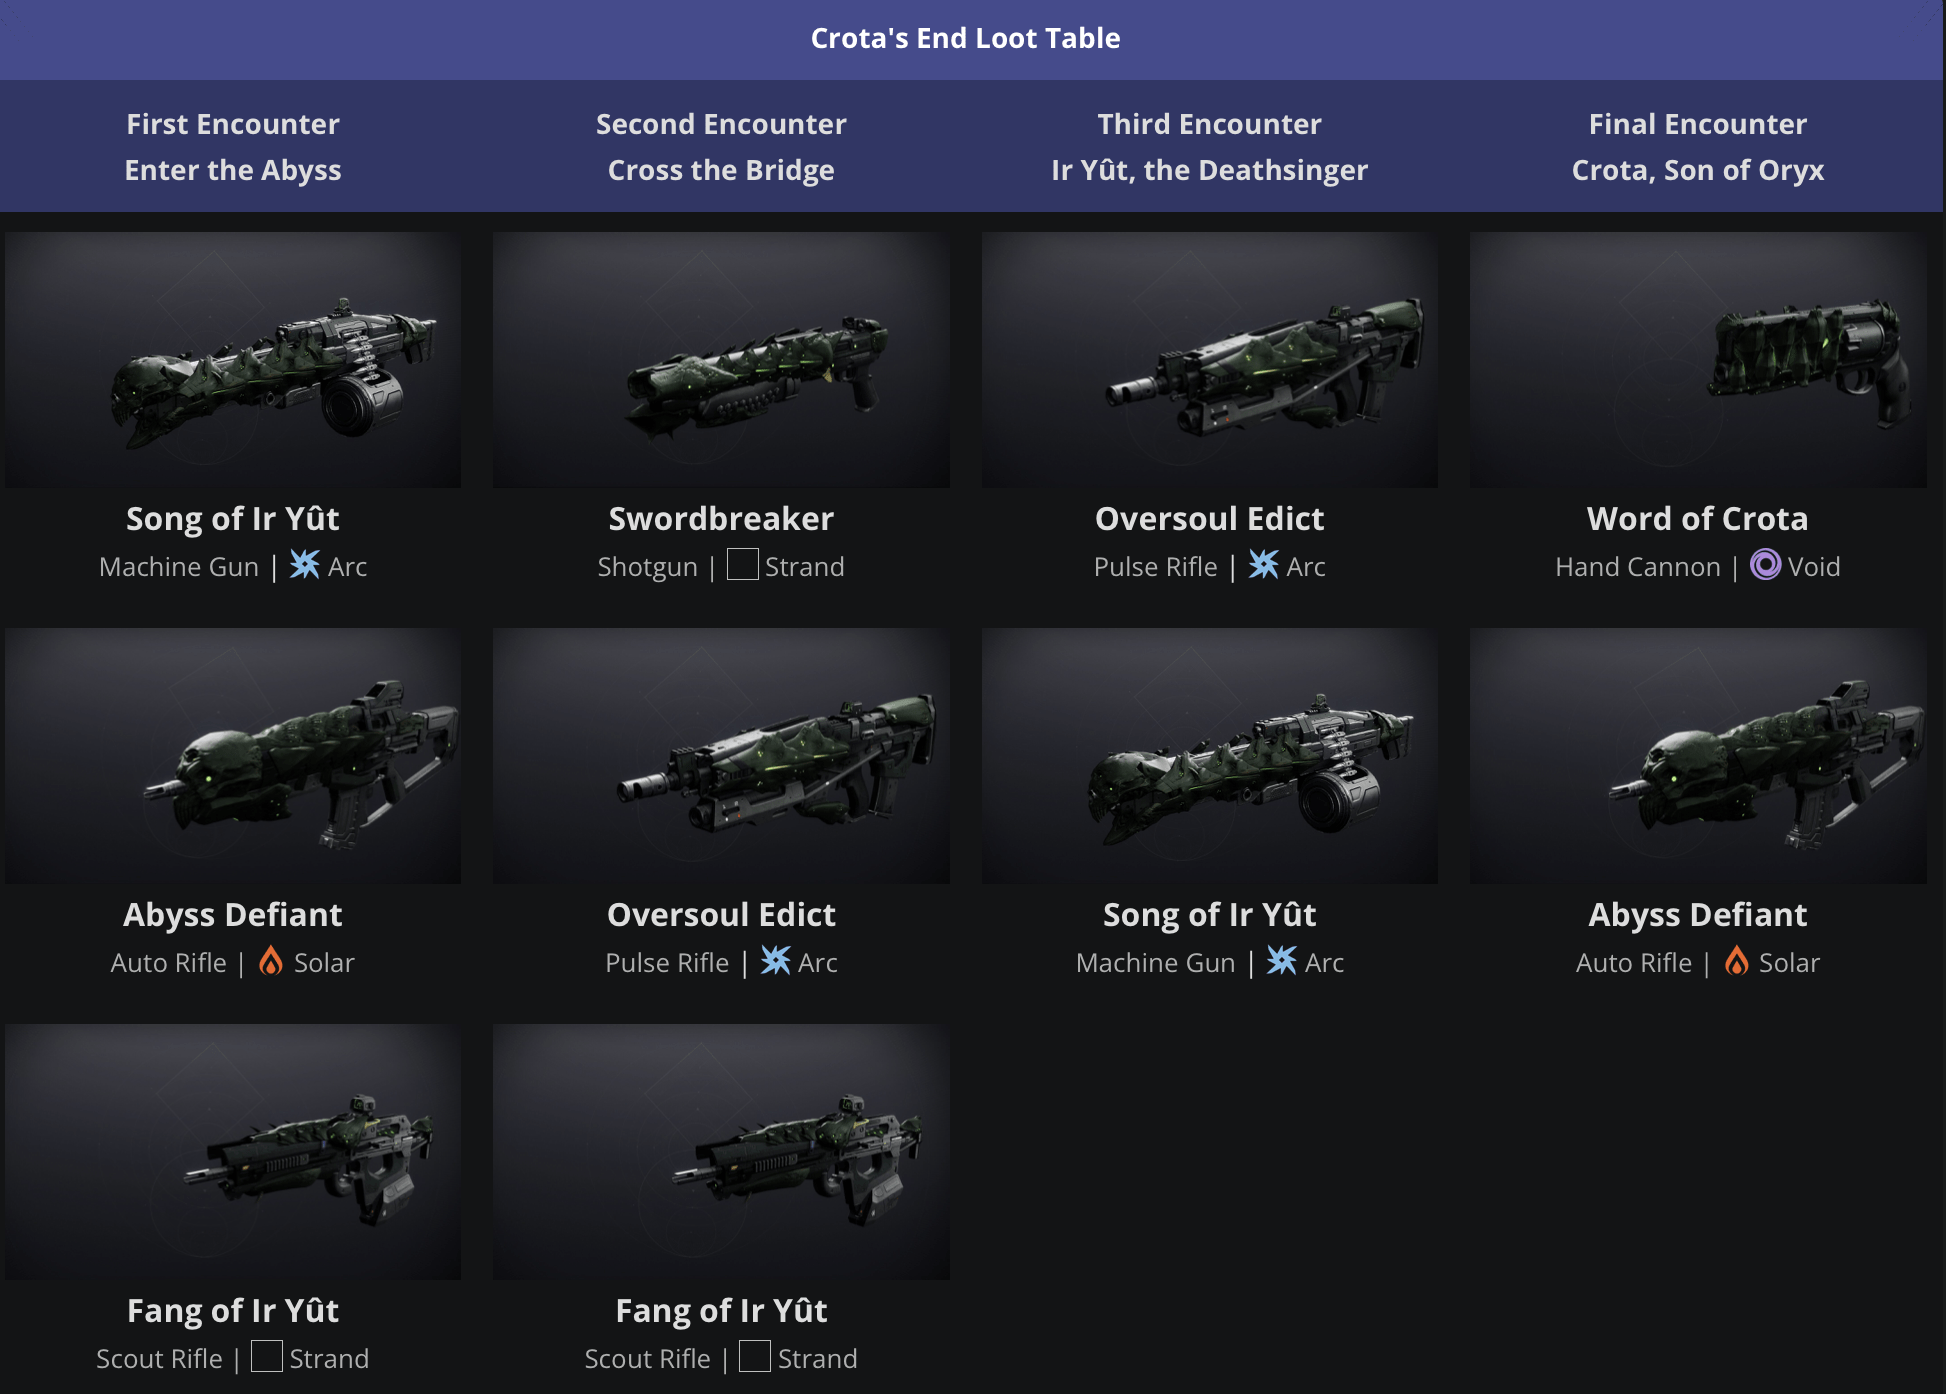
All Crota’s End weapons come with a unique Origin trait Cursed Thrall: After defeating a target with a melee attack, final blows with this weapon cause targets to explode for a short duration.
Crota’s End Armor Loot Table
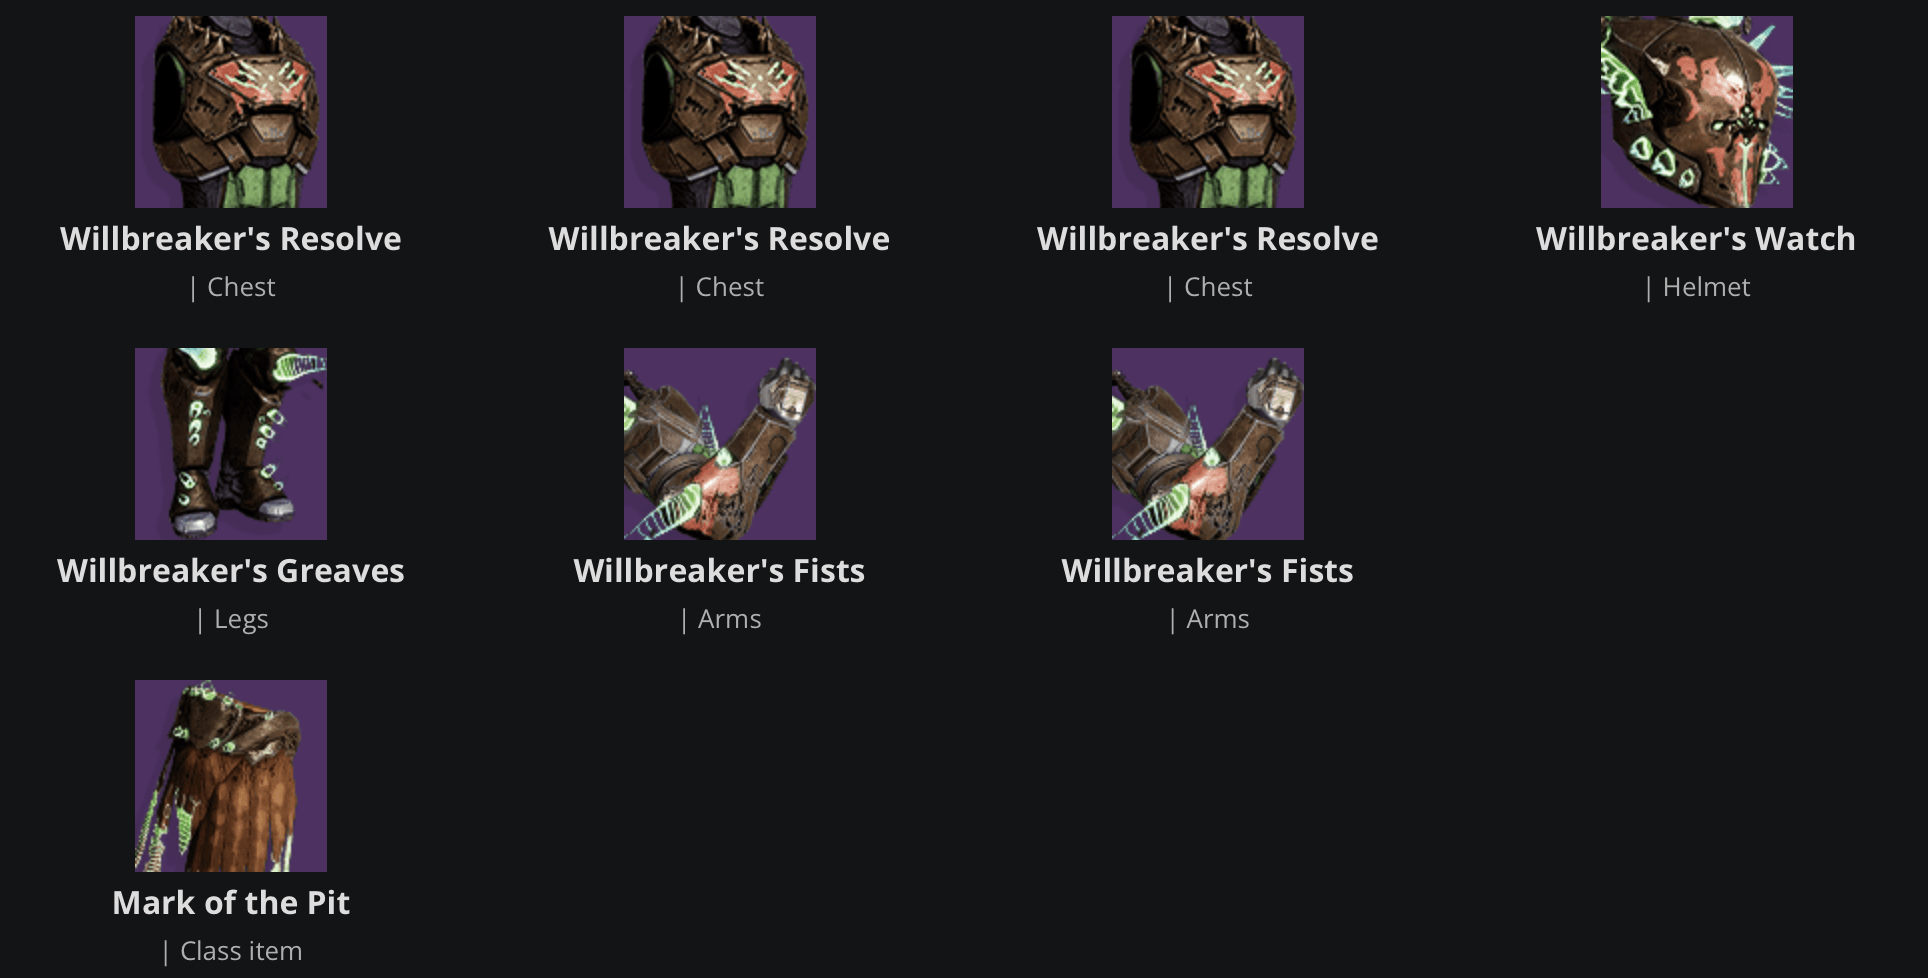
All armor pieces for each class:
| Titan Armor Set | Hunter Armor Set | Warlock Armor Set | |
| Helmet | Willbreaker’s Watch | Unyielding Casque | Deathsinger’s Gaze |
| Gauntlets | Willbreaker’s Fists | Dogged Gage | Deathsinger’s Grip |
| Chest Armor | Willbreaker’s Resolve | Relentless Harness | Deathsinger’s Mantle |
| Leg Armor | Willbreaker’s Greaves | Tireless Striders | Deathsinger’s Herald |
| Class Item | Mark of the Pit | Shroud of Flies | Bone Circlet |
How to prepare for Crota’s End Raid
When completing Crota’s End in some sections you will have no chance to avoid the fight. Sure thing you can choose any build, weapons and playstyle you like, but some of them are better if you want to make the process easier.
When it comes to your team composition, you should think about how to hold the enemies, keep safe and deal tons of damage. So it’s worth to have Titans using a Ward of Dawn, Nightstalker Hunter with Shadowshot, and Warlock with Well of Radiance.
As for the weapon choice, first of all in this raid you definitely want to have some of the best weapons in Destiny 2:
- Divinity
- Gjallarhorn
- Tractor Cannon
- Outbreak Perfected
Secondly, you will need a Shotgun with slug rounds and high damage to take down the Hive Knights:
- Heritage
- Nessa’s Oblation
- One-Two Punch
- Wastelander M5
- Trench Barrel
- Basso Ostinato
Additionally, take care about long-range weapons to clear the Bridge and eliminate Wizards. Good choice here will be any Sniper Rifle like The Supremacy or Succession.
Finally, as an ad-clear weapon you can take Forbearance, Thunderlord or even Tessellation.
Destiny 2 Crota’s End Walkthrough
Note, that to success in this raid you team should be at least 1790 Power Level for Normal difficulty and 1820 for Master Difficulty. As in the final sections you will face off against tougher enemies, don’t forget about solid equipment, considering our recommendations everything will go smoothly. But keep in mind that similar to the Vault of Glass, Crota’s End does not provide XP, only loot, and the Master version is way too tougher then the Normal. If you want to get this achievement you can buy Crota’s End Master Carry on Overgear.
How to access the Crota’s End Raid

- To access the Crota’s End Raid, your team must build the bridge that goes down into the Moon’s Hellmouth.
- To build the bridge you need to pick up the Chalice of Light and hold it until the bar fills.
- To add the charge you need to interact with the plate.
- Then another player will grab the Chalice and charge it until the bridge is built.
It’s not a hard task as there will be no enemies, but you should hurry up to don’t run off the time and descend into the Hellmouth.
The Abyss – 1 Encounter
In the first encounter, the Abyss, Guardians should use Hive lamps to move along pathways into darkness. After the landing you team will be under the influence of the Weight of Darkness debuff. But standing under Abyssal lamps will help to reduce this effect. In this encounter you will face the following mechanics and effects:
- Chalice of Light: Once it’s slowly charged to four bars, you become Enlightened. Then you are Enlightened, you’ll be able to activate the lamp.
- Drained of Light: Once you have activated a lamp you will be Drained of Light. After that you will not be able to take the Chalice again.
- Weight of Darkness: Fills to x10, slows your movement, and you won’t be able to run and double jump.
- Engulfed in Darkness: You have 60 seconds, when the timer runs out you die.
- Engulfed with Light: After the Chalice of Light is full and you are engulfed with Light, one of the teammates should take the Chalice to prevent your death.
- Preserve Chalice of Light: Activates the next set of lamps.
To begin, pick up the Chalice of Light and head towards the first lamp. Wait for the Chalice to charge and then pass it to your teammate when you’re full. The Chalice carrier place it in the preservation node next to the lantern. The Enlightened player activates the lantern to remove the Weight of Darkness debuff effect and refresh the Engulfed with Darkness counter. After that other player needs to retrieve the Chalice of Light from the preservation node. You will find a preservation node next to every 4-5 lanterns. That’s it, just repeatthis process .
Note: You can predict the exact moment when the lamp is going to explode by the changing of its color from white to orange, so you will have a chance to get out from the damage area.
At the end you will find a Hive plate. You team should stand on this plate and defend it from spawning enemies for 60 seconds. Once you succeed to held the plate, follow the formed bridge behind you to the second encounter.
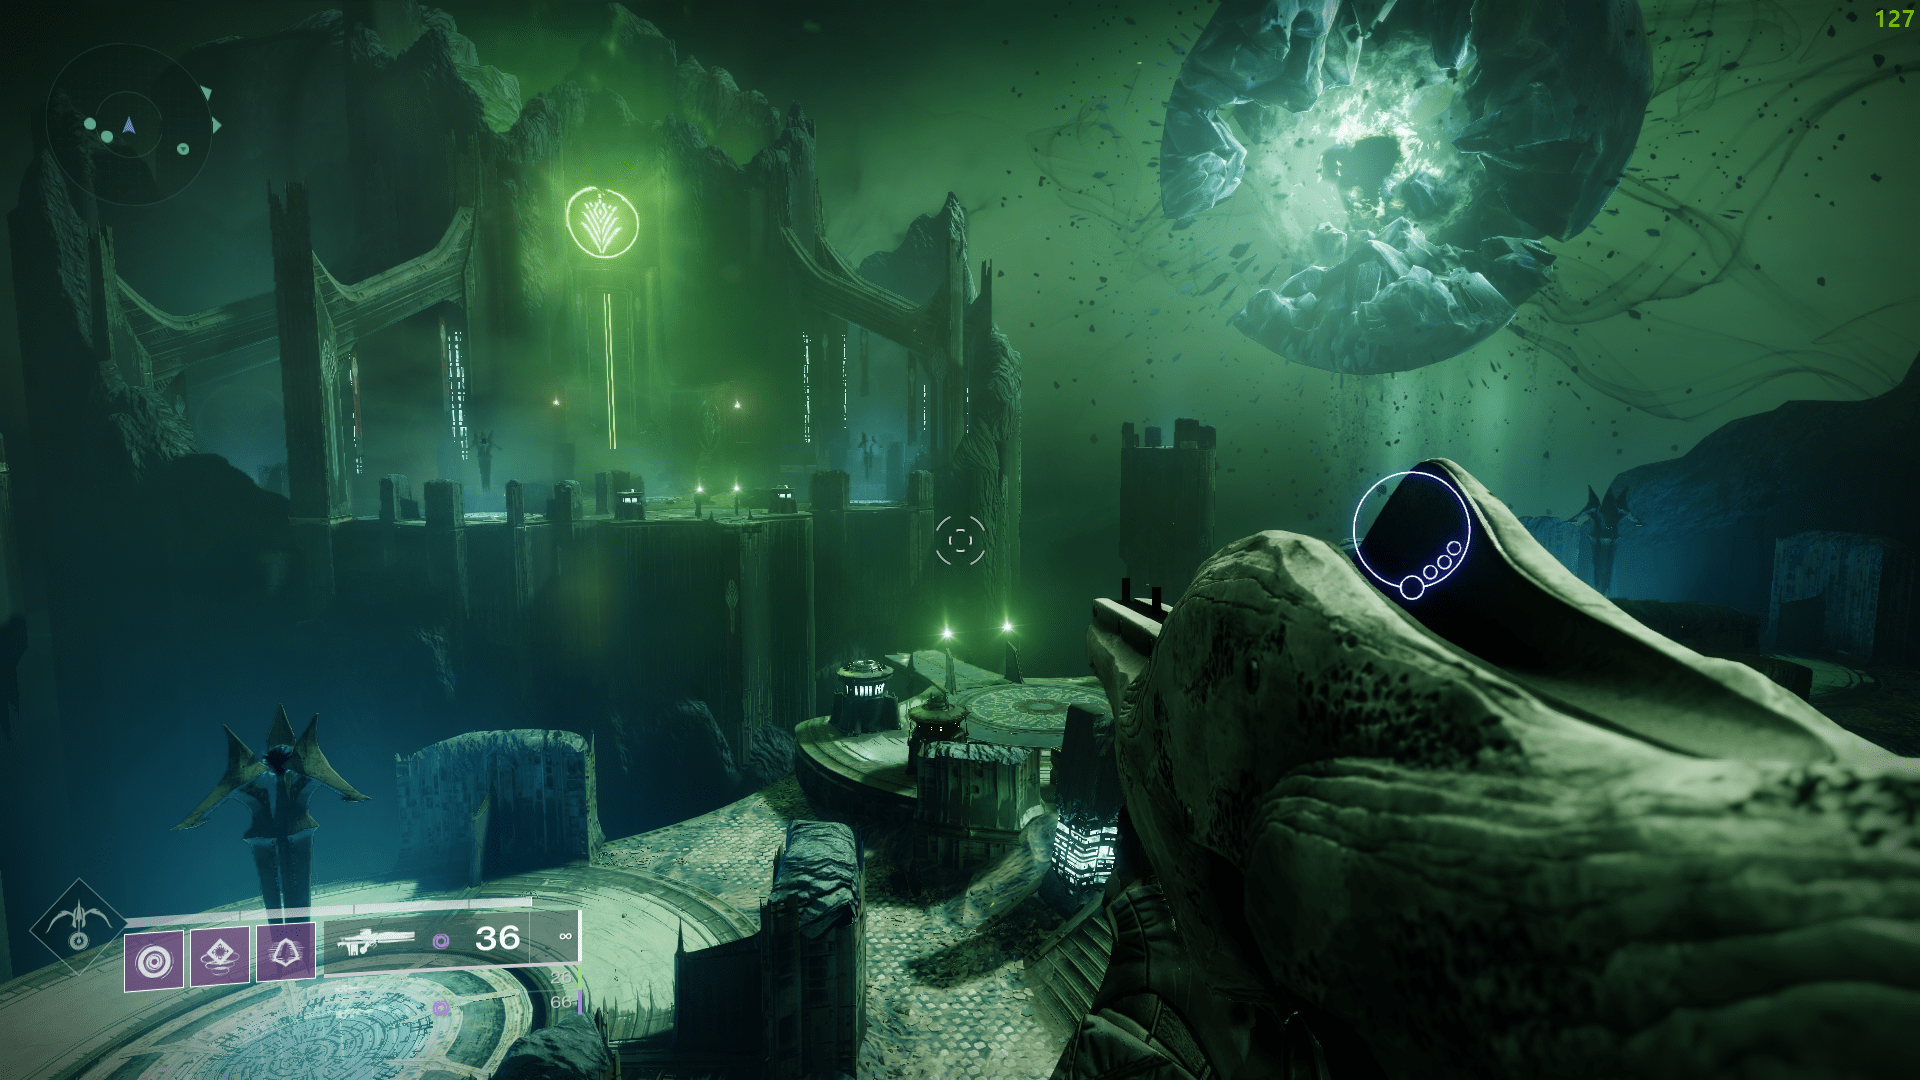
The Bridge – 2 Encounter
The main goal of the second encounter is to build the Bridge and cross it one by one. It will start forming when one Guardian is standing on the initial Hive plate and the Enlightened buff is active. The more buffs your team have, the faster the Bridge will be built, but one player should always keep standing on the middle plate.
- Chalice of Light: Same as the first encounter.
- Enlightened: Use it to charge the bridge or pick up a sword from a Swordbearer.
- Annihilator Totems: Activate totems when the bridge starts forming.
To be able to cross the Bridge you should hold the Chalice of Light or a sword. And in turn to pick up a sword you need to have the Enlightened buff.
After crossing the Bridge holding the sword, you must defeat the Gatekeeper, and then deposit the sword in a preservation node. Keep in mind that you can’t pick up the Chalice of Light under The Engulfed with Light debuff.
Those who manage to cross the Bridge should help the other side to clear enemies. Here is the moment for the long-range weapons. Once three players have crossed to the far side, they can form the bridge using the far side plate and Annihilator Totems.
The two players remaining on the initial side should pick the sword and the Chalice of Light and cross the Bridge at the same time. After that you team should pass the Chalice of Light between each player.
Once all are done, you need to defeat enemies until Wizards and Ogres spawn, and after eliminating them, the Gatekeepers. You need to collect all swords removing them from the preservation nodes to defeat Gatekeepers. Note that to remove the swords you should be Enlightened. Move forward to the third encounter.
The Thrallway
To get to the third encounter first you need to pass through barriers up the hill defeating Thrall and Shriekers. To pass through the barrier you should hold the Chalice of Light to get Enlightened buff. Once the Shrieker is defeated the barrier will be removed. At the end you need to deposit the Chalice of Light and jump into the hole appeared in the ground.
Ir Yut, the Deathsinger – 3 Encounter
In this encounter your team must defeat Ir Yut before she finishes singing her Liturgy of Ruin, so hurry up. You’ll have only 3 minutes: 2 minutes and 30 seconds while she prepares her song and only 30 seconds to not be wiped with the Liturgy of Ruins.
- Split your team in two for the left and right sides of the arena, defeat the Hallowed Wizards on the both sides.
- Defeat the Shriekers from the inside to lower the barriers and enter the Ir Yut’s room.
- Defeat Ir Yut, the Deathsinger. Use heavy-ammo and don’t run out of the time, you have only 30 seconds. You can use the Challenge tactics and clear up all the enemies except the boss. When there are no other enemies left, a Swordbearer will spawn and drop his sward after being defeated. Use this sword to defeat Ir Yut.
- Clear up the rest enemies (Acolytes and Knights). After that all Guardians should stand at the crystal.
Now you at the final stage and can meet the final boss.
Crota, Son of Oryx – 4 Encounter

The main goal of this raid encounter is making Crota kneel and defeat him using a sword.
- To activate this encounter you should stay near the crystal.
- One Guardian will be responsable for dealing damage to Crota with the Swordbearer Knight’s sword and the others should deal enough damage to break his shield and make him kneel with heavy weapons. The Swordbearer spawns right after the fight starts at the bottom of the arena. A solid choice here is if a Hunter will use the sword to avoid taking aggro.
- Once Crota’s shield is down and he is kneeled, it’s time to attack him with the sword. And run back to safety. Repeat this process until the sword disappears. The damage phase will be over and you’ll need to clear spawn enemies and prepare for the next phase.
- In this process you will be under Presence of Crota debuff, which won’t allow you to restore shields and health. To recover HP your team should use the Chalice of Light (appears at the Swordbearers’s spawn spot).
It is important to note that any death during the encounter with Crota will trigger the summoning of the Oversoul. Oversoul is a large entity located above him that will wipe the entire team. Shoot the Oversoul until it disappears to not be wiped. Keep in mind, that when Crota becomes enraged, he will consistently summon the Oversoul. Defeating Crota is the easiest way to get the raid Exotic, so you can leave it to the professionals and buy our Crota Carries with no need to complete the full raid.
Destiny 2 Crota’s End Raid Challenge
We will update this block with more details when our team completes the Challenge mode. For now here is the list of challenges:
- The Abyss – Challenge Conservation of Energy
- The Bridge – Challenge Precarious Balance
- Ir Yut, the Deathsinger – Challenge Equal Vessels
- Crota, Son of Oryx– Challenge All For One
Completing the Challenge mode on Master difficulty will increase you chances to get Essence of the Oversoul needed to acquire Necrochasm Exotic, extra rewards such as Adept Weapon, Triumph, and more. So if you don’t feel confident about your skills we can help you with our Crota’s End Weekly Master Challenge.
Destiny 2 Crota’s End Secret Chest Locations
Like in all other Destiny 2’s raids you could find two secret chests as you progress through the raid on your way to the final boss.
Crota’s End 1 Chest Location
The first secret chest location is in the Hellmouth’s Abyss, you could find it immediately after landing. Look for the first lamp and instead of heading towards it, turn left at the first column. Continue straight until you reach a door.
To increase the chances of the chest spawning behind the door, try allowing Thralls to kill you outside and respawn. Repeat this process several times, until the chest appears behind the first door.
Crota’s End 2 Chest Location
Crota’s End second chest can be found after the Bridge encounter, before you enter to Ir Yut. Once you crossed the bridge, go further until you reach the hallway. Deal with Shriekers to let one of your teammates reach the door at the end of hallway. After that all team will be able to enter inside.
Destiny 2 Crota’s End Rewards

Here are all of the the Crota’s End rewards you can get including raid armor and raid Exotic – Necrochasm Auto Rifle.
Fang of Ir Yût Scout Rifle
Swordbreaker Shotgun
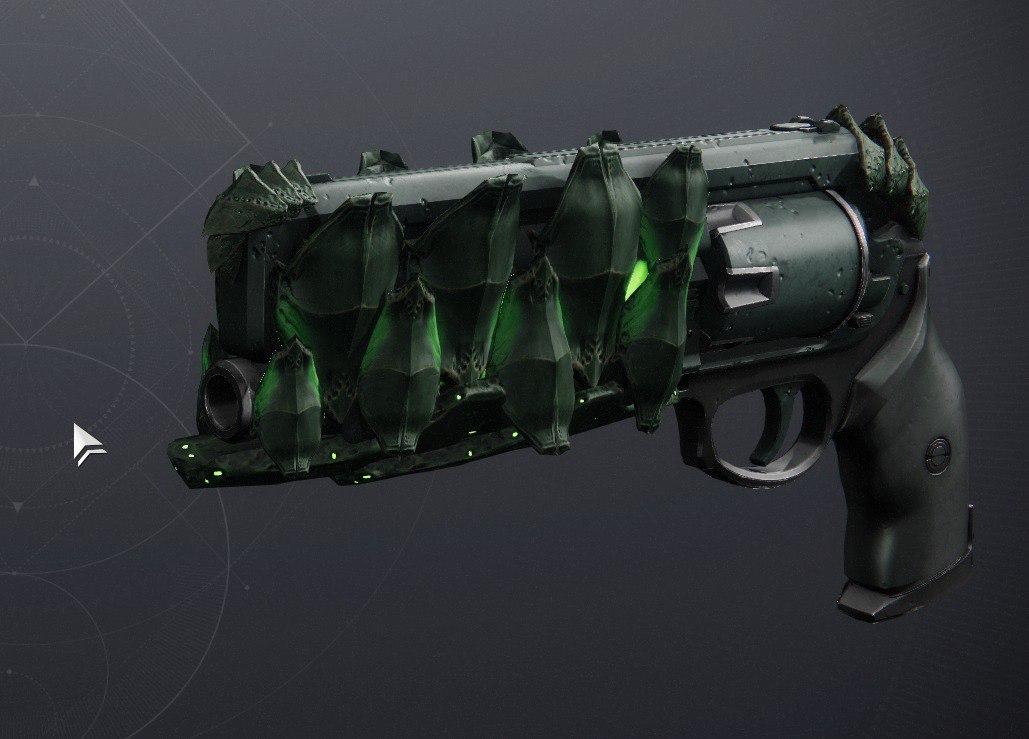
Word of Crota Hand Cannon
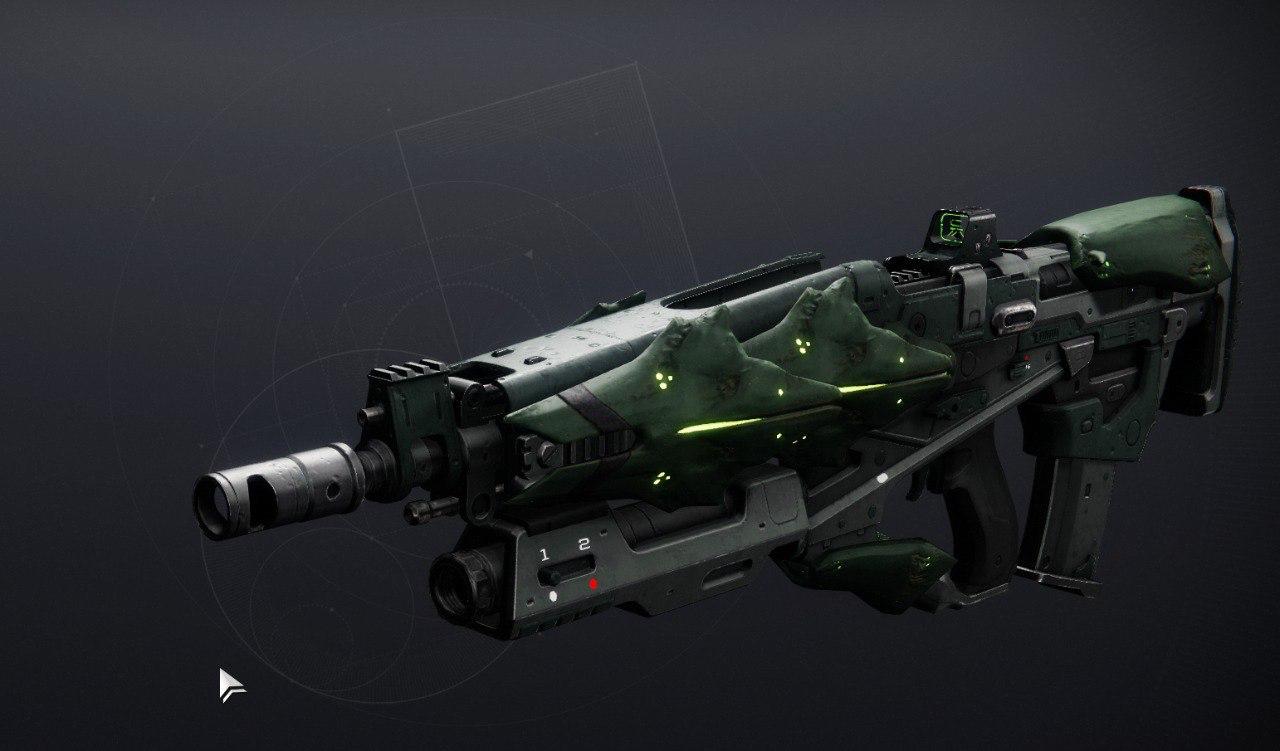
Abyss Defiant Auto Rifle
Oversoul Edict Pulse Rifle
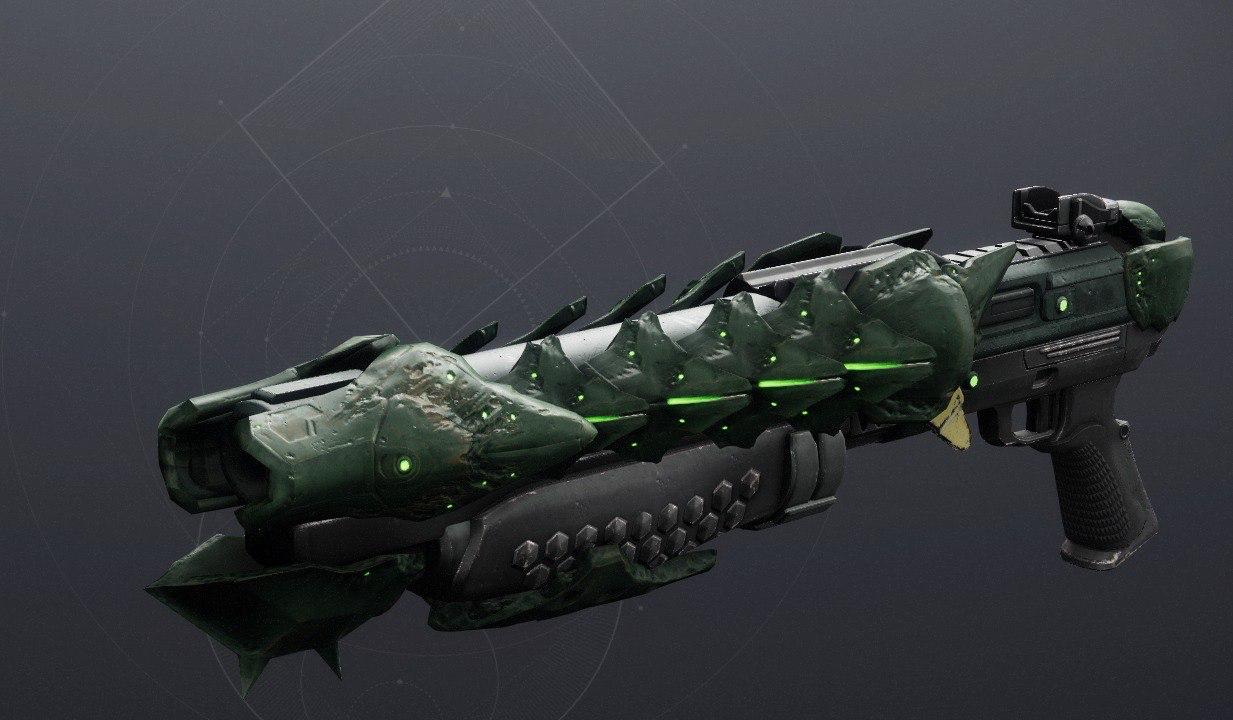
Song of Ir Yût Machine Gun
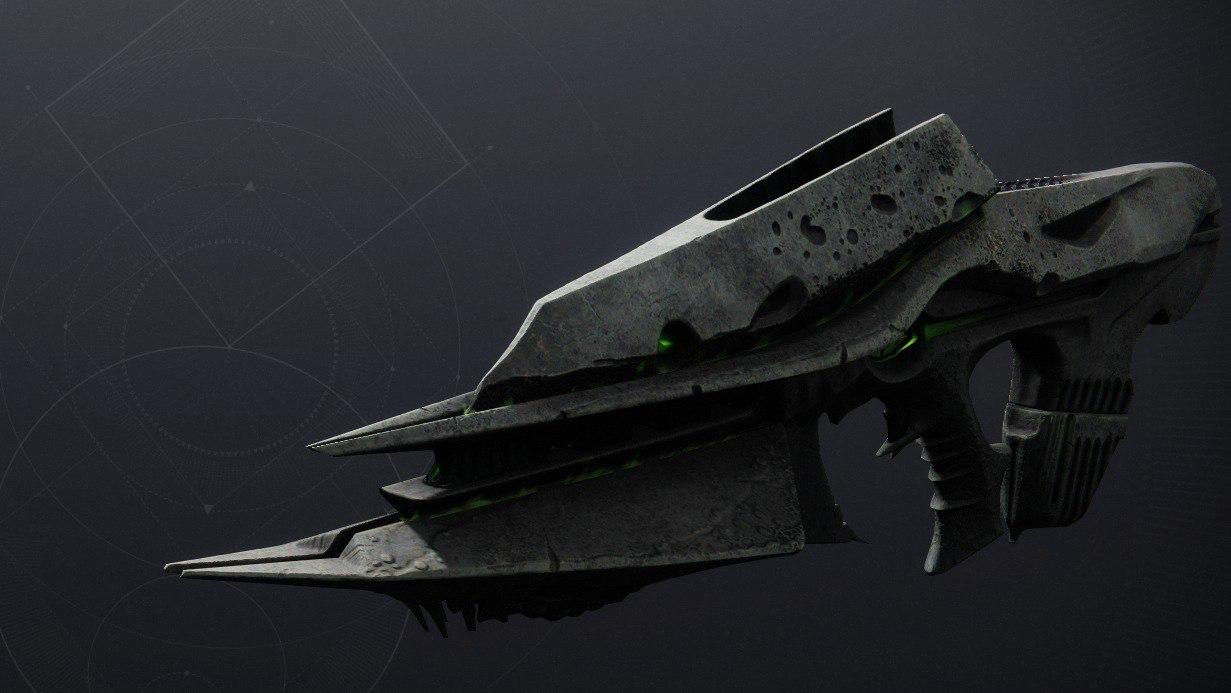
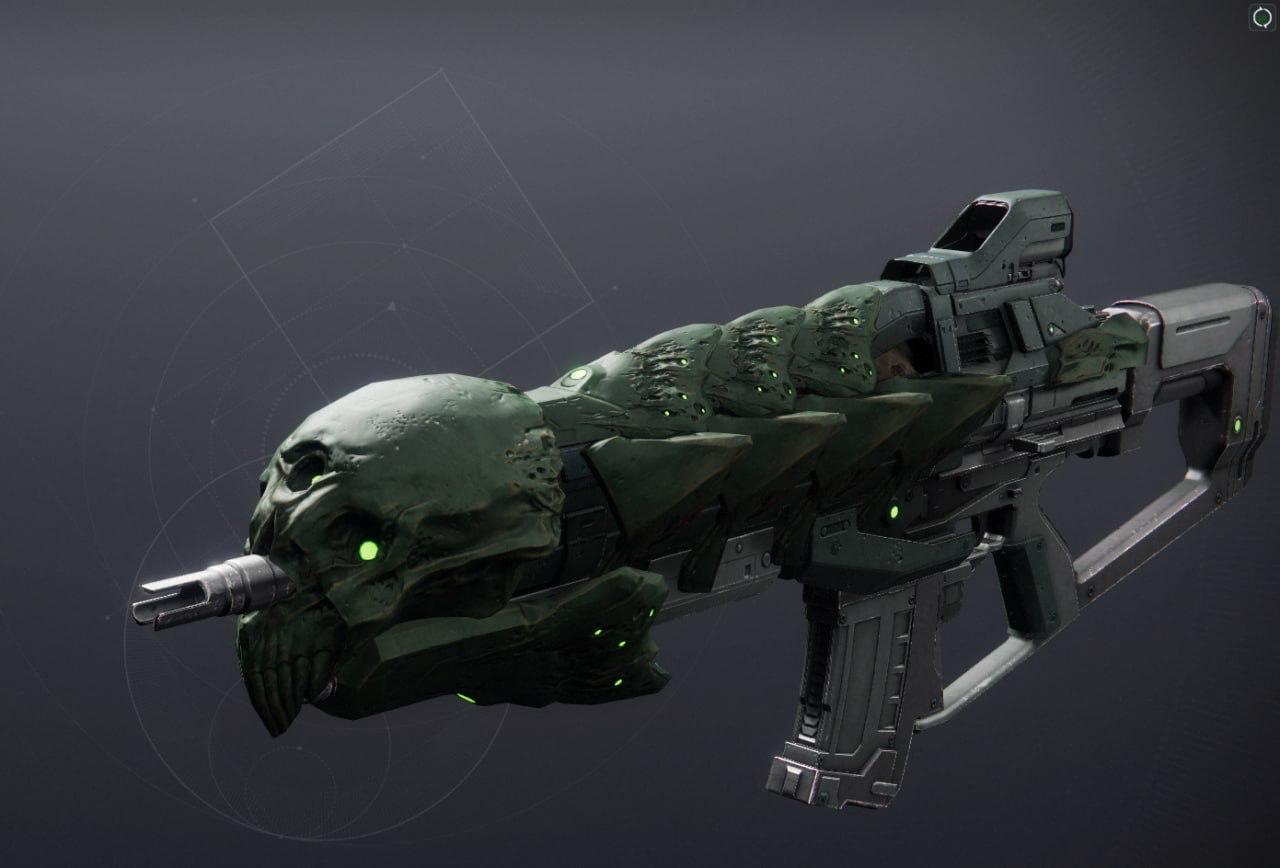
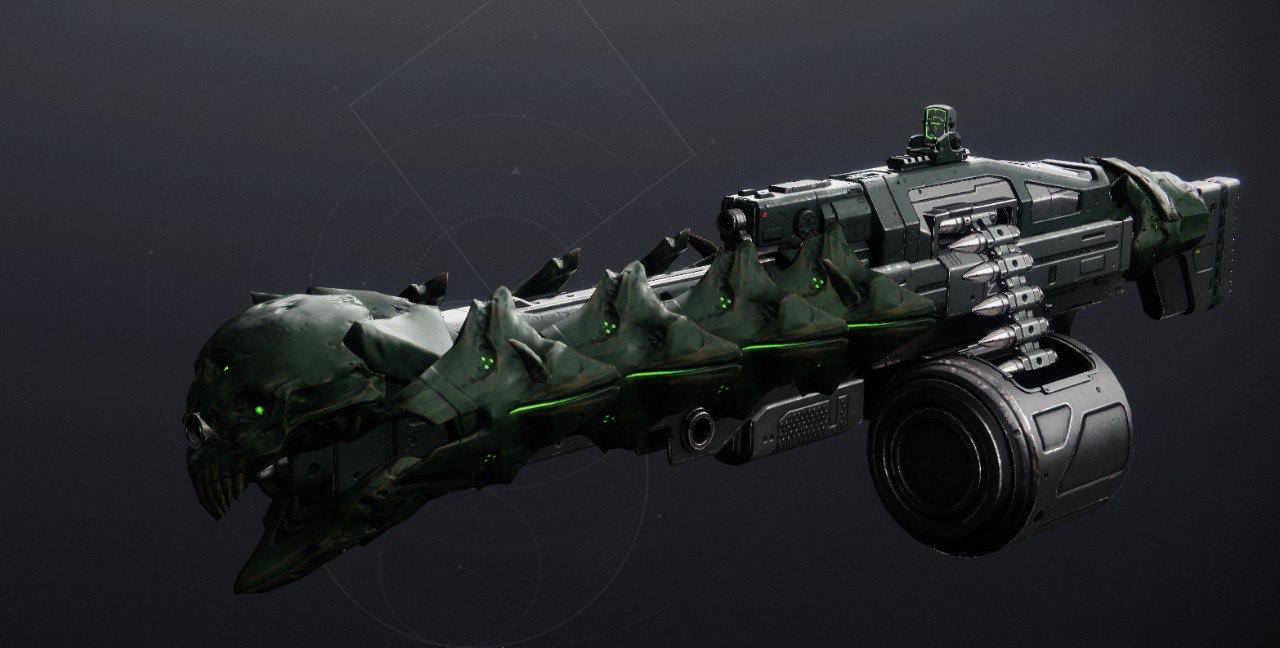
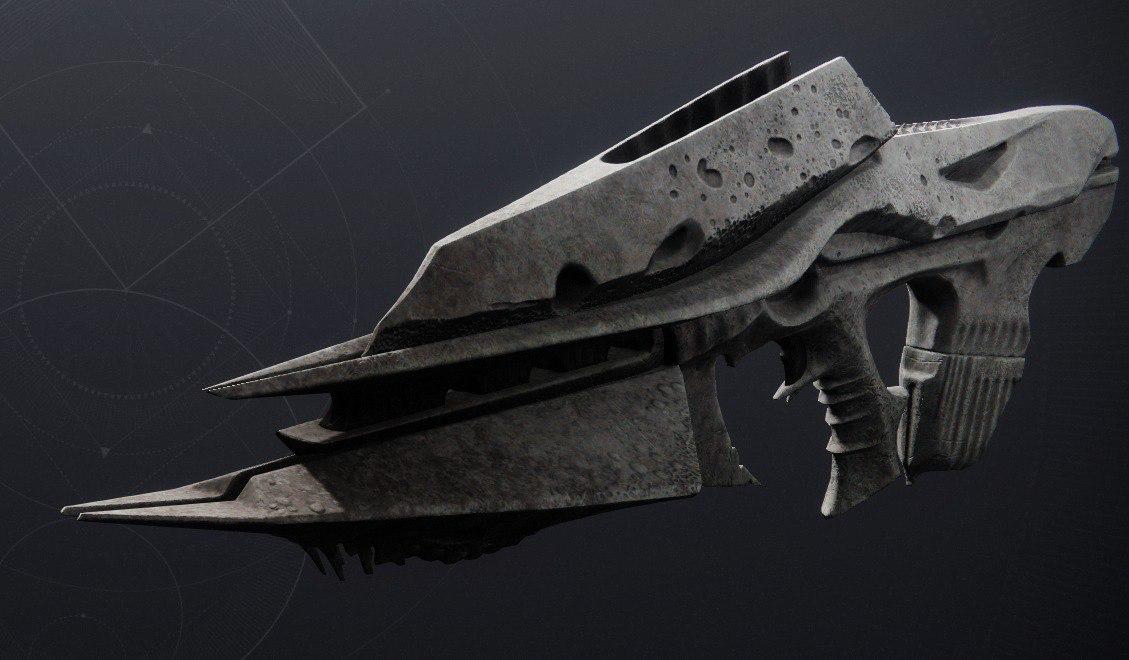
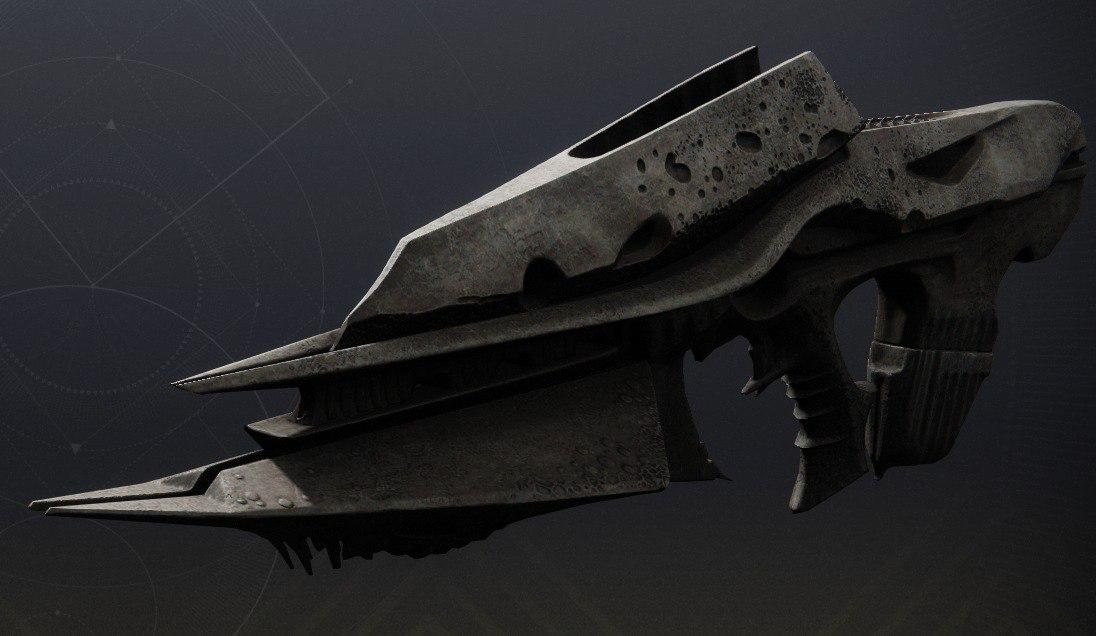
Necrochasm Auto Rifle
Husk of the Pit Auto Rifle
Eidolon Ally Auto Rifle
| Weapon | Type | Ammo | Element | Source | Craftable | |
|---|---|---|---|---|---|---|
 | Necrochasm | Auto Rifle | Crota’s End Raid | |||
 | Abyss Defiant | Auto Rifle | Crota’s End Raid | |||
 | Fang of Ir Yût | Scout Rifle | Crota’s End Raid | |||
 | Oversoul Edict | Pulse Rifle | Crota’s End Raid | |||
 | Song of Ir Yût | Machine Gun | Crota’s End Raid | |||
 | Swordbreaker | Shotgun | Crota’s End Raid | |||
 | Word of Crota | Hand Cannon | Crota’s End Raid |
Crota’s End Exotic items
Additionally, like in all raids in Destiny 2, you can obtain an Exotic Sparrow, Ships, Catalysts, shader, etc. For now we know that Crota’s End rewards include:
- The War’s Lament Exotic Ship
- The Warped Rachis Shader
- A Catalyst for the Necrochasm
And those lucky and brave who will complete Day One’s Challenge mode (first 48 hours) will get an emblem. And to obtain these exclusive exotics dive into our Crota’s End Services.
Will Crota’s End be farmable
Most likely that as Vault of Glass and King’s Fall, Crota’s End will be farmable only with Spoils of Conquest. It means that a chest will drop after defeating the last boss. And then you can purchase desirable weapons and armor using 20 Spoils of Conquest for each item. Don’t forget that this system works only with items that you have already earned by completing encounters within the raid.
4.9Hope this guide will help you to complete this legendary raid without any problem. We will provide you more info about God Rolls, Master Difficulty, and Challenges, so stay tuned for updates.
