In our Best Rainbow Six Siege Operators tier list, we break down the current R6 meta in Year 11 and rank the strongest picks for ranked and competitive play. Rainbow Six Siege has been out for nearly a decade, and the roster keeps expanding. As of Year 11, the game features 78 Operators, split between Attackers and Defenders, each with unique gadgets and tactical roles. Y11S3 also weakens Dokkaebi, improves Kali, and heavily nerfs the SMG-12. We ranked every pick by utility, flexibility, gunplay, consistency, and current R6 meta value.
Best Rainbow Six Siege Operators Key Takeaways:
- This Rainbow Six Siege operator tier list covers the Y11S3 launch meta and Operation Split Fire balance changes.
- Rainbow Six Siege Year 11 Season 3 features 78 Operators: 39 Attackers and 39 Defenders.
- S-Tier Attackers are Ace, Thatcher, Nomad, Solid Snake, Maverick, and Lion.
- S-Tier Defenders are Azami, Kaid, Mute, Smoke, Jäger, Mira, Fenrir, and Denari.
- Noor enters A-Tier as a strong shield counter with area denial, plant denial, and flexible weapons.
- Dokkaebi drops to A-Tier because her Jegeo Payload now requires a constant connection during each upload.
- Kali moves into B-Tier after receiving better scope options, faster bolt cycling, more ammunition, and smoother gadget use.
- The SMG-12 nerf lowers the close-range power of Dokkaebi, Vigil, and Warden.
- Lion, Echo, and Kapkan receive small buffs without changing their main roles.
- The best R6 operators for beginners remain Sledge, Ace, Finka, Rook, Mute, and Jäger.
- Safe Y11S3 ranked bans include Thatcher, Jackal, Dokkaebi, Mira, Azami, Fenrir, and Kaid.
- Legend Division rewards self-sufficient solo queue picks, though it does not replace standard Ranked.
 4.9
4.9Best R6 Attackers

We’ve put together a list of the best attackers in Rainbow 6 Siege Y11S3, where the most useful operators are in S-tier, while the less effective ones are placed in lower tiers. This Rainbow Six Siege Year 11 Season 3 operator tier list will help you choose the best operator for you:
| Tier | Operator |
|---|---|
| S | Ace, Thatcher, Nomad, Solid Snake, Maverick, Lion |
| A | Dokkaebi, Deimos, Ash, Zofia, Jackal, Gridlock, Zero, Thermite, Hibana, Ram, Montagne, Grim, Sledge |
| B | Kali, Rauora, Sens, IQ, Finka, Buck, Brava, Ying, Twitch, Osa, Flores, Iana, Blackbeard, Striker |
| C | Blitz, Capitão, Fuze, Amaru, Nøkk, Glaz |
📌 Note: Our Rainbow Six Siege operator tier list is updated for Y11S3.
If your favorite operator isn’t in the meta, don’t worry. Our professional Coach can quickly teach you how to master a new operator so you can climb the ranks with ease!
S-Tier
What are the best operators in Rainbow Six Siege? Surely those who are placed into S-Tier. They are good in every match, and it’s a requirement for them to be on your team if you’re aiming to win. Having them in your R6 Siege Operator pool is a good option. Let’s find out some details about the R6S best Operators 2026.
Ace
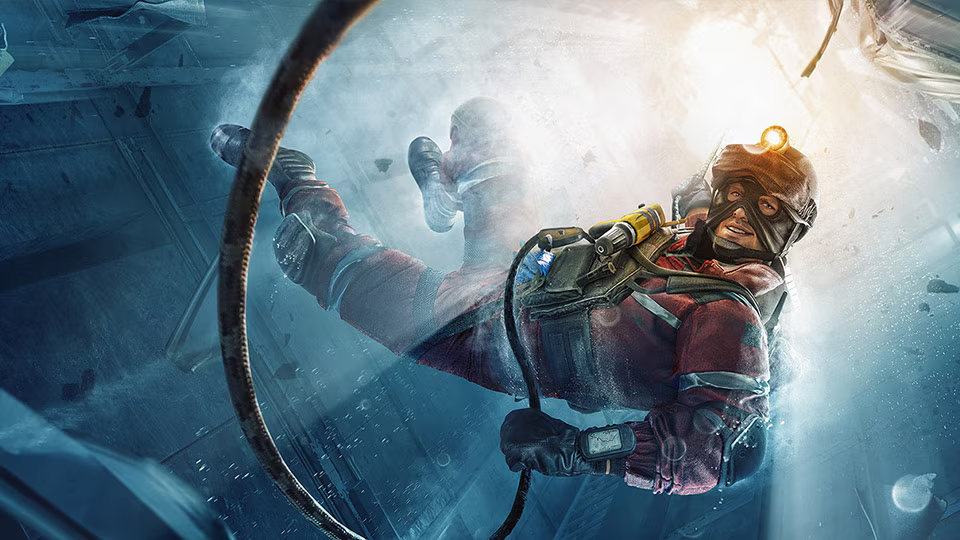
Ace remains one of the best R6 attackers because he opens reinforced walls from a safe distance. His S.E.L.M.A. Aqua Breachers create useful sightlines and entry points without direct wall contact. That makes him safer than Thermite on many ranked sites.
The AK-12 also gives Ace strong fighting power for a support Operator. Few Attackers combine hard breach, range, and gunplay this cleanly. Ace stays S-Tier in the Rainbow Six Siege Y11S3 meta.
Thatcher
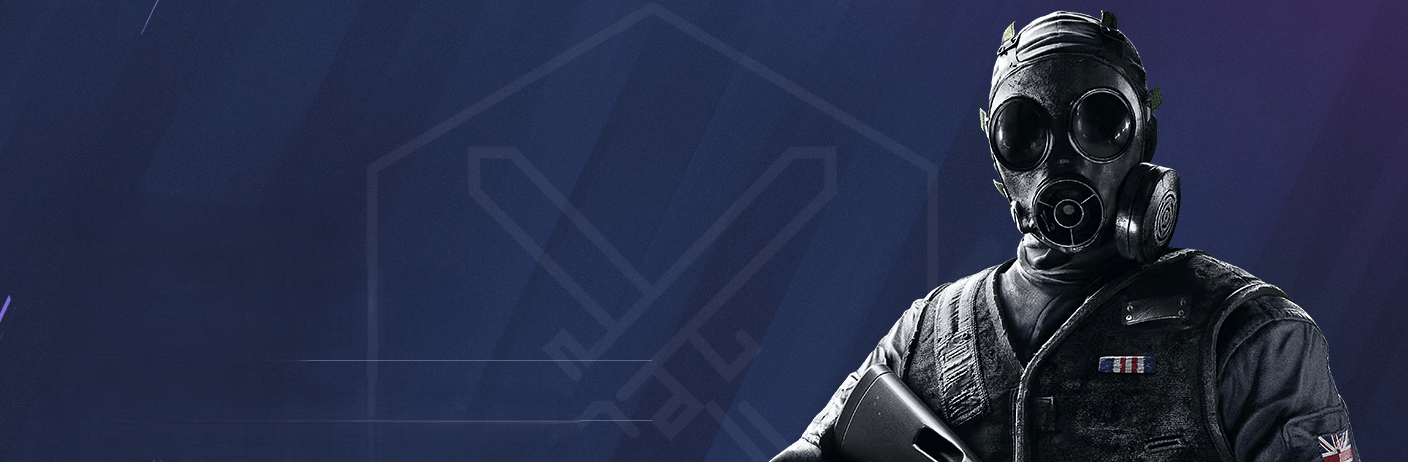
Thatcher stays near the top of the R6 attacker tier list because EMP utility remains valuable. His EMP Grenades disable electronics and help hard breachers clear protected walls. He gives coordinated teams a direct answer to Kaid, Bandit, and Mute setups.
Pair Thatcher with Ace, Thermite, or Hibana on breach-heavy maps. If defenders stack wall denial, he saves time during the execute. That reliable support keeps him among the best Rainbow Six Siege Operators.
Nomad
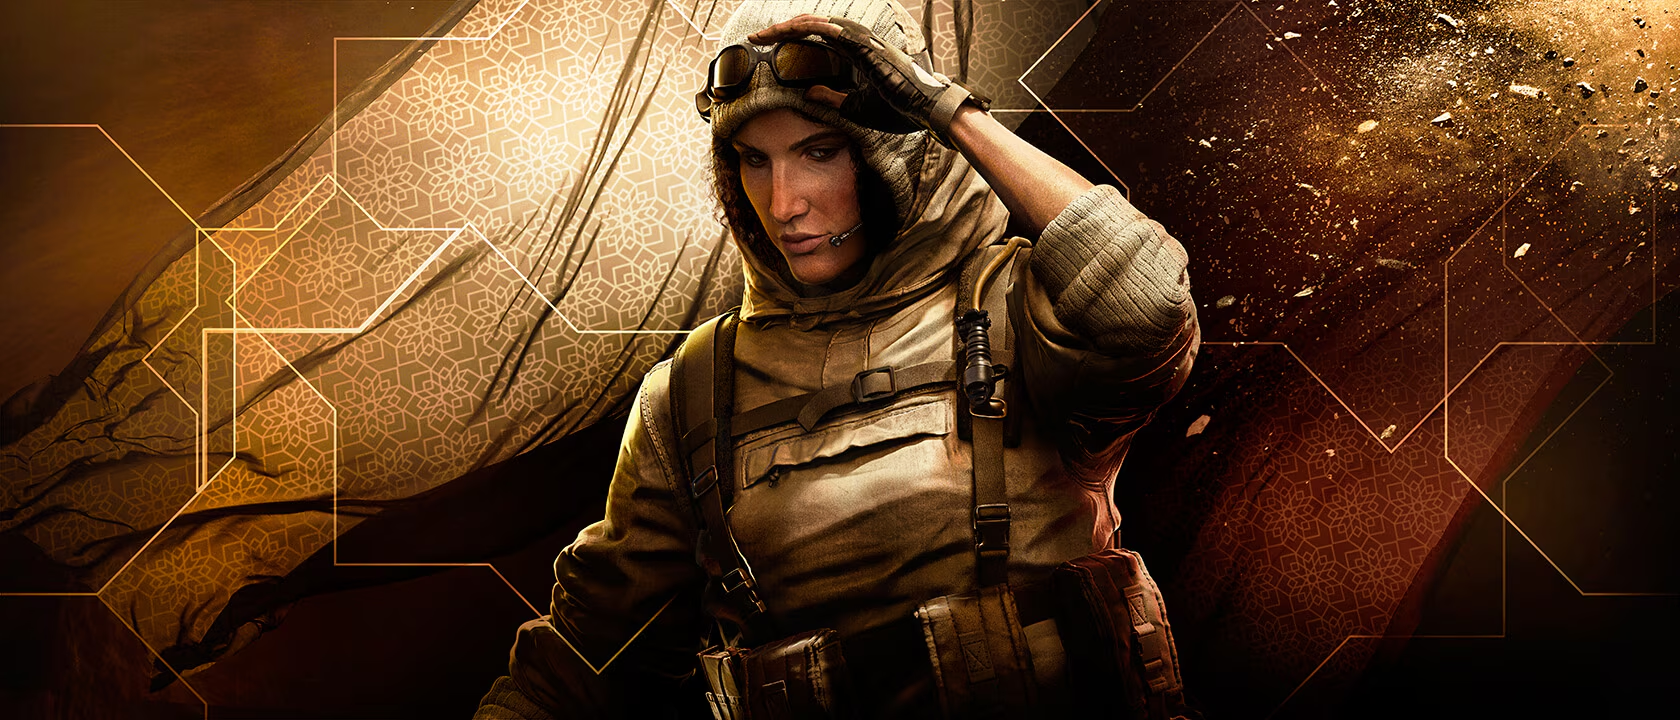
Nomad remains an S-Tier attacker because Airjabs protect flanks, plants, and post-plant positions. Her gadget gives solo queue players information without requiring constant communication. It also punishes defenders who rotate late or attempt predictable runouts.
Place Airjabs on staircases, runout doors, and common rotation paths before the final push. A late Airjab often buys the planter several extra seconds. Nomad remains one of the best R6 solo queue Operators in R6 Y11S3.
Solid Snake
Solid Snake remains one of the best Rainbow Six Siege attackers for coordinated roam clear. His Soliton Radar Mk. III gathers local intel before the team commits to a push. Precision Mode can reveal exact positions and facing directions.
On-Site Procurement lets him collect extra utility from fallen Operators later in the round. That gives him more value after the first roam clear ends. The latest R6 attacker still deserves an S-Tier position in Y11S3.
Maverick
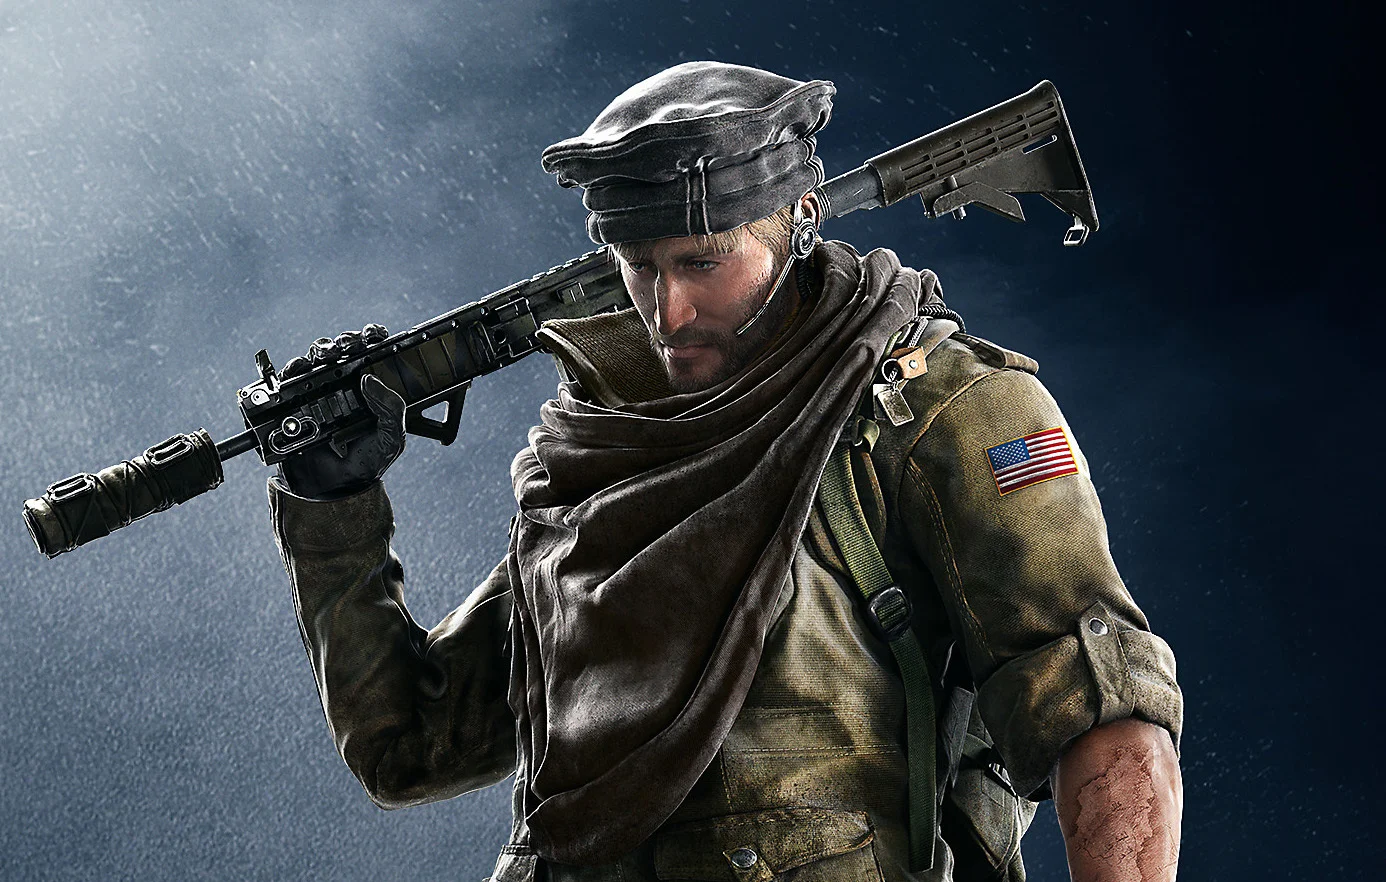
Maverick stays S-Tier because his Breaching Torch creates openings without relying on electronic gadgets. He can cut sightlines, remove reinforcements, or help clear wall denial. Skilled players can dismantle a defensive setup before the main execution starts.
R6 Y11S3 nerfs the AR-15.50, reducing its damage and increasing its recoil. His M4 and Breaching Torch remain untouched, so his main role stays strong. Maverick still rewards practice more than most hard-breach supports.
Lion

Lion remains one of the best R6 attackers for coordinated pressure. His EE-ONE-D scan punishes moving defenders during entries, rotates, and late flanks. Y11S3 shortens the warning from 1.5 seconds to 1.4 seconds.
The difference looks small, but it gives defenders less time to stop moving. Trigger the scan as teammates enter or cut off a roamer. Lion keeps S-Tier value through simple, repeatable team pressure.
A-Tier
R6S A-Tier attackers are solid choices that can have a significant influence, but also rely on team synergy or particular circumstances. They provide consistent utility and firepower but are less overpowering than S-Tier operators. But you still can achieve your Desired Rank without wasting your time on any operator with our help.
Dokkaebi

Dokkaebi drops from S-Tier to A-Tier after a major Y11S3 nerf. Her Jegeo Payload now needs a constant connection between her tablet and the target. Defenders can cancel the upload by disrupting the signal or eliminating her.
Her tablet also stays active and detectable throughout the upload. Dokkaebi loses Impact EMP Grenades, while the MK 14 EBR and SMG-12 receive weapon nerfs. The XK23 keeps her competitive, but every upload now carries more risk.
Deimos

Deimos remains one of the better anti-roam Attackers in Rainbow Six Siege. His DeathMARK Tracker forces a marked Defender into an exposed, high-pressure duel. The gadget works best after drones or teammates confirm the roamer’s position.
Avoid chasing the target alone after every scan. Build a pinch, close escape routes, and let the tracker guide your timing. Deimos stays A-Tier in Y11S3 because his pressure is strong but still dangerous.
Ash

Ash remains one of the most popular entry fraggers in Rainbow Six Siege. She brings speed, strong weapons, and quick soft destruction through her Breaching Rounds. That kit supports fast pressure and early map control.
Her value falls once the team needs deeper support utility. Pick Ash when breach, intel, and flank control are already covered. She stays A-Tier rather than joining the more complete S-Tier group.
Zofia
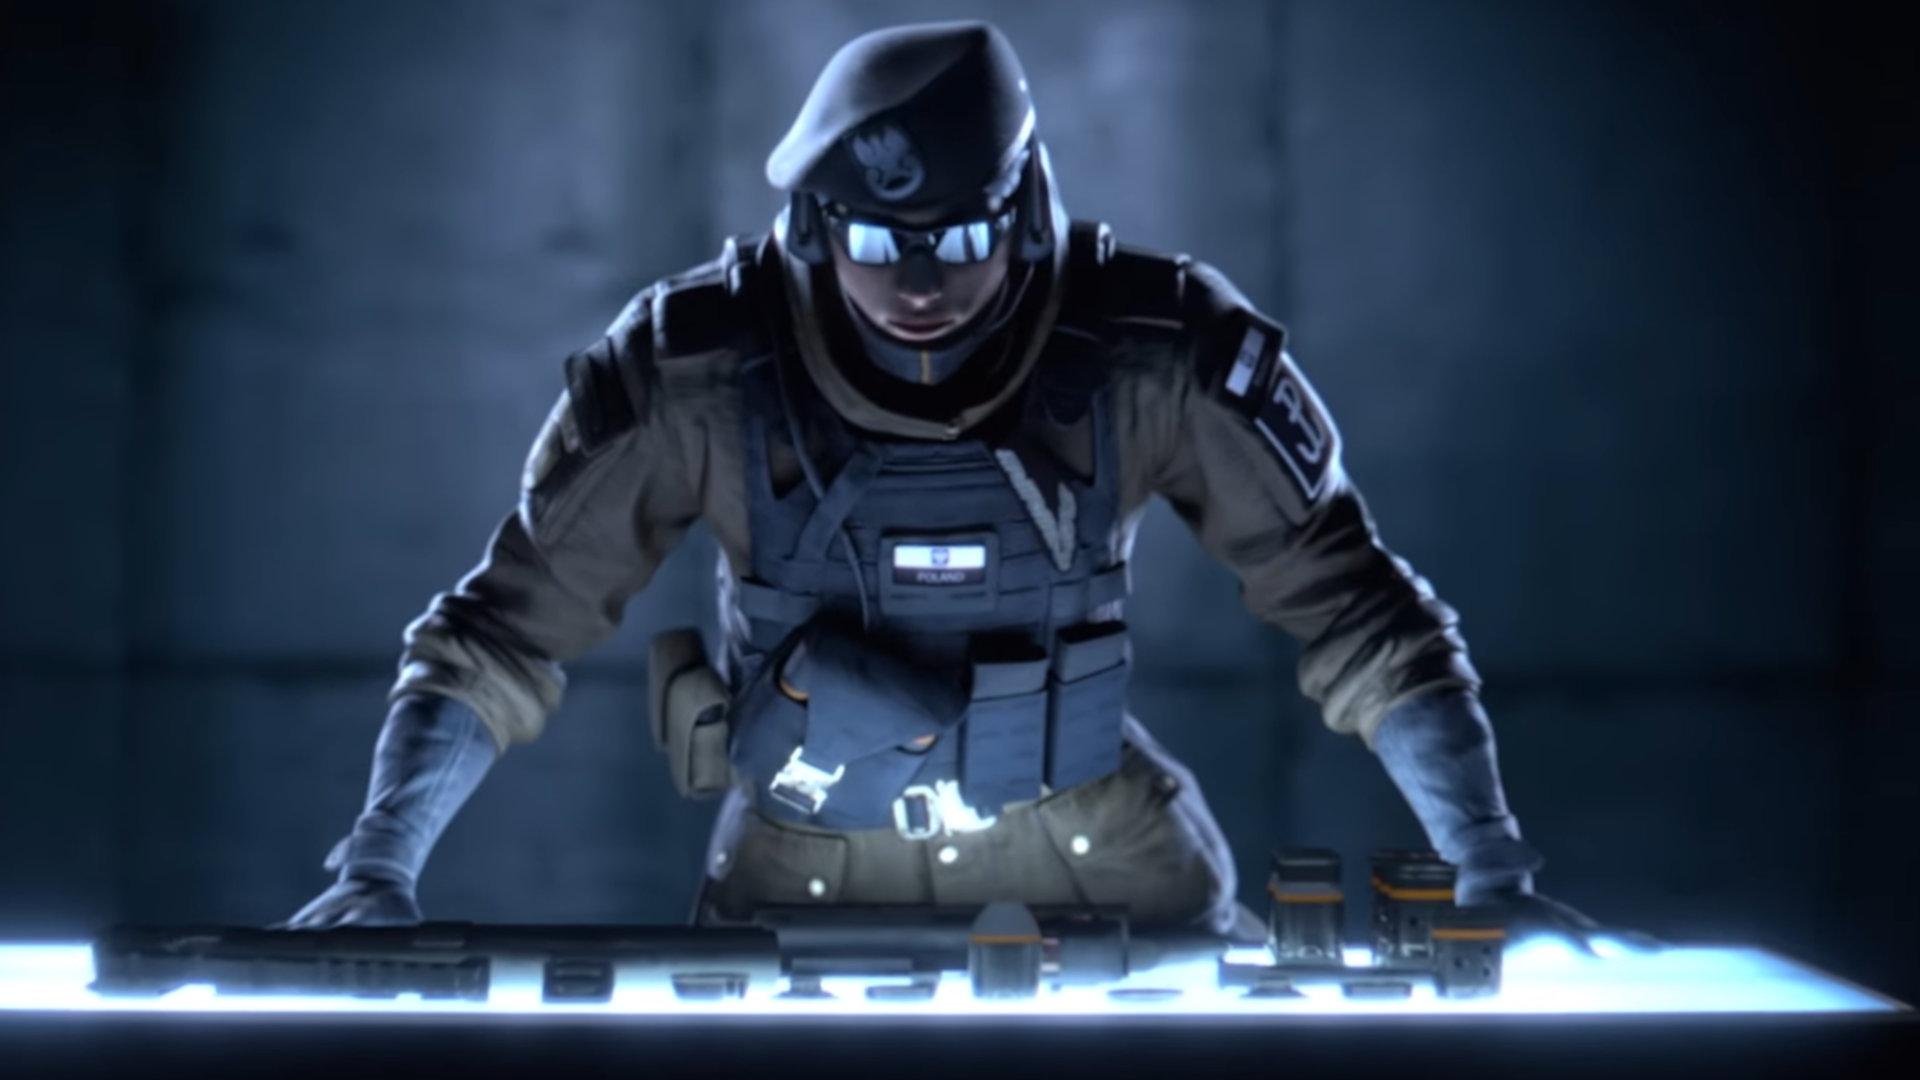
Zofia keeps the 2-speed, 2-health profile gained during Year 11. She feels less sluggish and works well as a flexible second entry. Her launcher clears soft utility and adds concussion pressure during site takes.
She cannot match Ash’s raw pace, but she brings more control to chaotic rounds. Choose Zofia when the lineup needs pressure and utility clear. She remains a strong A-Tier ranked pick.
Jackal

Jackal remains one of the best anti-roam Operators in R6. His Eyenox Model III reads footprints and tracks Defenders across the map. That pressure can force roamers away from safe positions before the execute.
Drone with Jackal instead of following pings blindly. A scan should create a team pinch, not a long solo chase. He stays A-Tier and remains a common ranked ban.
Gridlock
Gridlock holds her A-Tier position after earlier improvements to TRAX Stingers. Her spikes punish flankers, slow rotations, and make late retakes much harder. Their extra durability also prevents Defenders from clearing them casually.
She works best during planted or structured late-round executes. Cover staircases, long hallways, and common flank routes before pushing site. Gridlock now feels like a dependable control pick, not a narrow alternative.
Zero
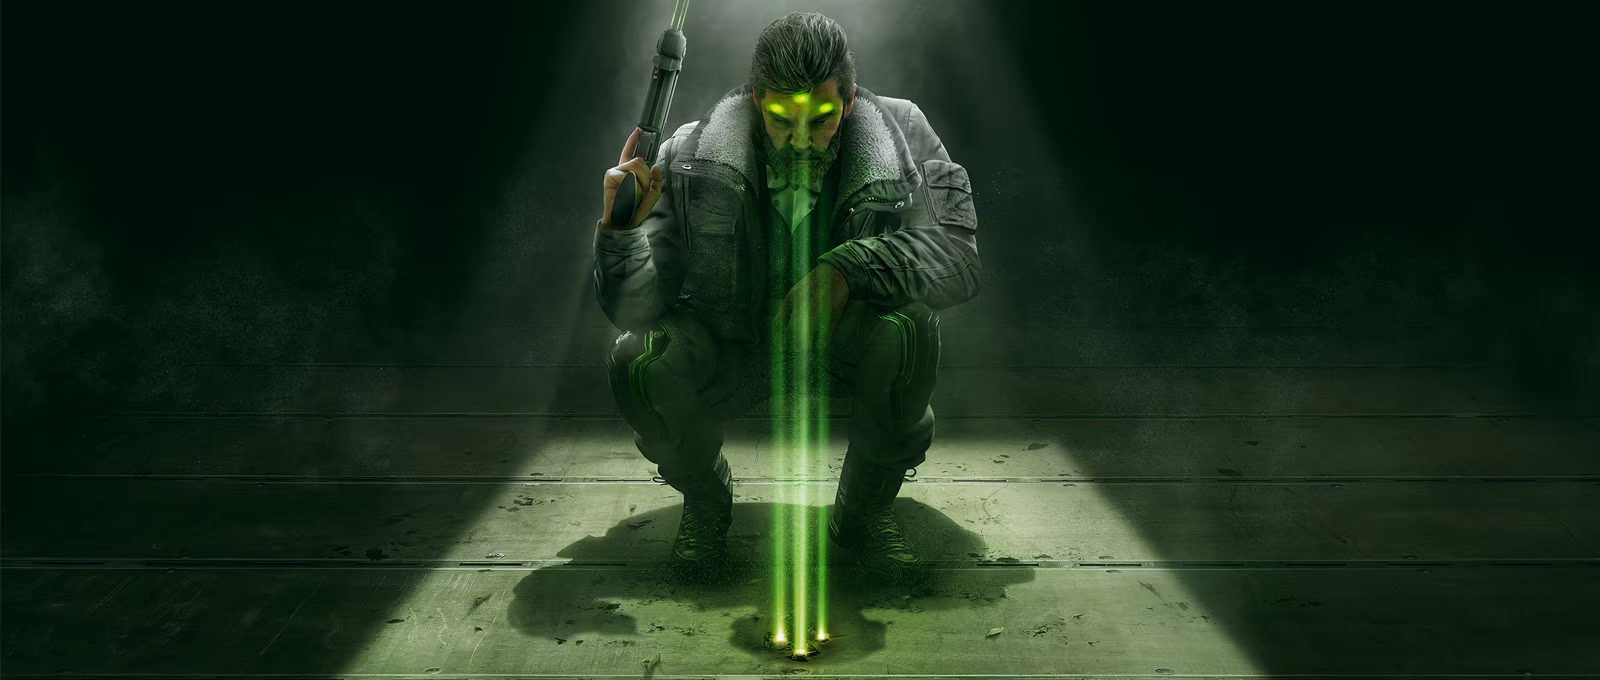
Zero is a flexible intel Attacker who fits many Rainbow Six Siege lineups. Argus Cameras can watch flanks, scout site, and disable exposed Defender gadgets. They give the team more information without spending every drone.
Place each camera with a clear purpose. Random Argus Cameras disappear quickly, while hidden post-plant cameras can win rounds. Zero remains an A-Tier intel and utility pick.
Thermite
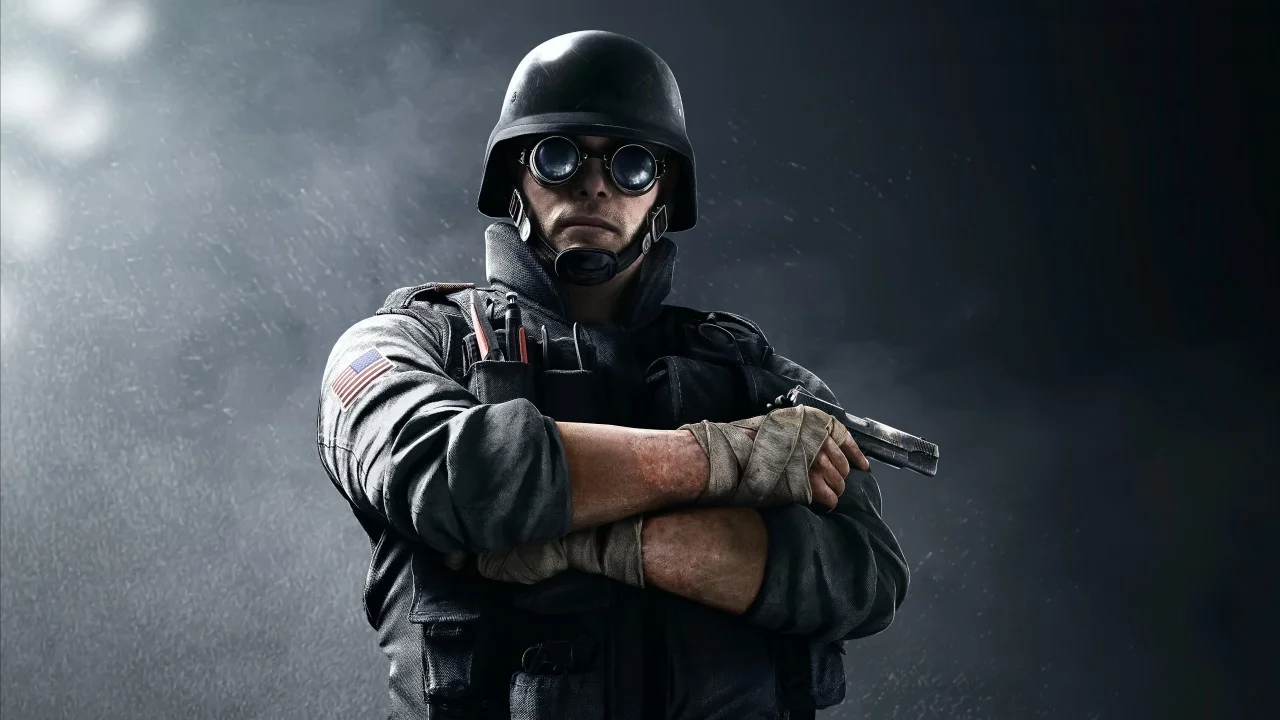
Thermite remains one of the best hard breachers when teammates can protect him. His Exothermic Charges create large openings that make site entries much cleaner. Few R6 Operators open a reinforced wall as decisively.
Direct placement remains his main weakness. Wall denial or Defender pressure can stop the charge before detonation. Thermite stays A-Tier because Ace offers safer breach on more sites.
Hibana
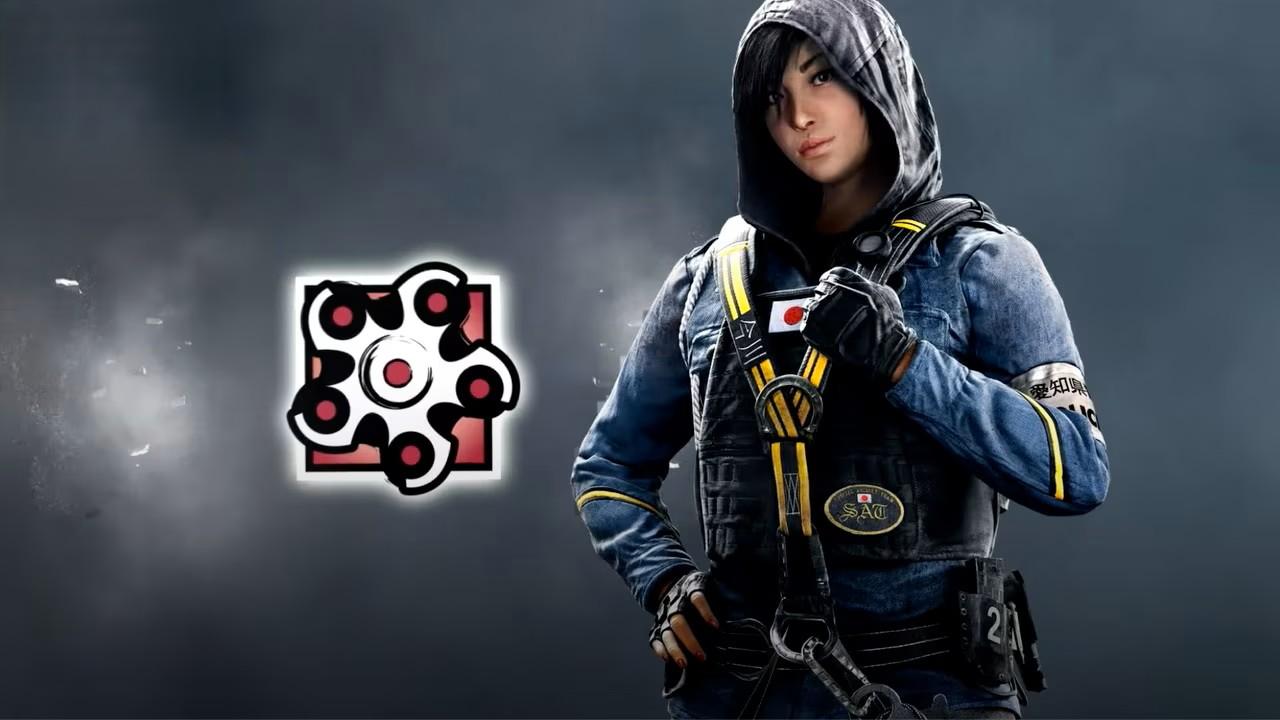
Hibana is a flexible hard breacher for hatches, small openings, and distant pressure. X-KAIROS pellets open reinforced surfaces without forcing her next to the wall. Their 3.8-second detonation also makes each commitment slightly faster.
She cannot create Thermite’s wide entry or Ace’s clean wall control. Her precision gives teams more choice across vertical maps. Hibana stays A-Tier as a smart support pick.
Ram
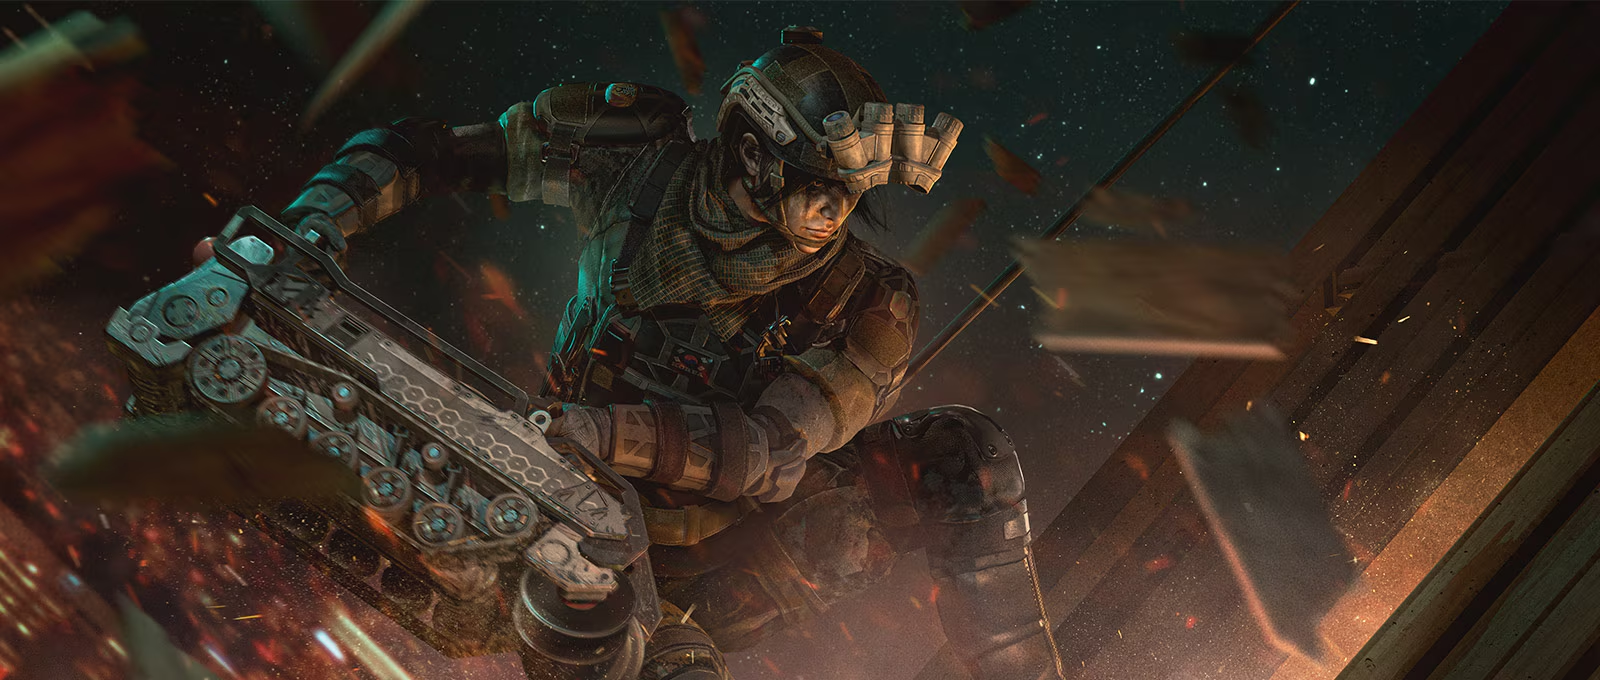
Ram earns A-Tier through soft destruction, noise, and vertical pressure. Her BU-GI Auto Breacher clears floors, barricades, shields, and gadgets along its route. This forces anchors to move while Attackers take space.
She shines on bomb sites with soft floors above them. Start the BU-GI from cover, then pressure the exposed positions. Ram is one of the best R6 Attackers for structured vertical play.
Montagne

Montagne remains a strong ranked pick for safe information and plant cover. His extended shield lets him cross dangerous space and report Defender positions. He also forces opponents to spend time or utility removing him.
Montagne needs teammates who follow his calls and trade around the shield. Alone, he becomes slow and easy to isolate. Coordinated teams can still turn his pressure into clean site takes.
Grim
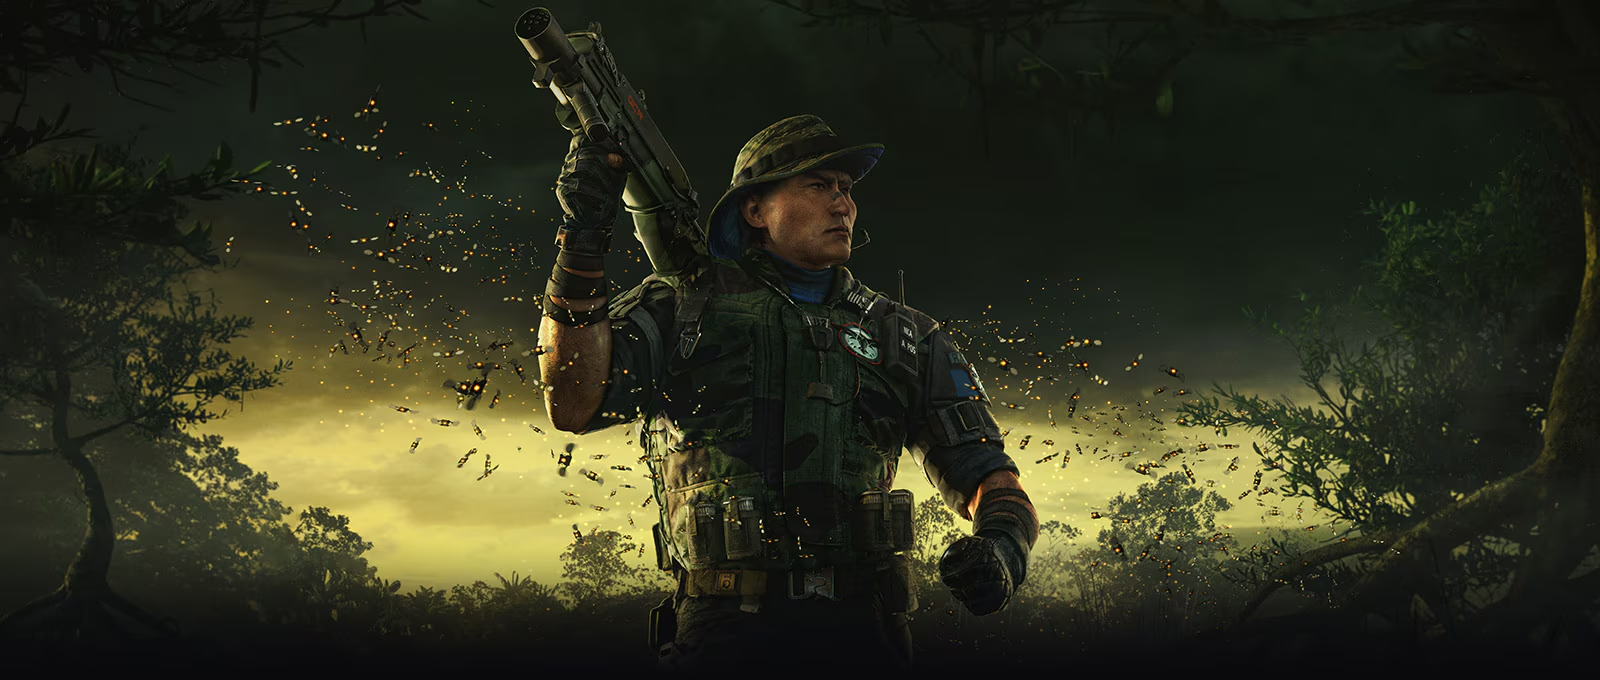
Grim brings strong area tracking during late-round executes. Kawan Hives reveal Defenders who remain inside the swarm. The effect forces anchors to move or expose their location.
Grim wins value by cutting rotations, checking corners, and protecting the planter. He needs teammates ready to act on each ping. That execute pressure keeps him in A-Tier.
Sledge
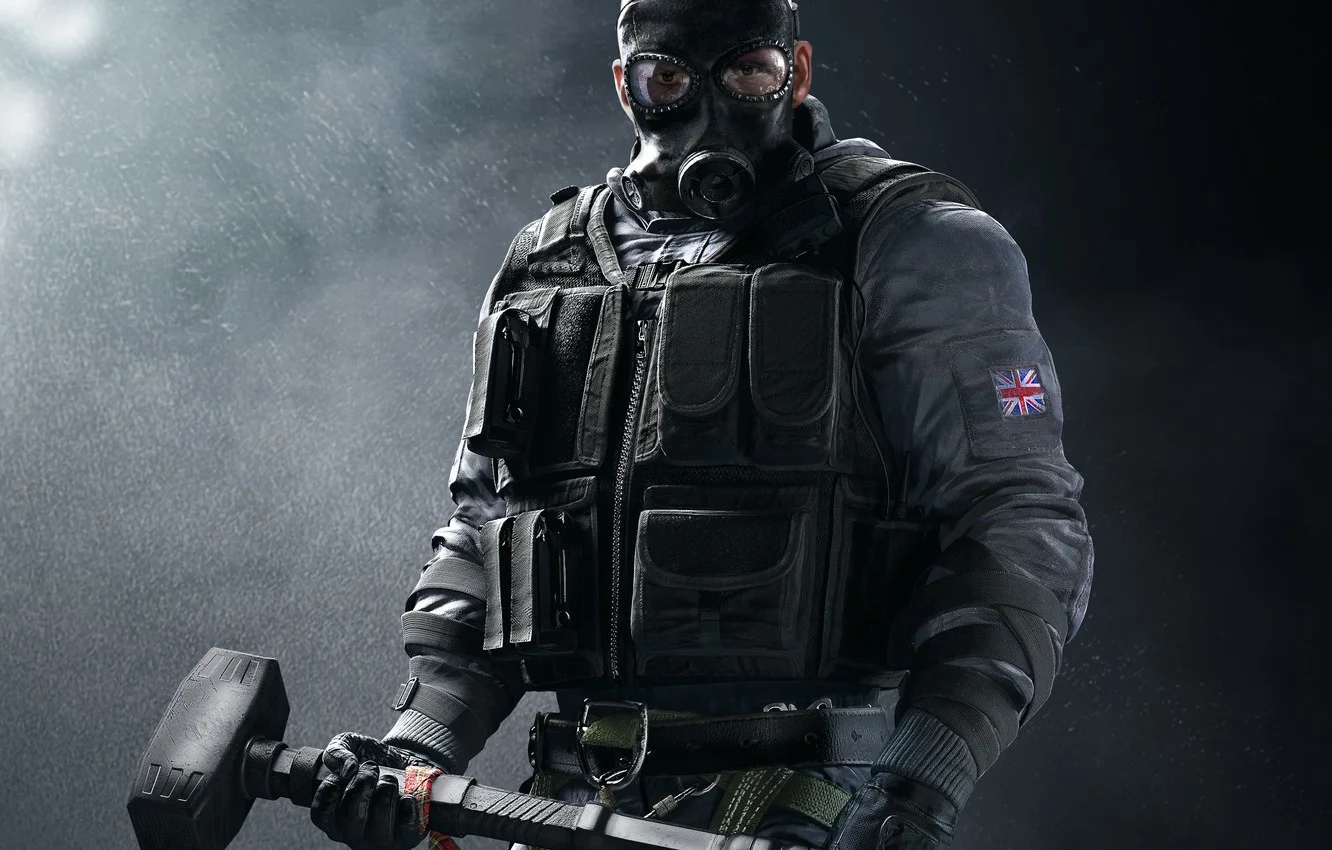
Sledge remains a reliable A-Tier Attacker with a simple and useful kit. His hammer opens soft walls, floors, ceilings, and barricades without spending explosives. That makes him excellent for vertical pressure and early map control.
Use him above site to expose safe Defender positions. His job stays clear even when team communication breaks down. Sledge remains one of the best Rainbow Six Siege Operators for beginners.
B-Tier
B-Tier Attackers in Y11S3 can perform well, though stronger alternatives cover their jobs more consistently. Most need a favorable map, matchup, or planned execute. They still deserve consideration when their gadget directly answers the Defender setup.
Kali

Kali moves from C-Tier to B-Tier after her Y11S3 improvements. Switching the LV Explosive Lance no longer cancels her aim or lean. Her CSRX 300 now offers 3.5x and 8x magnification, faster cycling, and 51 rounds.
The SPSMG9 also gains damage, giving Kali a better close-range fallback. Higher sniper recoil and hip-fire spread still demand precise shots. She feels smoother and more flexible, but remains a specialist rather than a default pick.
Rauora
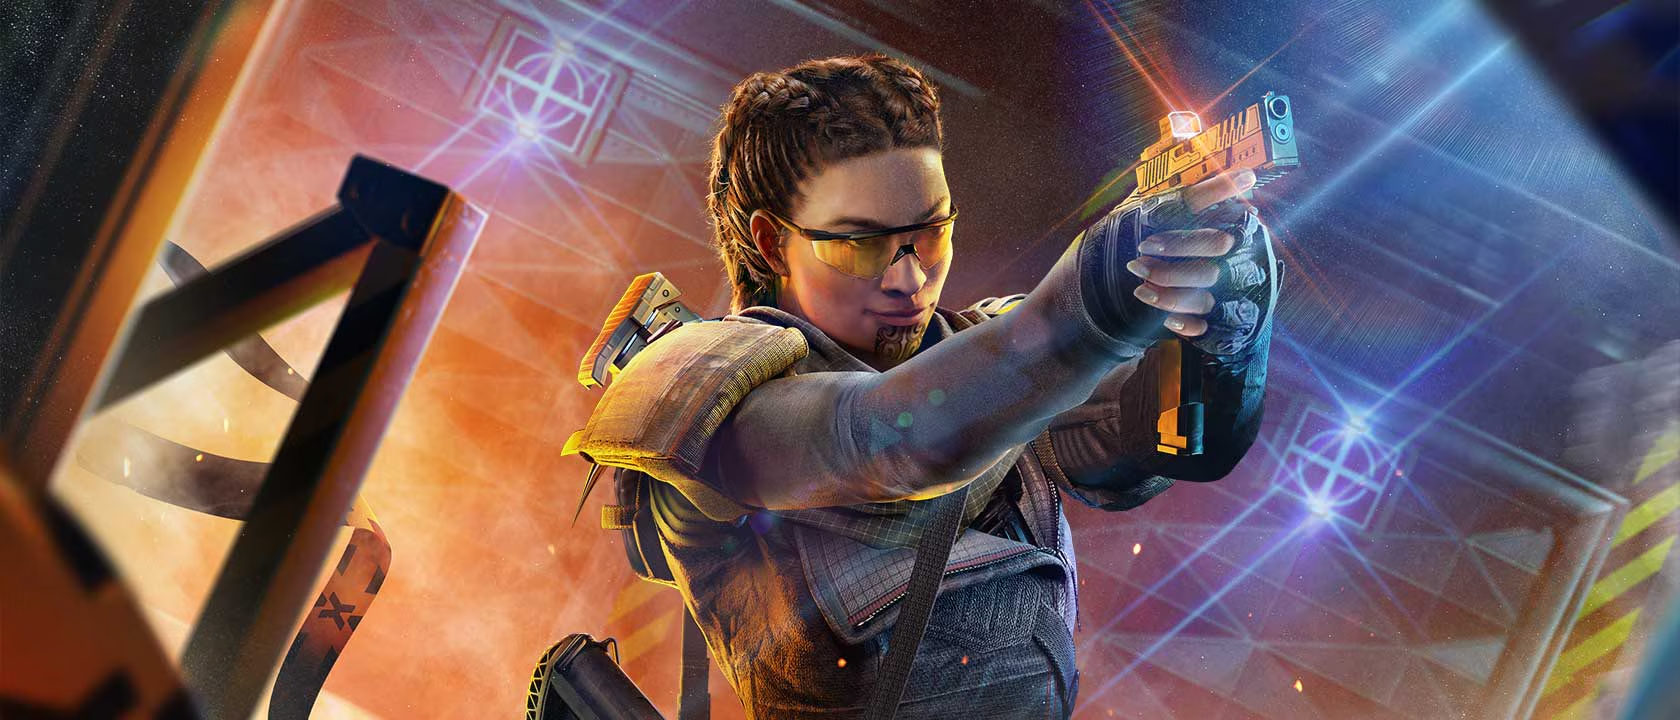
Rauora keeps the practical value gained from the XK23 assault rifle. Her D.O.M. Panel Launcher controls doorways and breaks dangerous sightlines. Panels can protect a plant, split Defender angles, or support a safer cross.
She is not a simple entry fragger, so placement and timing matter. Poor panels can also disrupt teammates during an execute. Rauora stays B-Tier as a setup-heavy support Attacker.
Sens
Sens remains more playable with the XK23, though the R.O.U. Projector still needs coordination. The rolling screen blocks long sightlines and creates temporary plant cover. A poor throw can obscure friendly angles and damage the execute.
Pick Sens for planned site takes or convincing pressure fakes. The gadget becomes much weaker when teammates ignore its path. That reliance keeps Sens in B-Tier.
IQ
IQ remains a clean answer to hidden Defender electronics. Her Electronics Detector finds traps, cameras, denial gadgets, and phones through surfaces. This gives Attackers information before they commit to a route.
She shines against gadget-heavy teams and vertical electronic setups. Gunfight-focused Defenders give her fewer valuable targets. IQ stays B-Tier because her impact changes between matches.
Finka
Finka brings team-wide sustain and tempo through Adrenal Surge. The health boost helps during entries, trades, and quick site pushes. Her ability also works without complex placement or map knowledge.
She lacks the breach, intel, or control offered by stronger support Attackers. Failed early pressure can leave her with little round impact. Finka stays B-Tier as a comfortable team-support pick.
Buck
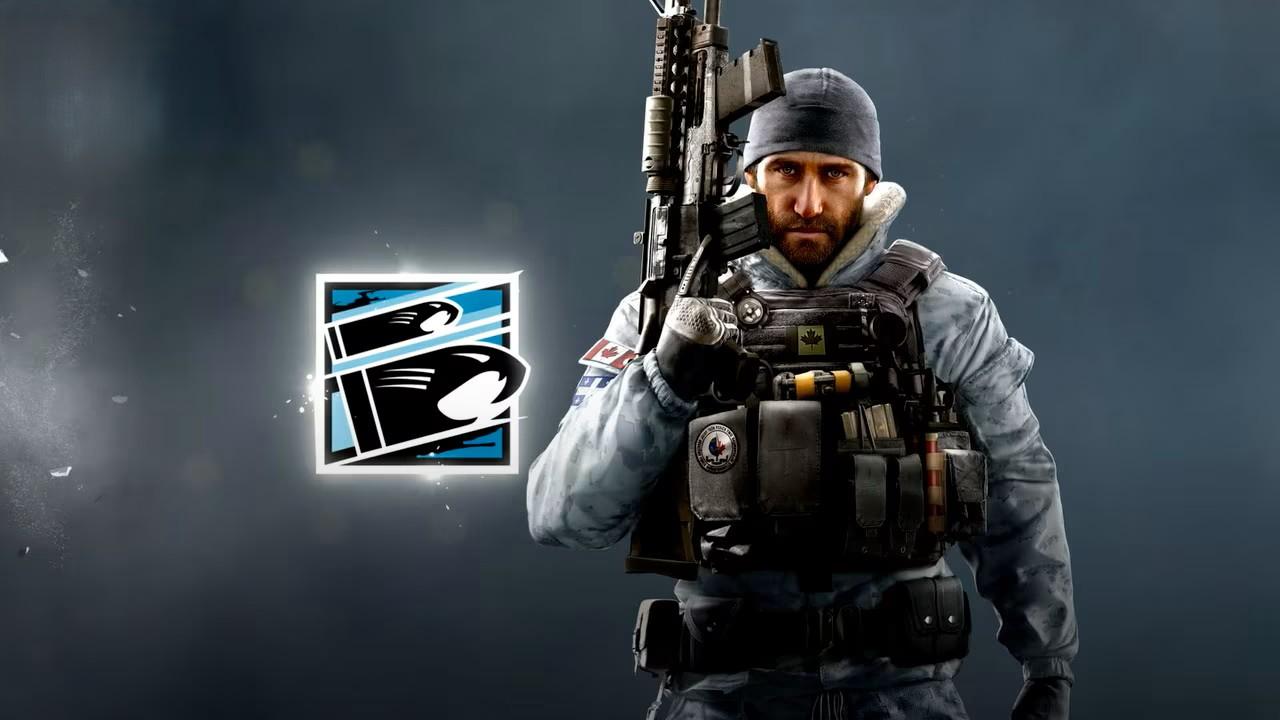
Buck remains a strong soft breacher with fast vertical pressure. His Skeleton Key opens floors, ceilings, walls, and sightlines within seconds. He also carries enough weapon power to follow each opening himself.
Ram and Sledge compete for the same lineup slot. Buck fits teams that want faster destruction and an aggressive follow-up. He stays B-Tier because stronger picks cover similar jobs.
Brava
Brava is a smart anti-gadget Attacker whose value depends on the Defender lineup. Kludge Drones hack cameras, traps, and other electronic devices. A successful hack can turn a prepared site against its owners.
Low-tech Defender setups give her fewer worthwhile targets. Her drones also need safe paths and enough time to work. Brava stays B-Tier as a strong counter-pick, not a universal choice.
Ying
Ying can overwhelm anchors with flash pressure and fast executes. Candela forces Defenders to turn away, reposition, or take the flash. She becomes scary when several Attackers push behind them.
Timing decides most Ying rounds. A poor Candela wastes utility or blinds the friendly entry. She remains B-Tier as a planned execute pick.
Twitch
Twitch remains useful when the team needs ranged gadget clear. Shock Drones destroy cameras, traps, and exposed Defender devices before the execute. Her weapons also let her fight after the drones finish their work.
Good Defenders hunt these drones early, especially in higher ranks. Twitch needs careful routes and patient scouting to repay the slot. She stays B-Tier due to that execution risk.
Osa
Osa creates safer angles with Talon-8 Shields. She can cover windows, doors, open crossings, and post-plant positions. That protection helps Attackers take space on exposed sites.
Explosives, flanks, and coordinated pressure can remove her setup. She also needs teammates who play around each shield. Osa stays B-Tier because her impact depends heavily on the plan.
Flores
Flores clears defensive utility with RCE-Ratero drones. He can remove shields, bulletproof gadgets, and crowded setups from a safer distance. The explosions also force Defenders away from protected positions.
Flores loses flexibility once his drones are gone. Teammates must claim the space that each explosion creates. He remains a good B-Tier support for structured attacks.
Iana

Iana remains useful because Gemini Replicator gathers safe intel and baits reactions. The clone can check shields, traps, crossfires, and common anchor positions. It also saves regular drones for the later execute.
She no longer feels like the automatic entry choice from older metas. Stronger Attackers bring more direct utility or control. Iana stays B-Tier as a solid but replaceable intel-fragger.
Blackbeard
Blackbeard works best as a cautious angle holder rather than a true meta Attacker. His shield supports patient window pressure and exposed long-range peeks. He brings less team utility than Ace, Nomad, or Thatcher.
Pick him when the plan revolves around holding a specific line. Chaotic entries reduce the value of his protection. Blackbeard remains B-Tier because his strongest use stays narrow.
Striker
Striker offers flexible secondary gadget combinations without a unique signature ability. This freedom lets players fill utility gaps in a simple attacking lineup. It also helps beginners learn common R6 tools.
Specialists usually create clearer win conditions through stronger gadgets. Striker cannot match Ace’s breach or Nomad’s flank control. Striker stays B-Tier as a flexible but rarely superior choice.
C-Tier
C-Tier Attackers need specific maps, matchups, or surprise to deliver consistent value. Their gadgets can still win rounds in the right hands. Most ranked teams will find safer alternatives higher in this R6S tier list.
Blitz
Blitz is a risky shield Attacker who punishes isolated Defenders. His flash shield closes distance and creates panic during tight fights. Lower-ranked teams often struggle when he finds a clean one-versus-one.
Coordinated opponents answer him with crossfires, traps, and patient spacing. The new Noor matchup adds another direct shield counter. Blitz stays C-Tier because his results remain inconsistent.
Capitão
Capitão brings smoke and fire bolts for planned site executes. His crossbow blocks sightlines, denies positions, and supports the planter. Those tools work best when the team agrees on a clear route.
Many squads prefer Operators with stronger direct utility or easier pressure. Capitão still fits a few specific plant setups. He remains C-Tier because his value feels narrow.
Fuze
Fuze destroys gadgets and punishes stacked Defenders with Cluster Charges. His charges now breach reinforced surfaces and Armor Panels in 1.75 seconds. That faster deployment makes some vertical plays less exposed.
He still needs favorable floors, enough setup time, and predictable Defender positions. Opponents can often hear the charge before it activates. Fuze remains C-Tier as a map-specific destruction pick.
Amaru
Amaru creates fast entries and surprise routes with the Garra Hook. She reaches windows, hatches, and raised positions much faster than other Attackers. An ignored route can give her an early kill.
The trick loses power once Defenders expect it. Drones, window holds, and simple crossfires punish rushed entries. Amaru stays C-Tier because surprise drives most of her value.
Nøkk
Nøkk pressures Defenders through quieter movement and reduced camera presence. HEL Presence Reduction helps her avoid some intel while taking space. Good timing can punish teams that depend heavily on cameras.
She brings less team utility than stronger Rainbow Six Siege Attackers. A failed lurk also wastes valuable round time. Nøkk remains C-Tier because solo pressure is hard to trust.
Glaz
Glaz performs best inside a smoke-heavy execute. His thermal scope watches angles through smoke and punishes late Defender peeks. Certain sites give him useful plant cover.
Outside those setups, his impact drops quickly. Teams must build the execute around his vision to justify the slot. Glaz remains a niche C-Tier Attacker.
Best R6 Defenders
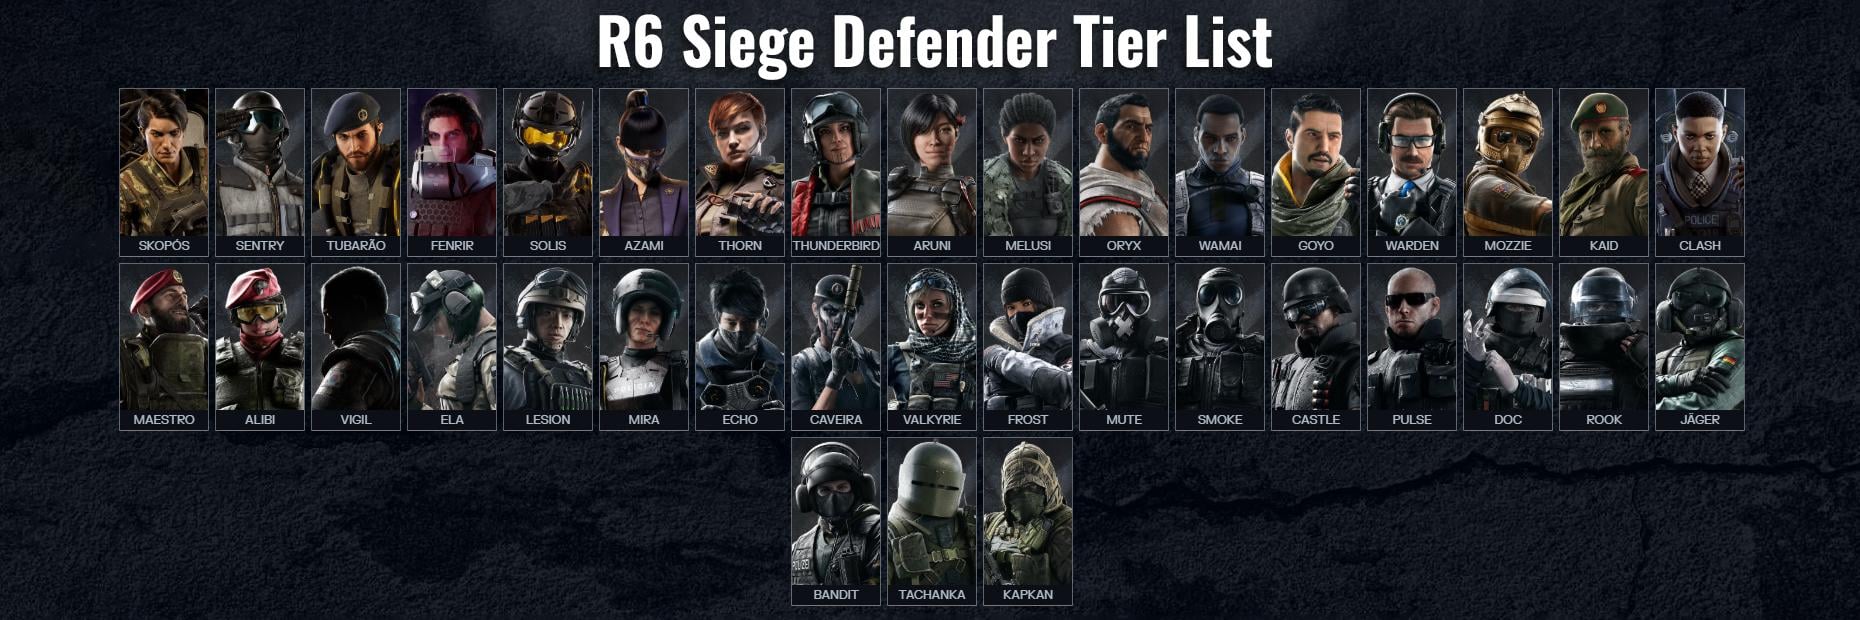
This tier list ranks defenders from S-Tier to C-Tier based on their general viability in competitive and ranked Rainbow Six Siege Y11S3 play. Use this Best Defenders in Rainbow Six Siege rankings to determine the optimal picks for your team, as well as to discover which operators offer the most value in any situation. Here’s our Rainbow Six Siege Operator Tier List 2026 for defenders:
Best R6 Defenders Tier List
| Tier | Operator |
|---|---|
| S | Azami, Kaid, Mute, Smoke, Jäger, Mira, Fenrir, Denari |
| A | Noor, Clash, Aruni, Wamai, Valkyrie, Echo, Mozzie, Tubarão, Lesion, Melusi, Skopós, Kapkan |
| B | Bandit, Castle, Frost, Maestro, Pulse, Solis, Vigil, Warden, Alibi, Thunderbird, Goyo, Rook |
| C | Caveira, Doc, Ela, Oryx, Thorn, Tachanka, Sentry |
📌 Note: This operators Rainbow Six Siege tier list is updated for Y11S3.
S-Tier
S-Tier defenders are the top picks in R6, with game-changing utility, map control, and defensive value. They slot into nearly any strategy and offer high value every round consistently. S-Tier operators can help you gain MMR, but they require more time and effort to play effectively. Our team can make the process faster and easier, helping you achieve your desired MMR in no time.
Azami

Azami remains one of the best R6 defenders because she can reshape the site mid-round. Kiba Barriers block sightlines, patch weak angles, and create safer anchor positions. Attackers must spend extra time and utility clearing them.
She works best around narrow doors, head holes, and long lines. Random barriers waste her strongest advantage. Good Azami players build small power positions that slow every push.
Kaid
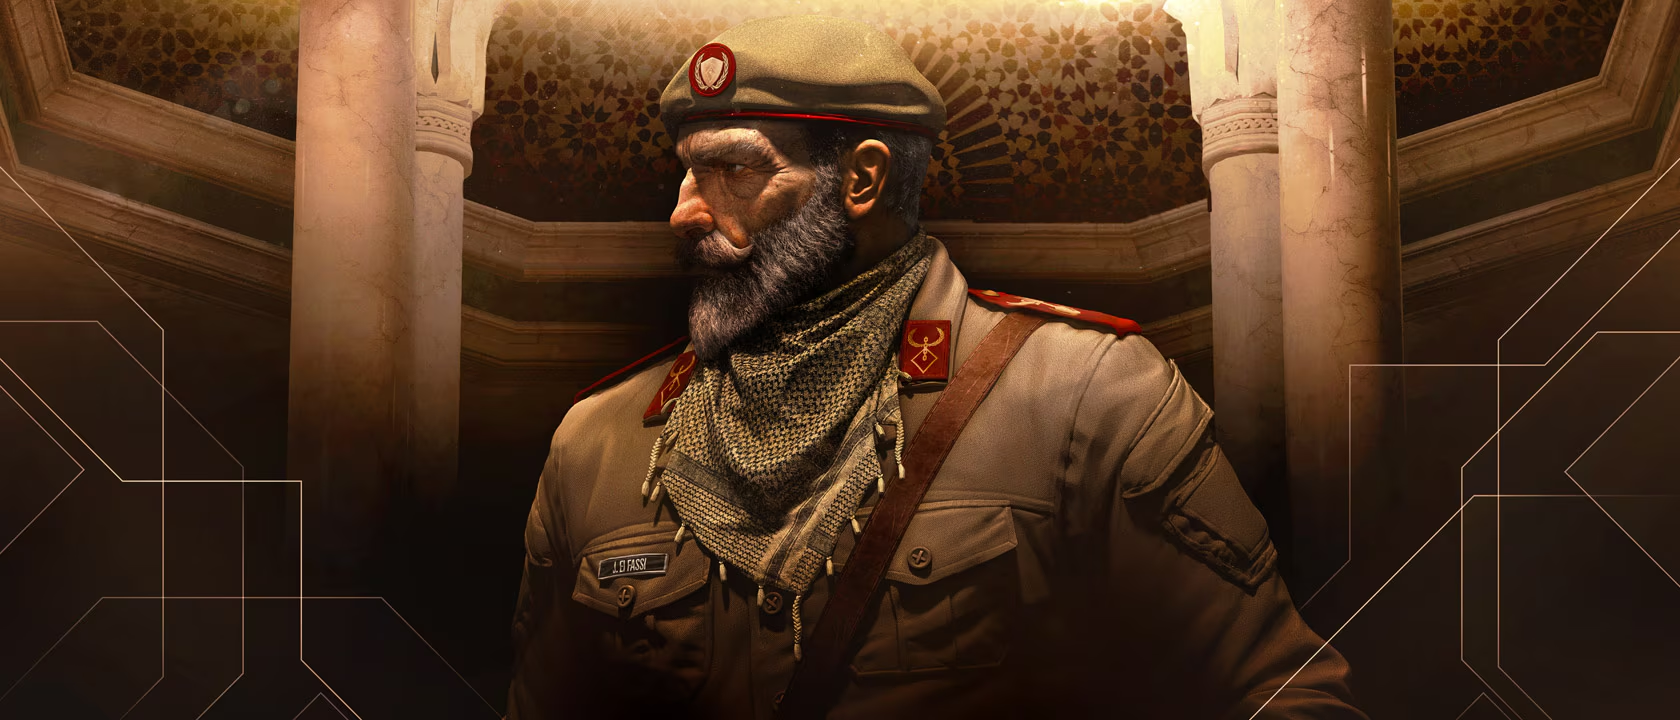
Kaid keeps S-Tier value through safe wall and hatch denial. Electroclaws hide in tricky positions and protect several reinforced surfaces. They are often harder to clear than Bandit’s Shock Wire.
Kaid shines on basement sites and maps with important hatches. Pair him with Mute, Tubarão, or projectile denial to complicate the breach. He remains one of the safest wall-denial picks.
Mute

Mute remains one of the most reliable Rainbow Six Siege Defenders. Signal Disruptors block drones, remote gadgets, and early scouting around key routes. His utility works across nearly every ranked map.
The shotgun and SMG-11 also support rotates and close-range fights. Place jammers near drone paths, reinforced walls, and default entries. Mute brings value without perfect team coordination.
Smoke
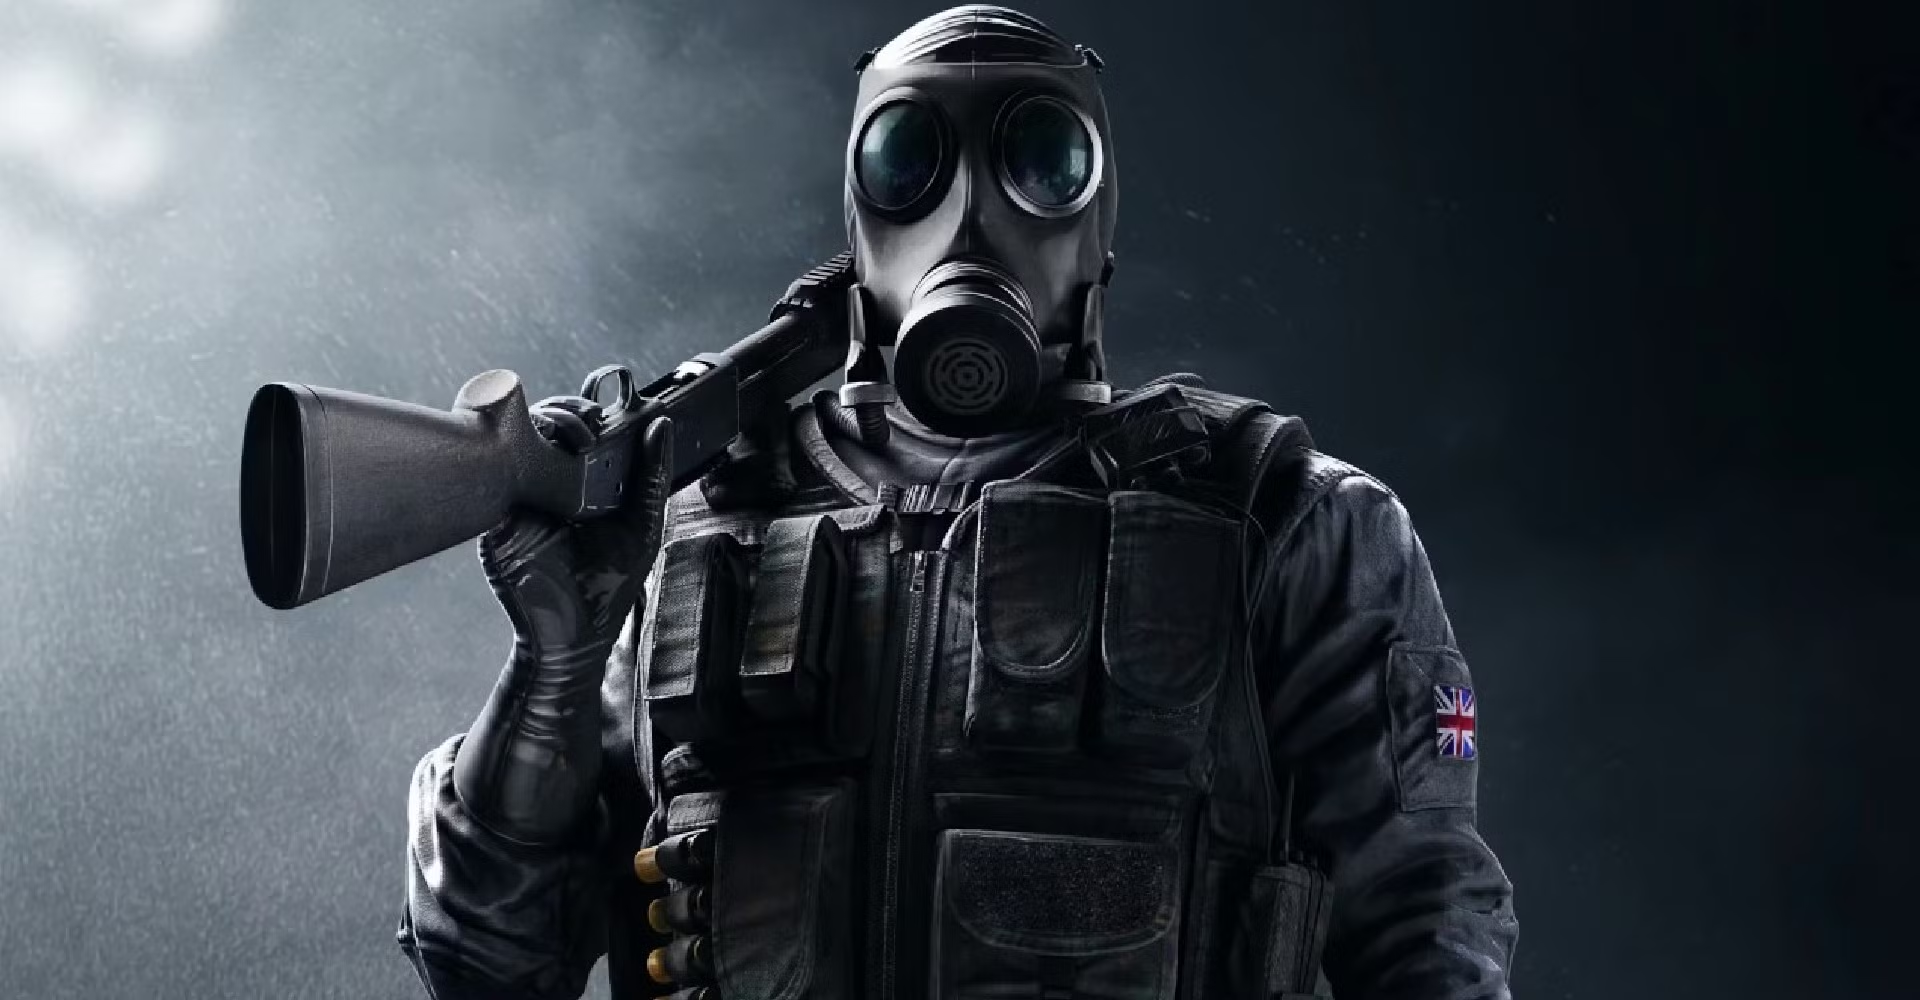
Smoke keeps his S-Tier position in Rainbow Six Siege Y11S3. Remote Gas Grenades deny plants, block chokepoints, and burn late-round seconds. His Deployable Shield makes strong anchor positions harder to clear.
He shines on tight sites with predictable doors and default plant spots. The shotgun, SMG-11, shield, and gas cover several defensive jobs. Few anchors offer the same complete setup.
Jäger

Jäger stays high because projectile denial remains valuable on every site. Active Defense Systems catch grenades and protect shields, corners, and anchor positions. One saved shield can change the entire attacking route.
The 416-C also supports roaming after setup. Place each ADS around positions the team plans to hold. Jäger’s main job remains utility protection, not random early fights.
Mira

Mira remains one of the strongest site-control Defenders. Black Mirrors turn reinforced walls into protected information tools and dangerous sightlines. Attackers often need dedicated utility before they can approach them.
She shines on sites with long angles and safe anchor space. One good window can delay a plant or reroute the whole attack. Mira stays S-Tier because her gadget changes site strategy.
Fenrir
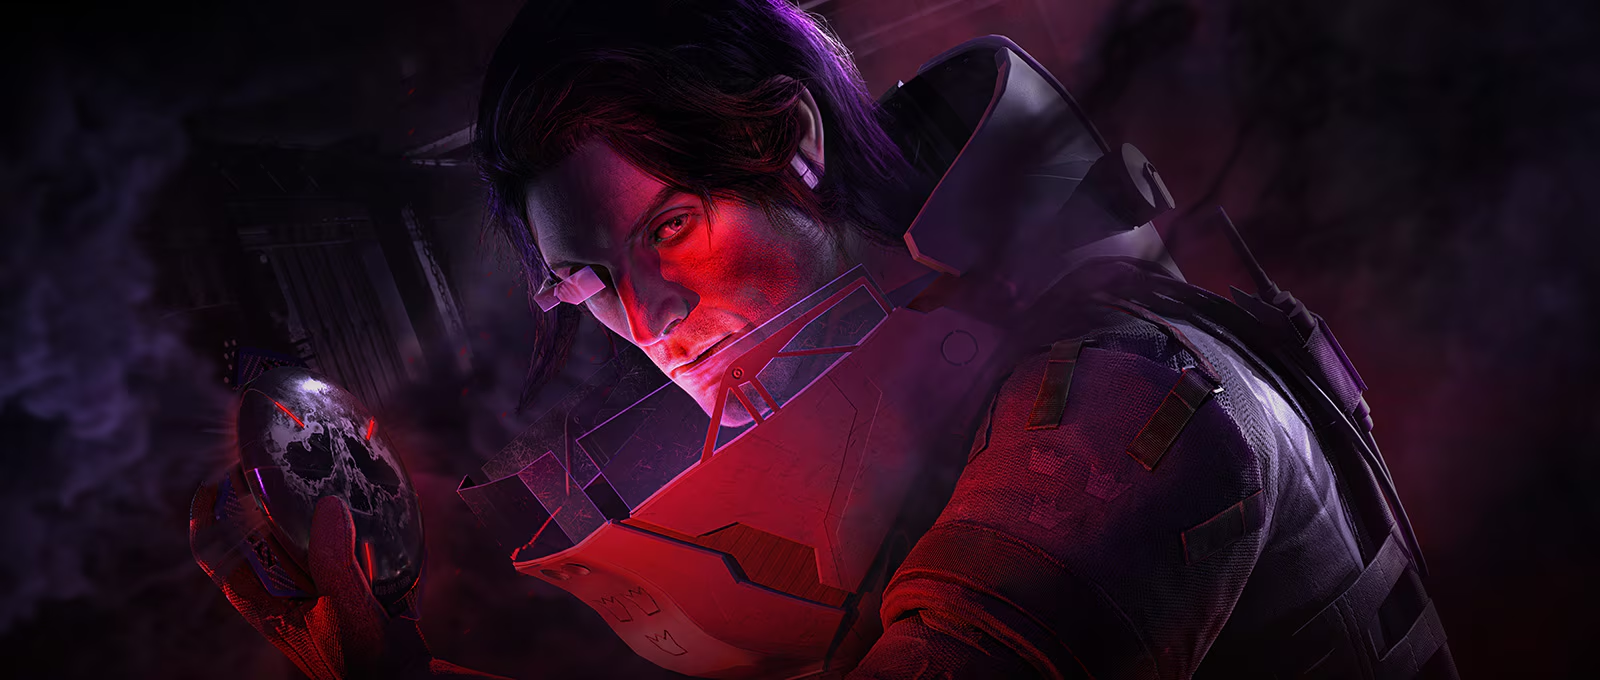
Fenrir stays near the top of the R6 defender meta. F-NATT Dread Mines reduce vision and punish Attackers who skip utility clear. They work especially well near doors, stairs, and plant routes.
Each triggered mine gives sound information and creates a safe swing opportunity. Fenrir does not need constant gunfight wins to help. His mines change how Attackers enter contested space.
Denari
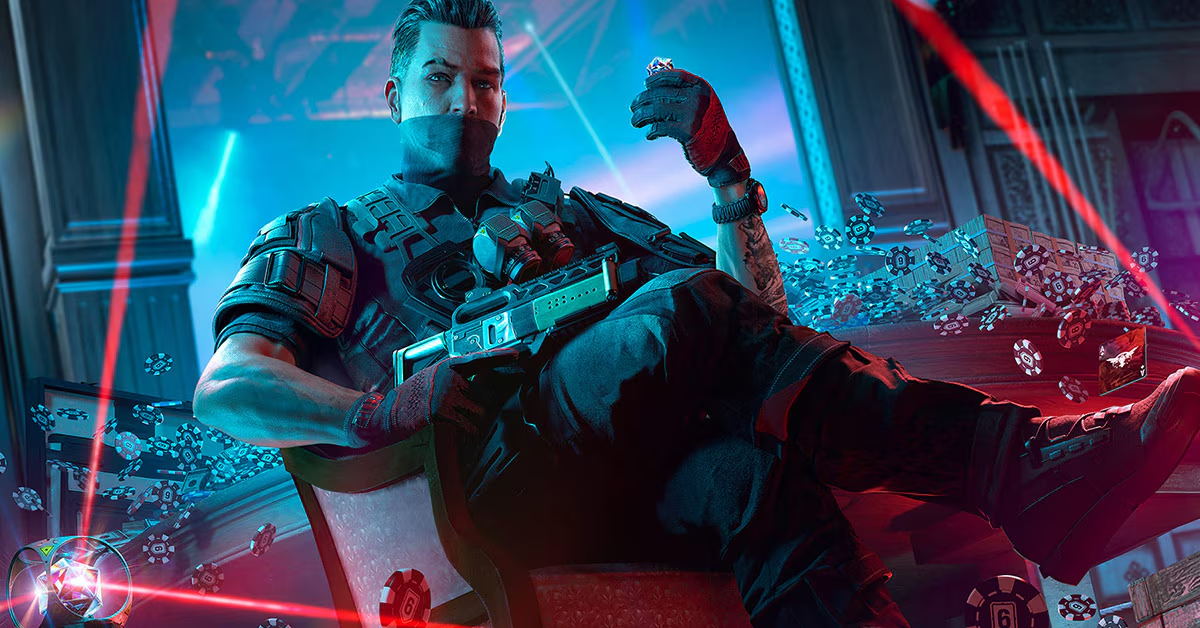
Denari remains a strong area-denial Defender in Y11S3. T.R.I.P. Connectors create laser grids that punish movement through chosen routes. The grids slow entries, protect rotations, and complicate late executes.
Place them where Attackers must cross, not where drones can clear them freely. Denari fits structured setups and layered trap strategies. His constant route pressure keeps him in S-Tier.
A-Tier
A-Tier Defenders in R6 Siege bring strong gadgets and reliable support, but their best value needs planning or favorable positions. They fit most ranked lineups and can dominate the right site.
Noor
Noor enters A-Tier as the new Defender in Operation Split Fire. His Horus Lance Launcher fires five projectiles that pierce shields and destructible surfaces. Each projectile then creates fire for area and plant denial.
The Lance can also pass through floors, Castle Panels, and Azami Barriers. Noor pairs that gadget with the Commando 9, ALDA 5.56, Bailiff, and Deployable Shield. His flexible kit looks strong, though his placement remains provisional at launch.
Clash

Clash remains a disruptive Defender for coordinated teams. Her shield slows pushes, blocks space, and forces Attackers to deal with her. Tight maps make every doorway around her feel dangerous.
Y11S3 increases SPSMG9 damage from 33 to 35. That gives her a slightly better close-range follow-up after dropping the shield. Clash remains A-Tier because she still needs team support.
Aruni
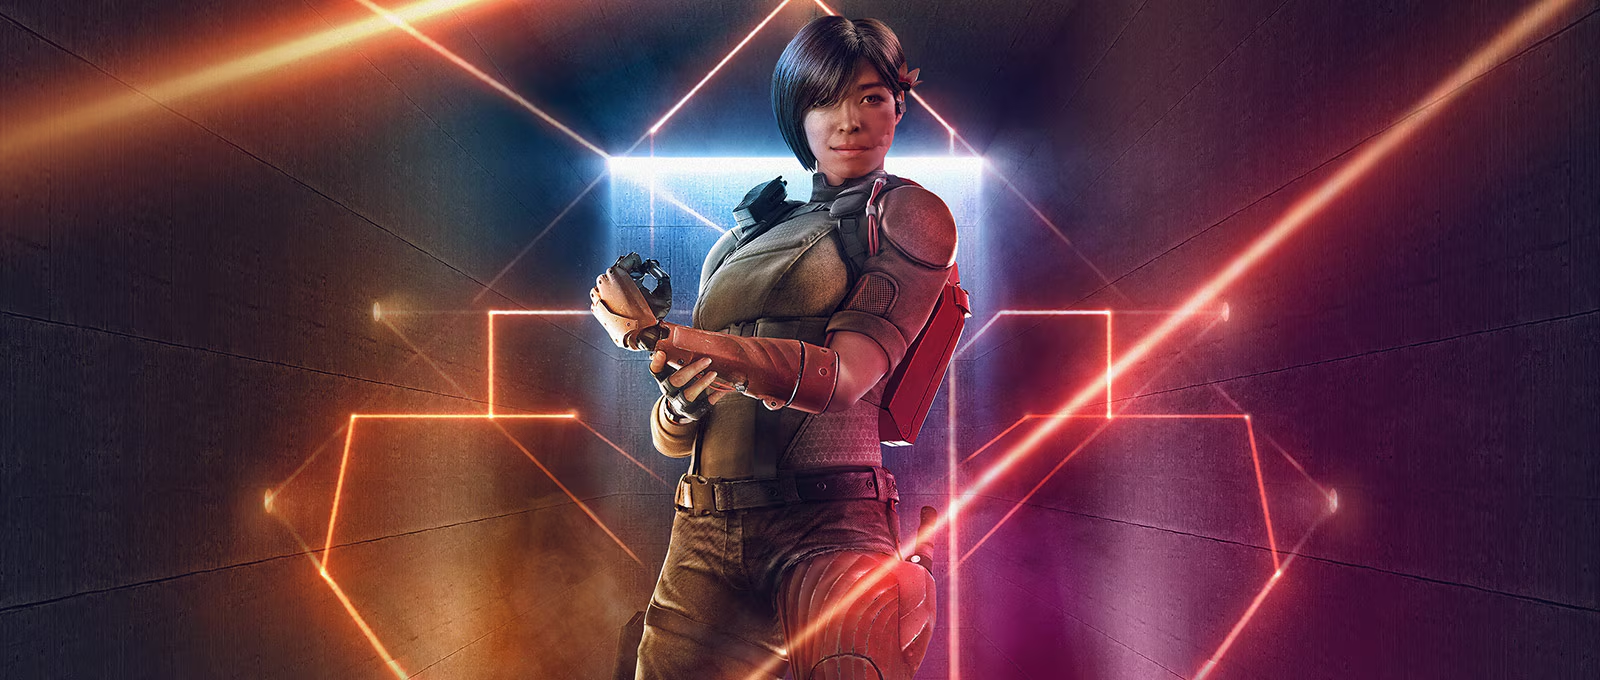
Aruni brings reliable defensive value through Surya Gates. Each gate forces Attackers to spend utility, take damage, or delay their entry. Her passive punch also opens rotations and sightlines during setup.
Y11S3 reduces MK 14 EBR damage and removes its Muzzle Brake. That lowers her ranged weapon comfort without weakening the gates. Aruni stays A-Tier because her utility remains useful across many sites.
Wamai
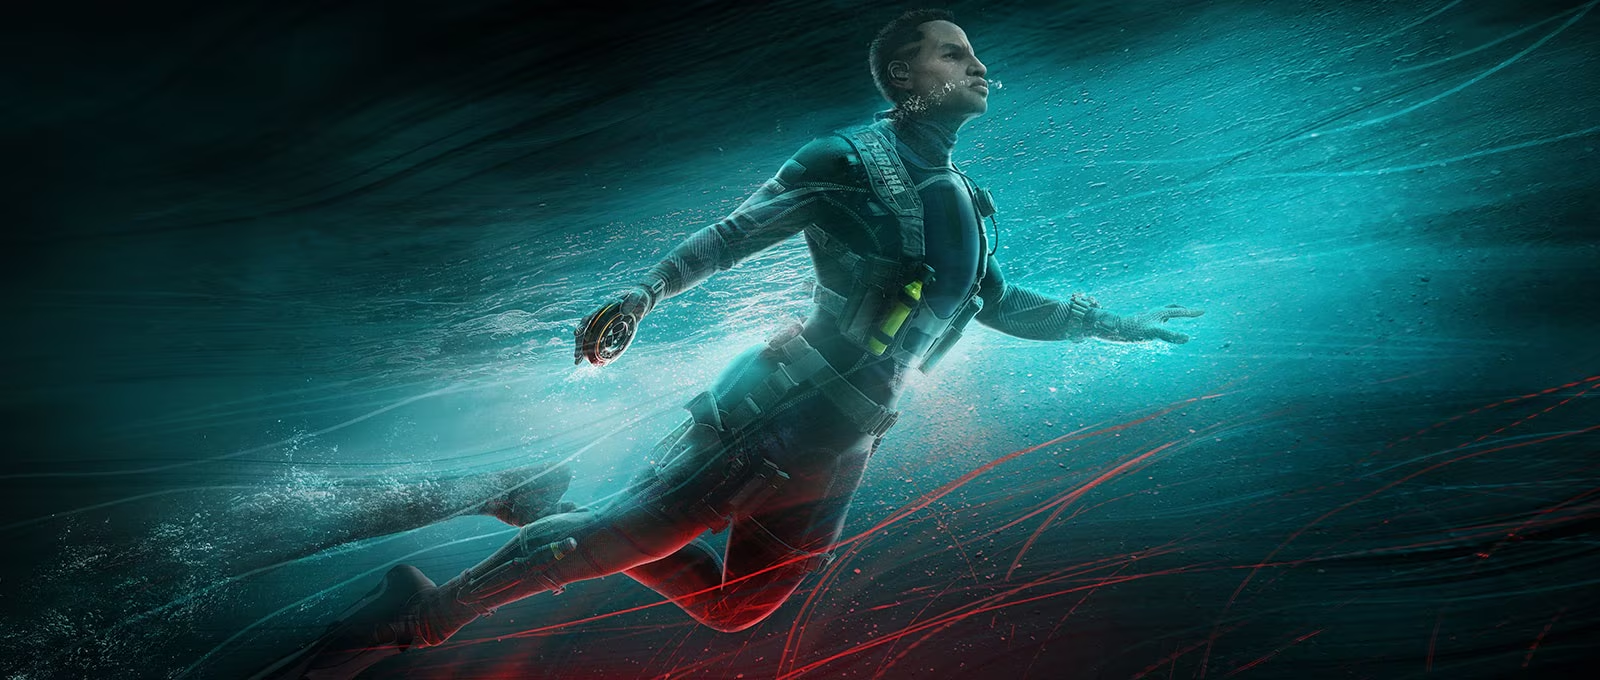
Wamai provides flexible projectile denial with Mag-NET Systems. His gadgets catch grenades, flashes, and other projectiles before they clear defensive positions. He works well around shields and protected anchors.
Mag-NETs build value as the round continues. Place them near positions Attackers will challenge later. Wamai remains an A-Tier choice for utility-heavy site setups.
Valkyrie
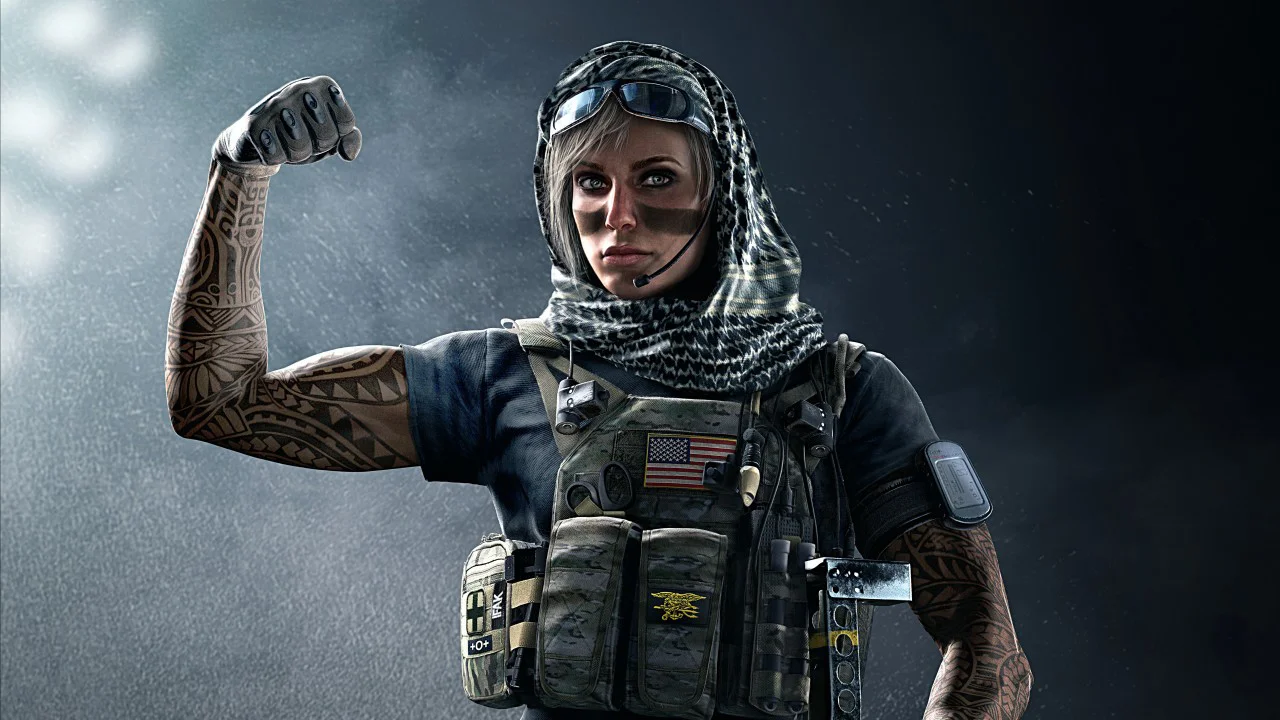
Valkyrie remains one of the best intel Defenders in Rainbow Six Siege. Black Eye Cameras watch runouts, flanks, default plants, and key rotations. One hidden camera can provide the winning late-round callout.
Purposeful placement separates good cameras from wasted ones. Share information instead of sitting on the feed during every fight. Valkyrie stays A-Tier because map knowledge drives her value.
Echo
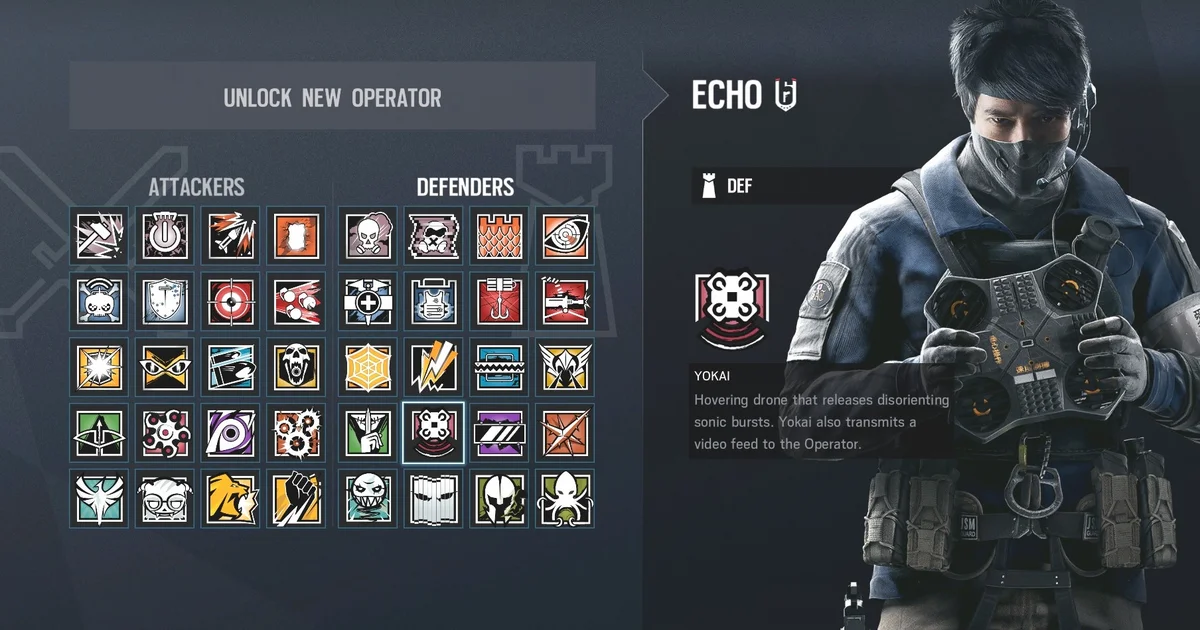
Echo remains a strong intel and plant-denial Defender. Yokai drones watch key areas and interrupt Attackers during slow site takes. Y11S3 reduces the Sonic Burst refill from 16 seconds to 15 seconds.
The buff gives Echo slightly more disruption during longer rounds. He still needs to survive until the final execute. Echo stays A-Tier for patient anchors with strong drone positioning.
Mozzie
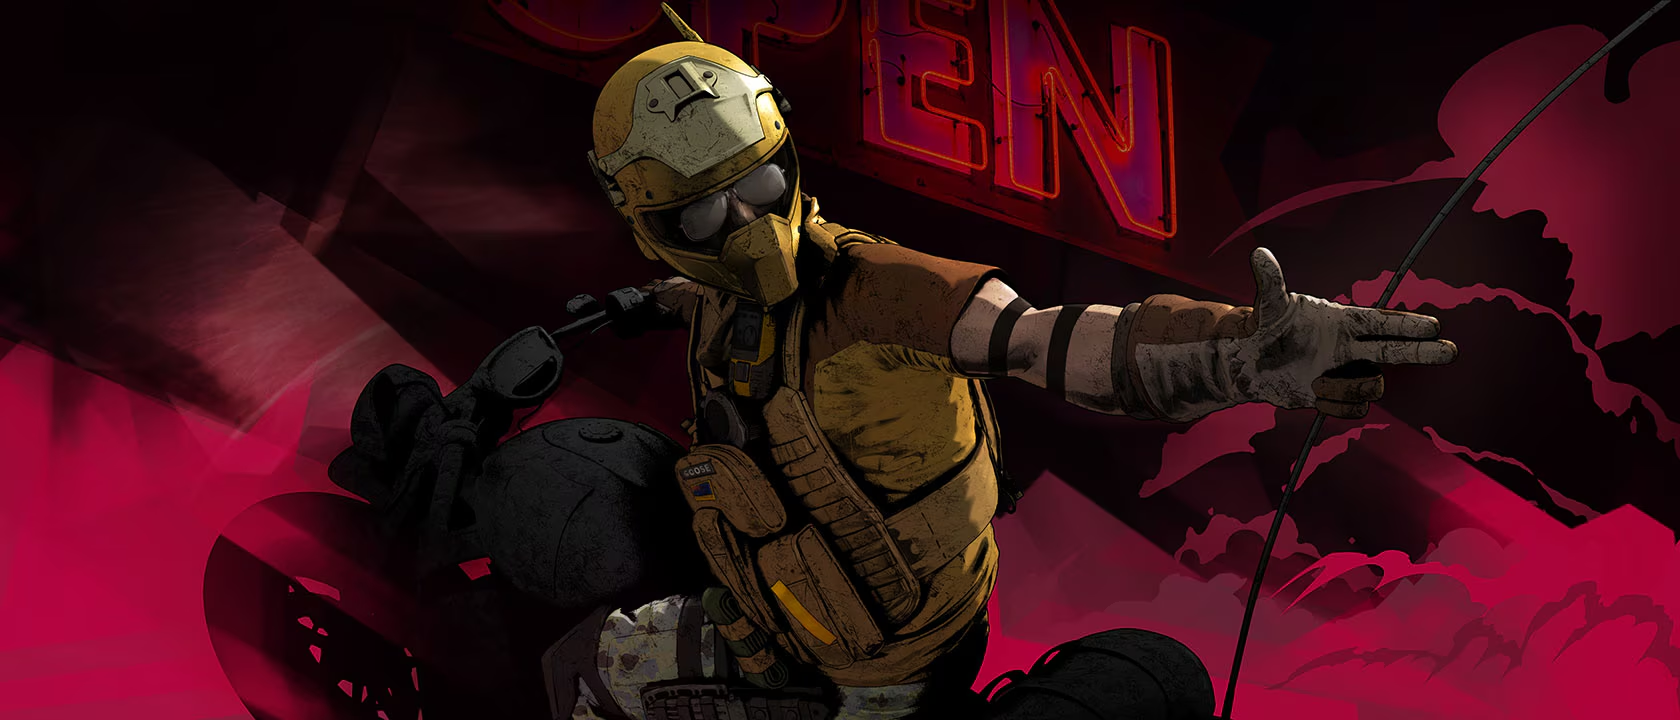
Mozzie denies scouting and steals Attacker drones with his Pest Launcher. Captured drones can watch flanks, support roamers, or protect the site. His setup fits both roaming and anchoring plans.
He works best when the team already blocks several drone routes. Do not spend the whole round driving a captured drone. Mozzie remains a flexible A-Tier counter-intel pick.
Tubarão
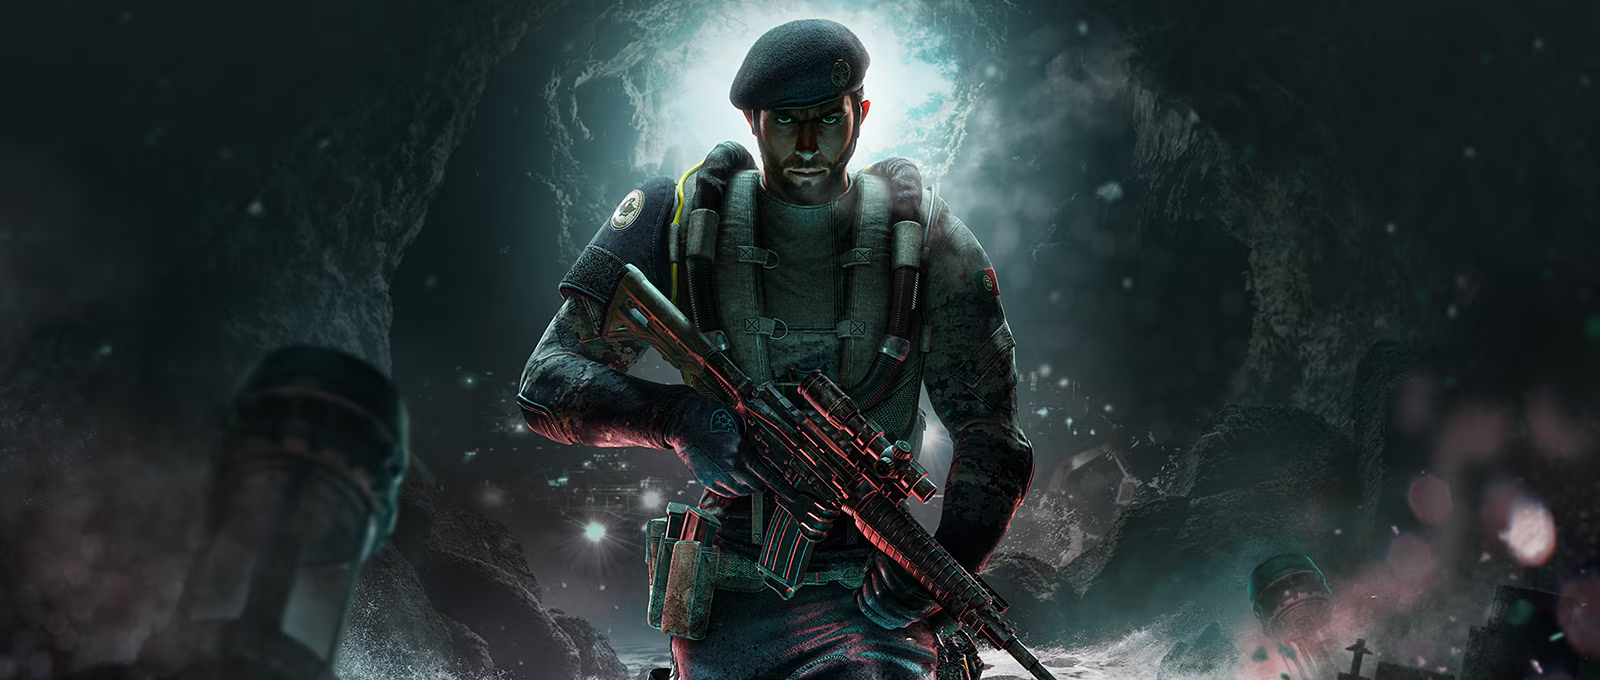
Tubarão remains strong against hard breach and timed executes. Zoto Canisters freeze an area, delay gadgets, and slow Attackers near key walls. Their 3.2-meter range makes placement slightly more forgiving.
Y11S3 nerfs the AR-15.50 damage and recoil, while removing its Muzzle Brake. His gadget still wins enough time to justify A-Tier. Pick him on basement holds, hatches, and tight plant sites.
Lesion
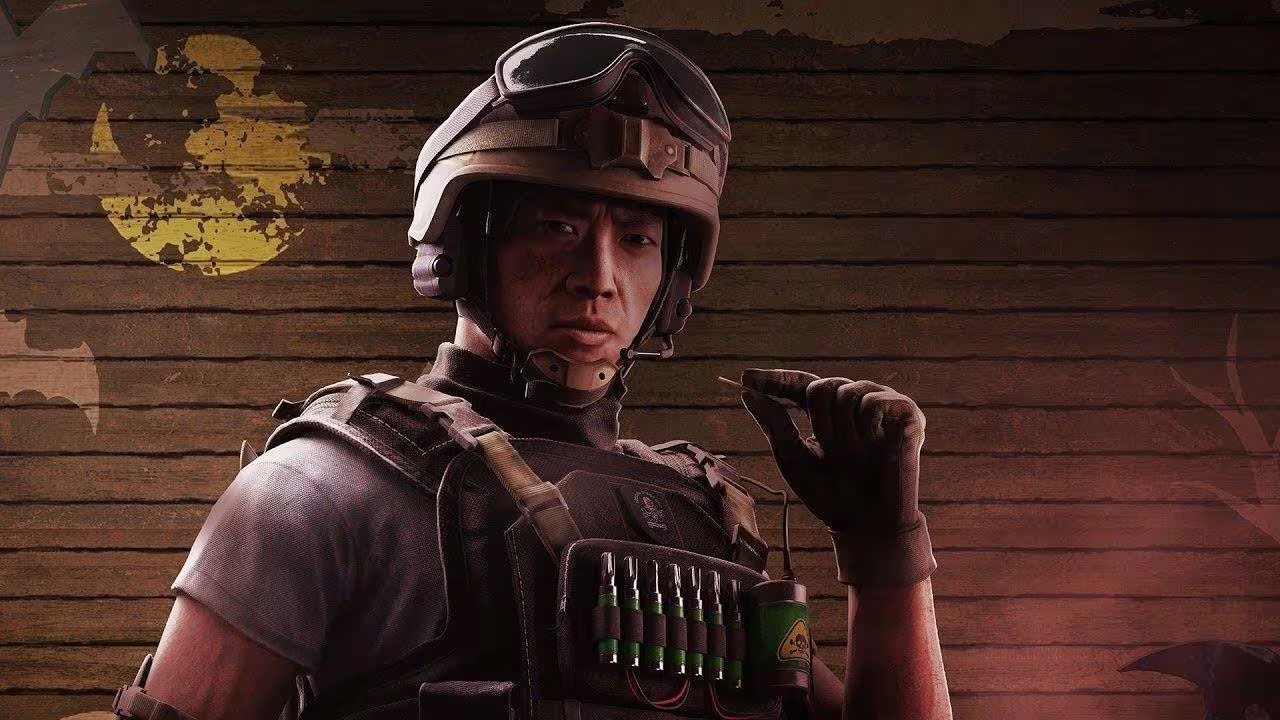
Lesion remains a strong trap Defender because GU Mines punish careless movement. They slow Attackers, create sound cues, and interrupt late-round pushes. One mine near a plant route can ruin an execute.
Place mines near stairs, doors, and contested rotations. Their information stays useful without active camera work. Lesion holds A-Tier through steady round-long pressure.
Melusi
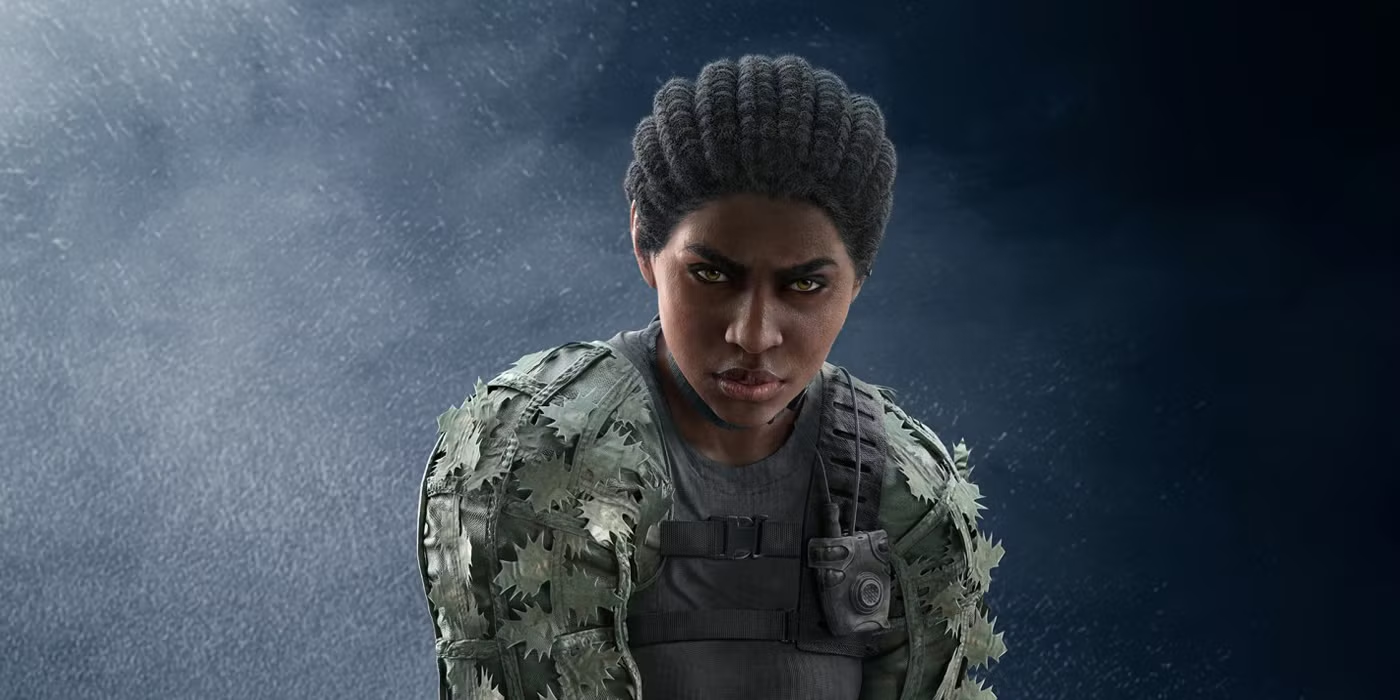
Melusi slows pushes with Banshee Sonic Defense devices. Attackers entering their range lose speed and become easier to swing. Tight doors, stairs, and chokepoints give her the best placements.
Pair Banshees with crossfires or trap utility. A slowed opponent has fewer safe reactions during a push. Melusi remains an A-Tier control Defender.
Skopós
Skopós controls two V10 Pantheon Shells from different positions. One active Shell fights, while the inactive Shell provides protected observation. This creates unusual information and rotation options.
She works best through patient map control rather than random roaming. Use one Shell to watch a key route while the other supports site. Skopós stays A-Tier for information-heavy teams.
Kapkan

Kapkan remains dangerous because rushed Attackers still forget door traps. Entry Denial Devices punish weak droning, fast pushes, and late-round panic. Y11S3 raises each trap’s damage from 60 to 62.
Spread traps across likely routes instead of stacking every doorway near site. The small buff increases punishment without changing his playstyle. Kapkan keeps A-Tier value in ranked.
B-Tier
B-Tier Defenders in R6 Y11S3 have useful gadgets or weapons, but they cannot match stronger picks every round. Some need active play, while others depend on specific Attacker utility. Smart setups can still make them dangerous.
Bandit
Bandit remains useful on walls that support active breach tricking. Shock Wire electrifies reinforced walls, barbed wire, and selected defensive tools. Good timing can waste several pieces of attacking utility.
He must play closer to the wall than Kaid. That makes tricking dangerous against vertical pressure and grenades. Bandit stays B-Tier as a strong but site-dependent denial pick.
Castle
Castle changes attacking routes with Armor Panels. His barricades force Attackers to spend time or utility on doors and windows. Smart placements protect weak angles and guide enemies into crossfires.
Poor panels can trap teammates or block rotations. Build the setup around a clear defensive plan. Castle remains B-Tier because planning decides his value.
Frost
Frost punishes careless vaults, window entries, and rushed pushes. Welcome Mats force Attackers to check the floor before taking space. That hesitation alone can slow aggressive teams.
Place mats under windows, beside shields, and near common vault points. Even a spotted trap can create an easy crossfire. Frost remains a solid B-Tier anti-rush pick.
Maestro
Maestro brings anchor value through Evil Eye cameras. These protected cameras gather information, damage gadgets, and pressure plant attempts. They become especially annoying during slow site takes.
Attackers with proper utility can remove them early. Maestro also needs time and safe positions to manage each camera. He stays B-Tier because protection is less reliable than before.
Pulse
Pulse becomes a bit more reliable in Y11S3 thanks to the improved Cardiac Sensor range. He can now gather horizontal intel from farther away, which helps his roam and C4 play. This makes him less awkward on maps with wide rooms and layered soft floors.
He still needs strong timing, though. Pulse can find attackers before they commit, but he must act fast after each scan. In the current R6 meta, he sits in B-Tier as a useful intel defender with map-specific strength.
Solis

Solis tracks drones, breach tools, and electronic gadgets with SPEC-IO. Longer scanner and Overclock windows give her more time to read and execute. She can also detect Dokkaebi’s active tablet during a Jegeo upload.
She still does not dominate the R6 Y11S3 defender meta like before. Good attackers can bait her scan time and force her into bad fights. In this Rainbow Six Siege operator tier list, Solis fits B-Tier as a smart counter-intel pick.
Vigil
Vigil wastes attacking time by hiding from drones with ERC-7. He can hold map control longer and force repeated scouting. A good Vigil helps even without securing several kills.
The Y11S3 SMG-12 nerf weakens one of his secondary weapon options. His K1A and core roaming job remain intact. Vigil stays B-Tier because he brings little utility back to site.
Warden
Warden counters smoke and flash-heavy executes with Glance Smart Glasses. Correct timing can expose a planter or stop a fast sightline block. His value rises sharply against Ying and smoke setups.
Y11S3 reduces SMG-12 damage to 16 and its magazine to 22 rounds. The nerf lowers his close-range secondary pressure. Warden remains B-Tier because many rounds never activate his main counter.
Alibi
Alibi punishes careless Attackers with Prisma decoys. Shooting or touching a decoy reveals useful position information. She can combine that threat with quick roaming pressure.
Experienced teams clear obvious Prismas without much trouble. Hide them around messy angles and contested entrances. Alibi stays B-Tier as a fun roamer with decent intel.
Thunderbird
Thunderbird supports longer fights through Kona Stations. The stations heal roamers, anchors, and teammates returning from early trades. They require little attention after placement.
She needs careful placement, since attackers can also benefit from poorly placed stations. Keep them in defender-controlled space, not near free entry paths. In this Rainbow Six Siege tier list, Thunderbird stays B-Tier because healing helps, but does not replace denial or intel.
Goyo
Goyo blocks space with Volcán Canisters. Their fire can deny doors, delay plants, and burn the final seconds. Safe trigger angles make the setup much harder to clear.
He works best with good timing and safe trigger angles. If attackers clear his setup early, his value drops fast. In the current R6 defender tier list, Goyo sits in B-Tier as a solid delay pick.
Rook
Rook remains one of the easiest Defenders for new players. His Armor Pack gives the entire team extra survivability from the preparation phase. The job stays simple even on unfamiliar maps.
He does not bring active denial, traps, or intel, so his ceiling is lower than top defenders. Still, he is reliable for solo queue and newer players. In Y11S3, Rook stays B-Tier as a safe comfort pick.
C-Tier
C-Tier Defenders can work through surprise or specialized setups. Stronger R6 Operators usually bring more reliable team value. These picks require extra effort to justify their slot.
Caveira
Caveira is a high-risk roamer who punishes poor drone work. Silent Step helps her move quietly and find isolated Attackers. A successful interrogation can break the entire attacking round.
That said, good teams usually clear her with drones and crossfires. She needs surprise to get real value. In the R6 defender tier list, Caveira stays C-Tier because her best plays are powerful but inconsistent.
Doc
Doc heals or revives teammates with the Stim Pistol. He helps the team recover after early damage and survive longer fights. His kit also suits players who prefer anchoring.
His problem is utility value. Healing is useful, but it does not stop breach, drones, or plants by itself. In the current Rainbow Six Siege meta, Doc stays C-Tier because other defenders bring stronger round control.
Ela
Ela uses Grzmot Mines to disrupt fast entries. The concussion effect interferes with movement and aim, creating a brief swing window. Doors, stairs, and tight entrances suit her gadget.
She still struggles to match stronger trap defenders. Lesion, Kapkan, and Melusi bring more consistent value in many ranked rounds. Ela in Y11S3 stays C-Tier as a playable but less reliable trap pick.
Oryx
Oryx creates unusual roam routes through soft walls and open hatches. Remah Dash also lets him reposition or challenge shield users at close range. His mobility can catch poorly prepared teams.
He does not bring much team utility, though. If his roam fails, the team loses a defender without gaining much setup value. In this Rainbow Six Siege operator tier list, Oryx stays C-Tier because his playstyle is fun but risky.
Thorn
Thorn uses Razorbloom Shells to pressure Attackers inside trapped space. The gadget forces enemies to move or risk lethal damage. Tight doors and noisy entry routes create the best opportunities.
The issue is that experienced players often hear and clear the trap in time. Thorn can still help, but stronger trap picks offer more pressure. In Y11S3, she stays C-Tier because her gadget is useful but easier to avoid.
Tachanka
Tachanka denies space with the Shumikha Launcher. Fire grenades block doors, delay plants, and interrupt key routes. The launcher can cover several late-round angles from safety.
He needs good timing and safe positions to work well. If attackers force him out early, his utility loses value fast. In the current R6 defender tier list, Tachanka stays C-Tier because Smoke and Goyo usually do the delay job better.
Sentry
Sentry offers flexible secondary gadgets without a signature ability. He can fill simple gaps in denial, intel, or site support. That freedom helps beginners learn common defensive tools.
This flexibility helps newer players learn defender utility without locking into one specialist. Still, Sentry usually stays lower in the R6 defender tier list because named operators bring stronger round-winning tools. Pick him when your lineup needs simple extra utility, not a full meta anchor.
Best Rainbow Six Siege Operators for Beginners
If you are new to Siege, the best R6 operators for beginners are Sledge, Ace, Finka, Rook, Mute, and Jäger. These picks have clear jobs, simple gadgets, and good ranked value. They also help new players understand why utility matters so much in Rainbow Six Siege. Here is a quick beginner-friendly list of the best Rainbow Six Siege operators in Y11S6:
| Operator | Side | Why Beginners Should Pick Them |
|---|---|---|
| Sledge | Attack | Simple soft breach, easy vertical play, clear map-control role. |
| Ace | Attack | Safe hard breach, strong weapon, useful in most ranked matches. |
| Finka | Attack | Team support, simple ability, good for coordinated pushes. |
| Rook | Defense | Easy setup, team-wide armor, good for learning site holds. |
| Mute | Defense | Drone denial, wall support, strong value in almost every round. |
| Jäger | Defense | Simple gadget placement, projectile denial, solid roaming potential. |
For attackers, Sledge is the easiest place to start. His hammer teaches soft breach, vertical pressure, and map control without complex timing. Ace is also one of the best operators in Rainbow Six Siege for beginners because his job is simple: open key reinforced walls and support the execute. Finka works well if you want a more direct team-support pick with push potential.
Best Rainbow Six Siege Operators by Role
If you want to understand the R6 operators tier list better, look at each operator by role. The best Rainbow Six Siege operators are not always the ones with the highest kill count. In most ranked matches, the strongest picks cover breach, intel, flank control, site setup, or plant denial. This table shows the best R6 operators for each key role in Y11S3:
| Role | Best Operators | Why They Work |
|---|---|---|
| Hard Breach | Ace, Thermite, Hibana | They open reinforced walls, hatches, and key site angles. |
| Breach Support | Thatcher, Maverick | They help attackers deal with wall denial and open safer routes. |
| Entry Fragging | Ash, Deimos, Zofia | They create early pressure and help the team take map control. |
| Intel Attack | Dokkaebi, Lion, Zero, Jackal | They reveal defender positions and make roam clear much safer. |
| Flank Control | Nomad, Gridlock | They protect late-round executes, post-plant setups, and long rotations. |
| Beginner Attackers | Sledge, Ace, Finka | They have clear jobs and help new players learn core attacking roles. |
| Wall Denial | Kaid, Mute, Bandit | They protect reinforced walls and make hard breach harder for attackers. |
| Projectile Denial | Jäger, Wamai | They protect shields, anchors, and key defender positions from grenades. |
| Site Control | Azami, Mira, Skopós, Castle | They reshape bomb sites and make attackers spend more time taking space. |
| Plant Denial | Smoke, Echo, Goyo, Denari | They delay plants and punish attackers during final executes. |
| Trap Utility | Kapkan, Lesion, Frost, Thorn | They punish rushed entries, careless movement, and weak drone work. |
| Counter-Intel | Mute, Mozzie, Solis, Vigil | They deny drones, scans, and attacker scouting. |
| Beginner Defenders | Rook, Mute, Jäger | They bring simple gadgets and useful team value in most rounds. |
Who Should You Ban in Rainbow Six Siege Ranked?
The best Rainbow Six Siege ranked bans target gadgets that can shape the entire round. Thatcher, Jackal, Dokkaebi, Mira, Azami, Fenrir, and Kaid remain safe Y11S3 choices. Noor can become a situational ban when your attack relies on ballistic shields or predictable plant routes. Here is a quick R6 Siege Year 11 Season 3 ban table:
| Operator Ban | Side | Why Ban Them |
|---|---|---|
| Thatcher | Attacker | Makes hard breach support weaker and protects defender wall denial. |
| Jackal | Attacker | Reduces anti-roam pressure and gives defenders more freedom. |
| Dokkaebi | Attacker | Removes strong intel pressure and makes roaming less stressful. |
| Nomad | Attacker | Weakens attacker flank control and late-round post-plant safety. |
| Mira | Defender | Removes one of the strongest site-control tools in Rainbow Six Siege. |
| Azami | Defender | Stops defenders from reshaping sites with Kiba Barriers. |
| Fenrir | Defender | Removes powerful vision denial and trap pressure near choke points. |
| Kaid | Defender | Makes reinforced walls and hatches easier to open. |
Ban Thatcher when your defense depends on reinforced walls and layered electronic denial. Jackal and Dokkaebi bans give roamers more freedom, though Dokkaebi now carries greater upload risk. Mira, Azami, Fenrir, and Kaid remain strong map-based defensive bans.
For solo queue, the safest ranked bans are usually Jackal, Dokkaebi, Mira, and Fenrir. These operators can frustrate teams even without perfect coordination. In a full stack, plan bans around the map instead of banning the same operators every match.
Rainbow Six Siege Operators Tier List FAQ
In this FAQ section, we answer the most common questions about the R6 operator tier list, ranked viability, and which picks give the most impact in competitive play.
Who Are the Best Operators in R6 Y11S3?
The best Operators in R6 Y11S3 include Ace, Thatcher, Nomad, Azami, Kaid, Mute, Smoke, Mira, Fenrir, and Denari. These picks bring reliable breach, denial, intel, or site control.
How Many Operators Are in Rainbow Six Siege?
Rainbow Six Siege has 78 Operators in Year 11 Season 3. The roster contains 39 Attackers and 39 Defenders after Noor joins Operation Split Fire.
Who Is the Best Attacker for Solo Queue in R6?
Nomad is one of the best solo queue Attackers because Airjabs protect flanks without constant communication. Ace and Lion also provide dependable value when teammates play separately.
Who Is the Best Attacker for Ranked in Rainbow Six Siege?
Ace is the best ranked Attacker for most teams. He brings ranged hard breach, a strong AK-12, and useful openings across many maps.
What Is the Best Attacking Operator in R6?
Ace is the best attacking Operator in R6 Y11S3 for general ranked play. Nomad becomes the safer choice when the lineup already has hard breach.
What Is the Best Defender Operator in R6?
Azami is one of the best Defenders in Rainbow Six Siege Y11S3. Kiba Barriers reshape sites, block dangerous angles, and force extra utility from Attackers.
Is Noor Good in Rainbow Six Siege?
Noor looks strong at the Y11S3 launch and starts in A-Tier. Horus Lance counters shields and creates fire through destructible surfaces, giving him flexible area denial.
Who Is the Best Entry Fragger in R6?
Ash remains one of the best pure entry fraggers. Zofia and Deimos trade some speed for better utility and target pressure.
Who Is the Best Hard Breacher in Rainbow Six Siege?
Ace is the best hard breacher for most ranked sites. Thermite creates wider openings, while Hibana remains better for hatches and small holes.
Which Defender Is Best for Solo Queue?
Mute is one of the best solo queue Defenders in R6. His jammers help every round, while his shotgun and SMG-11 cover site setup and fights.
Who Are the Best Solo Queue Operators in R6?
Ace, Nomad, Lion, Mute, Jäger, and Lesion are strong solo queue Operators. Their gadgets create value without demanding perfect communication.
Is Dokkaebi Good in Rainbow Six Siege?
Yes, Dokkaebi remains good in Y11S3, but she drops to A-Tier. Constant Jegeo connection, lost EMPs, and weapon nerfs make each play riskier.
Who Is the Best Anti-Roam Operator in R6?
Jackal and Deimos remain the best dedicated anti-roam Operators. Solid Snake also provides strong local intel for coordinated roam clear.
Who Is the Best Intel Operator in Rainbow Six Siege?
Valkyrie is one of the best defensive intel Operators. On attack, Solid Snake, Zero, Dokkaebi, and Lion provide different forms of position tracking.
Who Is the Best Plant Denial Operator in R6?
Smoke remains the best plant-denial Operator for most sites. Echo, Goyo, Denari, and Noor offer strong alternatives for planned defensive setups.
Are Lower-Tier Operators Still Viable in R6 Ranked?
Yes, lower-tier Operators can win ranked rounds with a suitable map and strategy. The tiers measure general meta value, not absolute viability.
Does Legend Division Change the Best R6 Operators?
Legend Division favors self-sufficient Operators because it uses a solo queue format. Nomad, Ace, Mute, Lesion, and Jäger remain safe choices without full-stack communication.
Which Operators Are Best for Ranked?
Flexible Operators with breach, intel, denial, or flank control perform best in ranked. Ace, Nomad, Lion, Azami, Kaid, and Mute fit that description.
Does the R6 Meta Change Every Season?
Yes, the R6 meta changes after balance patches, remasters, new weapons, and new Operators. Y11S3 moves Dokkaebi down while giving Kali a clearer role.
4.9All in all, even though the best operators in Rainbow Six Siege always change, our tier list helps you to stay updated. Understanding the Y11S3 meta is most crucial to remaining top-tier in Rainbow Six Siege, but don’t forget that strategy and skill will always be most important. Although S-tier operators indeed have better utility and fire, even mediocre picks can excel with skilled operators. Use our R6S Operator tier list and choose the best one for you!
