Diablo 4 Rend Barbarian is an excellent late-game character build for people who like DoT (damage over time) playstyle, hard melee pressure, and the classic “keep swinging until everything bleeds” style of playing a Barbarian. Here you will find information about the skill tree, active skills, passive skills, Arsenal build, rotation, Talisman, Paragon Boards, Glyphs, items, Uniques, and other stats.
Diablo 4 Rend Barbarian Key Takeaways:
- Diablo 4 Rend Barbarian is a Damage over Time build focused on Rend, Burning damage, and Berserking.
- Rend is your main damage skill, while Leap helps you move, engage packs, and apply extra Rend stacks.
- Ring of the Ravenous, Fists of Fate, Ramaladni’s Magnum Opus, and Ugly Bastard Helm are key gear pieces.
- The build feels much better once Fury generation is stable, since you want to stay above important Fury breakpoints.
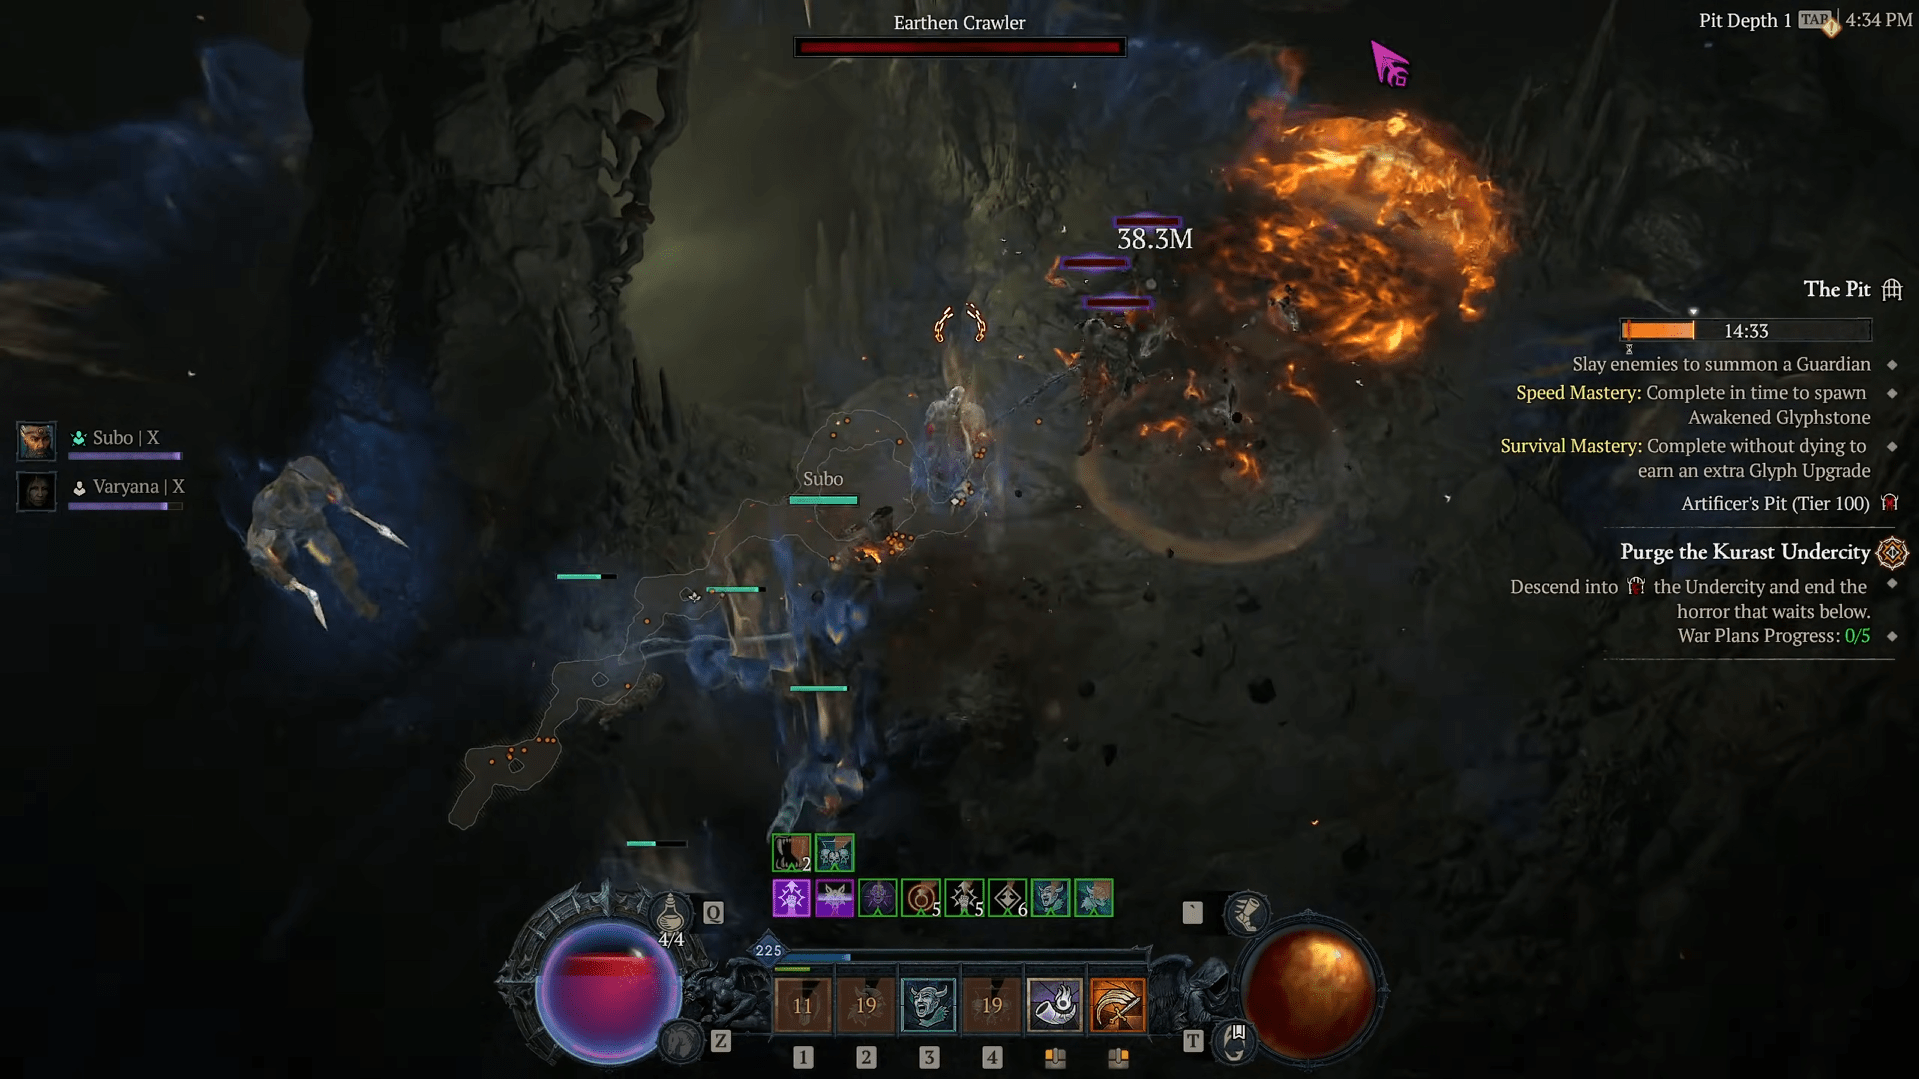
- Rend Barbarian works well in endgame farming, elite packs, Helltides, Nightmare Dungeons, and Pit runs.
- The build has good defense through Shouts, Fortify, barriers, and damage reduction.
- It can feel slow before core Uniques drop, because Rend damage needs time to ramp.
 4.9
4.9Diablo 4 Rend Barbarian Overview
Diablo 4 Rend Barbarian is an endgame Barbarian build in which Rend becomes the core skill of your entire build. You dive into combat, stack Rend, have Shouts up, kill targets while berserking, and burn them down using Rend DoT. In one instance, you are setting up your group of targets, and suddenly the entire room begins melting away with Rend DoTs.
What is great about this Rend Barbarian build is that it is completely different from the ancient Bleed Barbarian from the beginning of the game. This is because Rend Barbarian utilizes Burning Rend scaling, Fire damage, Fury buffing mechanics and multiple Unique skills.
📌 The build is centered around using Rend as your main damage skill, keeping Fury high, staying Berserk, and using Leap to start fights fast while Ring of the Ravenous adds extra Rend pressure.
The greatest aspect of the Diablo 4 Rend Barbarian in Season 14 is the stability of the build even when fighting for extended periods. There is no need to kill each mob instantly. You just stack the damage and move, and allow the Rend to do its magic.
Diablo 4 Rend Barbarian Requirements
Diablo 4 Rend Barbarian build works best when you meet all the requirements. One is able to apply Rend during the leveling process, of course, but only when the build is ready, and many items are added to make it work properly. If they are not, the build will work too, but Fury and uptime will be a problem.
This is a list of Diablo IV Rend Barbarian requirements:
| Requirement | Why it matters |
|---|---|
| Level 70 + Torment access | The full Rend Barbarian endgame setup expects access to higher item power, better Uniques, and stronger Paragon scaling. |
| Ring of the Ravenous | This is one of the biggest build pieces, since Leap can help apply extra Rend stacks and extend Rend pressure. |
| Fists of Fate | Strong for Rend because its damage roll can affect DoT ticks and raise your damage ceiling. |
| Ramaladni’s Magnum Opus | Gives strong damage scaling based on Fury, so the build wants a large and stable Fury pool. |
| Ugly Bastard Helm | Turns Wrath of the Berserker into a stronger Fire damage window for Burning Rend setups. |
| Aspect of Anger Management | Helps keep Berserking active while you stay above the Fury requirement. |
| Wanton Rupture Aspect | Great Rend Barbarian Aspect for longer DoT duration and stronger damage over time. |
| Stable Fury generation | The build needs enough Fury to keep damage, Berserking, and Sescheron’s Fury bonuses running. |
| Basic defensive caps | Armor, resistances, Maximum Life, and damage reduction matter because Rend Barb fights up close. |
You can start using the Diablo 4 Rend Barbarian build even when things aren’t perfect yet; however, once you get the Ring of the Ravenous, all game mechanics become totally different. With this ring, Fury Support, and all other Aspects for damage, this build stops being some budget build and becomes the end-game one.
Though, in case you have started working on your Rend Barbarian, and doubt about the synergy between your equipment pieces, you can always ask our team to Check Your Build.
Diablo 4 Rend Barbarian Mechanics
Speaking of Diablo 4 Rend Barbarian mechanics, there is always the need for stacking damage over time and maintaining Berserk status, as well as having enough Fury to make the most out of their abilities. Rend will not be played as a bursting ability. You put pressure on, maintain it, and let your enemies crumble.
Diablo IV Rend Barbarian mechanics include:
- Rend DoT damage — Since Rend is the primary source of damage, the entire build revolves around DoT scaling.
- Burning Rend build — Modern Rend Barbarians may change their Bleed only scaling to Fire and Burning damage.
- Leap initiation — This skill provides mobility, Fury generation, and packs setup. With the use of Ring of the Ravenous, it can aid in fast Rend pressure application.
- Berserking uptime — Aspect of Anger Management and Wrath of the Berserker can help in sustaining your damage phases.
- Fury management — Both Ramaladni’s Magnum Opus and Sescheron’s Fury favor high Fury, which means you don’t want to play out of Fury.
- Shout stacking — Rallying Cry, War Cry, and Challenging Shout are used for resource generation, damage, and survivability.
- DoT building — The Rend Barbarian does not deal damage instantly and, therefore, benefits from perfect build-up rather than random button pressing.
Diablo 4 Rend Barbarian Strengths and Weaknesses
Diablo 4 Rend Barbarian build is fun to play after you get all the necessary items. The build offers decent damage output, good tanking ability, and a nice melee play style. There are several disadvantages to the build, however.
| Strengths | Weaknesses |
|---|---|
| ✅ Strong Damage over Time pressure | ⛔ Damage is not instant |
| ✅ Good AoE once Rend spreads through packs | ⛔ Needs core Uniques to feel smooth |
| ✅ Great Berserking uptime with proper setup | ⛔ Fury management can feel awkward early |
| ✅ Solid defense through Shouts and barriers | ⛔ Tough single-target fights can take longer |
| ✅ Strong Season 14 endgame scaling | ⛔ Wants good positioning and clean Leap usage |
Diablo 4 Rend Barbarian is not one of the fastest builds that would ensure an instant explosion of damage from the very first strike. This build would be perfect for those players who like to set up their damage, stick around, and make use of stacked DoTs.
Diablo 4 Rend Barbarian Skill Tree
The Diablo 4 Rend Barbarian skill tree supports a close-range DoT playstyle. You use Rend as your main damage tool, Leap as your engage, and Shouts to hold the whole loop together. Wrath of the Berserker then turns key pulls and boss phases into bigger damage windows.
When choosing the best skills for Rend Barbarian, focus on three things first: Rend damage, Fury control, and survival. After that, you can tune smaller passive choices around Fire damage, Vulnerable damage, Berserking, and Fortify.
Diablo 4 Rend Barbarian Active Skills
The Diablo 4 Rend Barbarian active skills seem easy, but their sequence makes all the difference in battle. Rend deals the damage, Leap moves you into combat, and Shouts will ensure your survival and provide you with Fury.
| Skill | Modifier | Points | Tree |
|---|---|---|---|
| Rend | Blood Sworn | 15/15 | Core |
| Rallying Cry | — | 1/15 | Defensive |
| Iron Skin | Retaliation | 1/15 | Defensive |
| Challenging Shout | Bawl | 15/5 | Defensive |
| War Cry | Mighty Roar | 15/15 | Brawling |
| Leap | Mosh | 1/15 | Brawling |
| Wrath of the Berserker | Maximum Carnage | 15/15 | Ultimate |
Rend is the skill that you hit most, and therefore, you will invest more of your abilities in it. Other Diablo 4 Rend Barbarian active skills complement this by keeping your damage window active, allowing for repositioning, and preventing elite packs from destroying you.
Diablo 4 Rend Barbarian Passive Skills
The best Diablo 4 Rend Barbarian passive skills should support Fury, Berserking, DoT damage, Vulnerable damage, and defense. You do not need every damage passive on the tree. You need the ones that keep your rotation stable and make Rend scale harder.
| Skill | Tree |
|---|---|
| Vulnerable Damage Bonus | Core |
| Healing | Core |
| Fortify | Defensive |
| Potency | Defensive |
| Weaken | Defensive |
| Maximum Life | Defensive |
| Duration Bonus | Defensive |
| Damage Bonus | Defensive |
| Slow | Brawling |
| Duration Increase | Brawling |
| Arsenal Bonus | Brawling |
| Damage Bonus and Crowd Control | Brawling |
| Berserking | Ultimate |
| Duration Bonus | Ultimate |
Some passive picks can change depending on your gear and current survivability. If your Rend Barbarian already feels tanky, you can push more damage. If you get one-shot in higher tiers, take the boring defensive nodes first. It is not flashy, but it saves runs.
Diablo 4 Rend Barbarian Arsenal System
The Diablo 4 Rend Barbarian Arsenal System is important since it allows a Barbarians to choose various weapons for their skills. The skill, Rend, will prefer the most effective slash weapon at its disposal whereas Leap is happier with weapon switching.
| Arsenal Part | Best Choice | Why it matters |
|---|---|---|
| Technique Slot | Polearm Technique | Gives extra damage while Healthy and fits the current Rend Barbarian setup well. |
| Rend Weapon Assignment | Two-Handed Slashing Weapon early | Gives larger DoT hits before your Mythic setup is ready. |
| Rend Mythic Setup | Dual-Wield option with Shattered Vow | Can feel stronger later when attack speed and DoT stacking become more valuable. |
| Leap Assignment | Dual-Wield Weapons | Makes Leap feel faster and helps movement between packs. |
| Weapon Priority | Highest item power + best damage affixes | Rend scales hard from weapon damage, Fire damage, Vulnerable damage, and Strength. |
📌 The basic principle to remember is that it is easier to play with Rend while utilizing a powerful Two-Handed Slashing Weapon. Later in the game, once Shattered Vow becomes available, try using Rend with a fast Dual-Wield build.
Diablo 4 Rend Barbarian Rotation
Diablo 4 Rend Barbarian rotation is more about making sure your damage loop is active rather than a long chain of combos. You want to engage the pack with Leap, activate your Shouts, apply Rend, and stay above the Fury line, which fuels your build.
Diablo IV Rend Barbarian rotation is as follows:
- Start off with the Leap to engage packs and create pressure with the help of Ring of the Ravenous.
- Use the Challenging Shout against any elites and bosses that can attack you strongly.
- Support yourself with Rallying Cry for generating Fury and moving on with your build.
- Apply the War Cry before your main damage phase.
- Apply the Wrath of the Berserker against any elites, bosses, and dense pulls.
- Spam Rend while having active buffs and steady amount of Fury.
- Apply the Leap again to reposition yourself and chase the targets or enter a new pack.
- Refresh your Shouts if needed, and stack Rend until monsters die.
That’s pretty much it about playing the Rend Barbarian in Diablo 4. The build works great as long as you don’t panic spam everything. Just set the pull up, keep your Fury high, and Rend enemies.
Diablo 4 Rend Barbarian Talisman
The Diablo 4 Rend Barbarian Talisman build needs to accommodate Fury, Berserking, damage mitigation, and larger damage windows. Because of the Season 14 Rend Barbarian build being focused on Burning Rend, the Bleed-only Talisman approach is less favorable than previous Rend builds.
| Talisman Part | Best Choice |
|---|---|
| Best Seal | Seal with +1 Charm Slot |
| Main Set Direction | 5-piece Sescheron’s Fury |
| Recommended Set Focus | Fury, Colossal bonuses, Damage while Berserking |
| Important Seal Affixes | Damage Reduction, Damage while Berserking, Resistances |
| Unique Charm Power | Emblem of Staalbreak |
| Fallback Setup | Use your best Fury/Berserking charms until Sescheron’s Fury is complete |
| Avoid for Burning Setup | Bloodletter’s Flow as the main direction, since it supports Bleed more than Burning |
The Sescheron’s Fury rune is a major factor in why the Rend barbarian should aim to stay on higher values of fury. With the build set up, Rend will scale well, and elite packs won’t take forever.
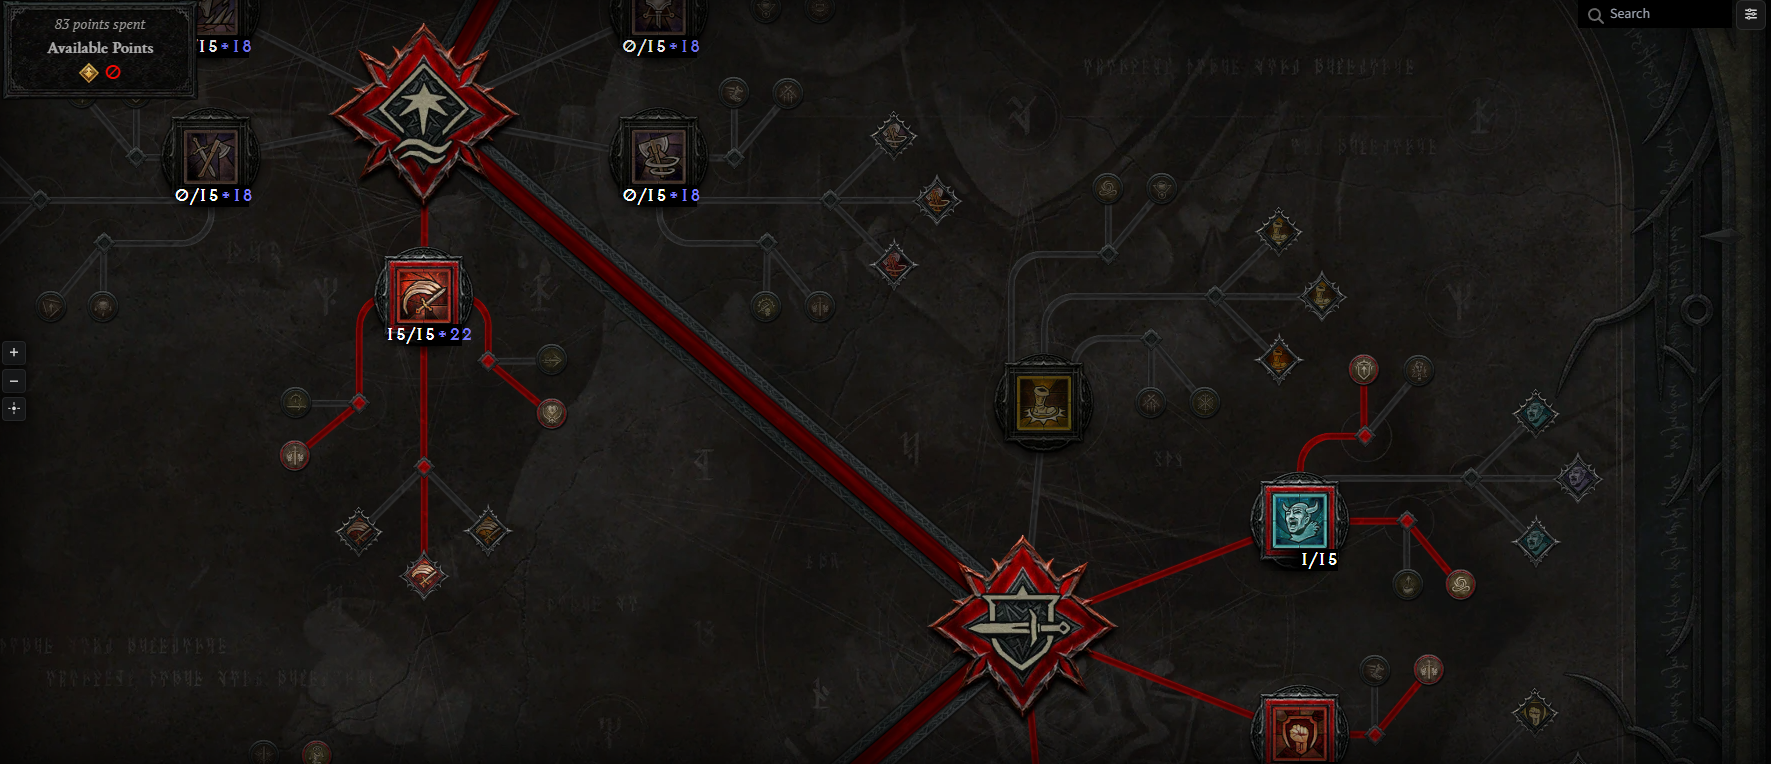
Diablo 4 Rend Barbarian Paragon Boards
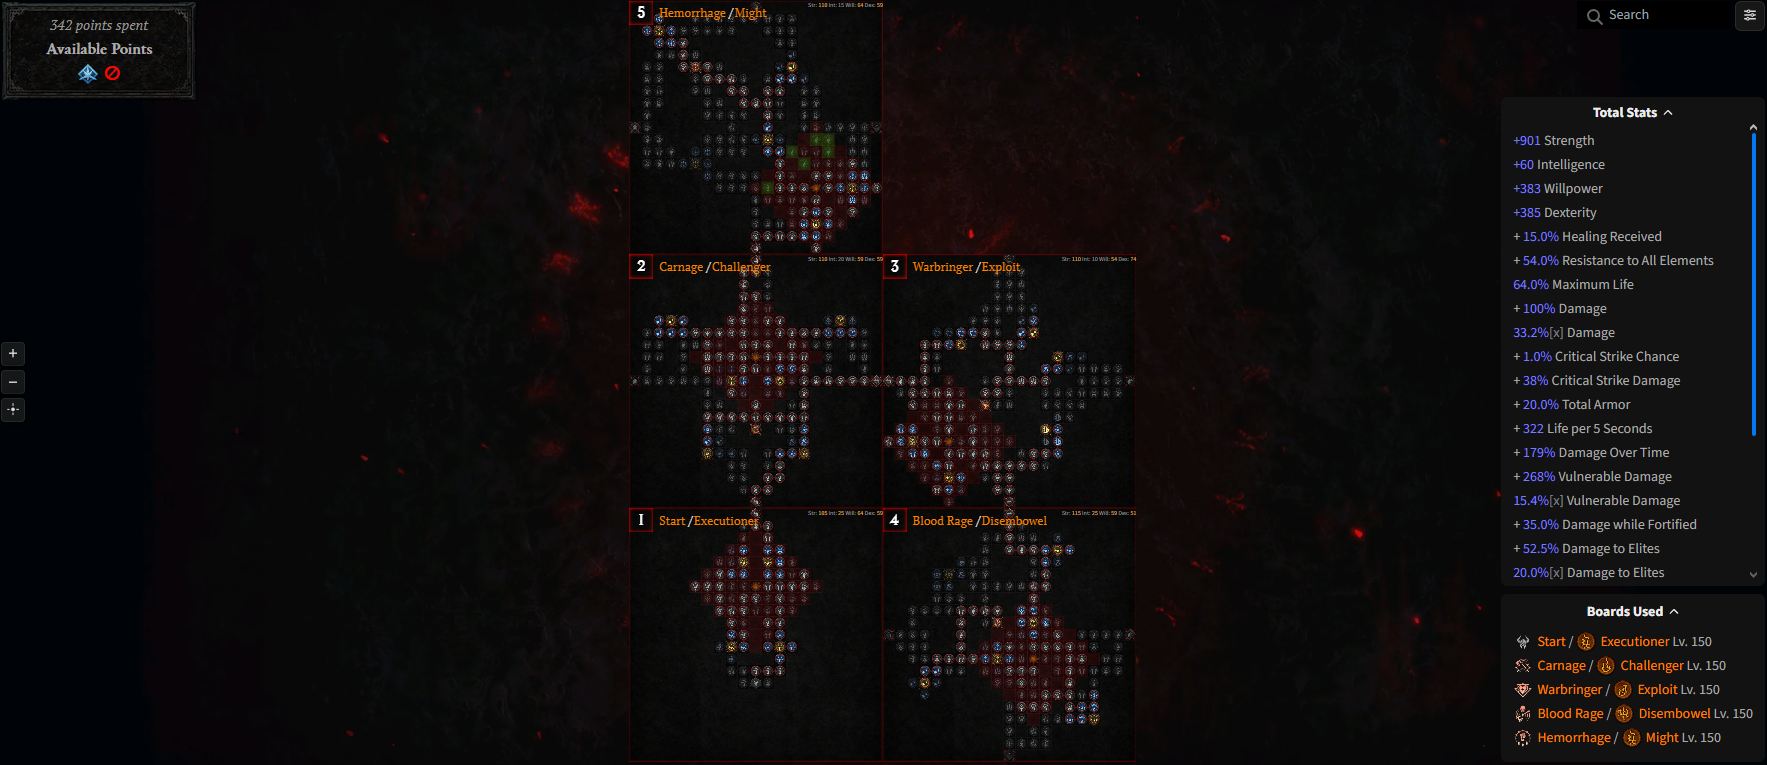
For Diablo 4 Rend Barbarian Paragon Boards, your main priority would be DoT damage, Berserking, Fury, Vulnerable damage, and defensive nodes. Don’t just concentrate on increasing damage when you will be getting deleted during Torment. Rend Barbarian takes some time for damage to tick off, so being alive is also important for your DPS.
The best Paragon for Rend Barbarian in Diablo 4:
| Board Order | Board | Glyph |
|---|---|---|
| 1 | Starting Board | Exploit |
| 2 | Blood Rage | Ire |
| 3 | Decimator | Territorial |
| 4 | Warbringer | Might |
| 5 | Carnage | Wrath |
| 6 | Bone Breaker | Marshal |
If you are still under high Paragon levels, take the strongest Rare and Legendary Nodes first, then clean up the full board order later. Early on, the Diablo 4 Rend Barbarian Paragon setup should fix survival and Fury before chasing tiny damage gains. You can secure the paragon leveling with the help of our team.
Diablo 4 Rend Barbarian Glyphs
The optimal Diablo IV glyphs for Rend Barbarian will enhance your character in many ways by giving you the ability to make your enemies vulnerable, deal close-range damage, have good Berserking value, and be defensive. Level up your primary glyphs early, as the Rend Barbarian will feel much better afterwards.
| Glyph Priority | Glyph |
|---|---|
| 1 | Exploit |
| 2 | Ire |
| 3 | Territorial |
| 4 | Might |
| 5 | Wrath |
| 6 | Marshal |
The Exploit glyph is an easy early priority due to the Vulnerable glyph increasing your uptime and therefore the Rend damage. Afterwards, focus on the Glyphs that are relevant to your actual issues. If you’re dying too often, level up Territorial or Ire glyphs sooner.
Diablo 4 Rend Barbarian Best Gear
Diablo 4 Rend Barbarian gear has a few clear best gear choices. Ring of the Ravenous, Fists of Fate, Ramaladni’s Magnum Opus, and Ugly Bastard Helm define the build’s damage loop. Around them, you stack Fire damage, Vulnerable damage, Strength, Fury support, and enough defense to stay in melee.
So, the best gear for Rend Barbarian includes:
| Slot | Best Item |
|---|---|
| Helm | Ugly Bastard Helm |
| Chest | Aspect of Disobedience |
| Gloves | Fists of Fate |
| Pants | Aspect of Anger Management |
| Boots | Overheating Aspect |
| Amulet | Cremator’s Aspect |
| Ring 1 | Cut to the Bone Aspect |
| Ring 2 | Ring of the Ravenous |
| 2-Handed Bludgeoning Weapon | Wanton Rupture Aspect |
| 2-Handed Slashing Weapon | Crushing Aspect |
| Dual-Wield Weapon 1 | Writhing Aspect |
| Dual-Wield Weapon 2 | Ramaladni’s Magnum Opus |
Diablo 4 Rend Barbarian Best Uniques
The Diablo IV best Uniques for Rend Barbarian do more than add raw damage. They change how the build feels, how fast Rend stacks, and how safe your big pulls become. If you are farming this build from scratch, prioritize the items that fix the rotation first.
| Slot | Unique |
|---|---|
| Helm | Ugly Bastard Helm |
| Gloves | Fists of Fate |
| Ring | Ring of the Ravenous |
| One-Handed Sword | Ramaladni’s Magnum Opus |
| Mythic Ring | Ring of Starless Skies |
| Mythic Weapon | Shattered Vow |
| Utility Option | Tyrael’s Might |
| Utility Option | Heir of Perdition |
| Utility Option | Crown of Lucion |
| Defensive Option | Endurant Faith |
Ring of the Ravenous is one of the first pieces you should chase for Diablo 4 Rend Barbarian. It makes Leap feel connected to your damage, instead of being only a movement button. Shattered Vow is a later dream drop, but once you get it, DoT-based gameplay feels much nastier.
Our professional players can assist you with Unique Items, so you can finish your Rend Barbarian gear faster and jump into endgame farming without waiting on random drops for days.
Diablo 4 Rend Barbarian Stats
Stats for Diablo 4 Rend Barbarian should provide resistance to Fire and Burning Damage, Vulnerable Damage, Strength, Fury, and durability. As the character fights in the midst of enemy groups, full-on glass cannon gear will only serve to trick you. That is why the best stats for Rend Barbarian are:
| Priority | Stat |
|---|---|
| 1 | Weapon Damage |
| 2 | Strength |
| 3 | Fire Damage Multiplier |
| 4 | Vulnerable Damage Multiplier |
| 5 | Damage over Time |
| 6 | Attack Speed |
| 7 | Cooldown Reduction |
| 8 | Fury Generation |
| 9 | Maximum Fury |
| 10 | Maximum Life |
| 11 | Armor |
| 12 | All Resistances |
| 13 | Damage Reduction |
| 14 | Movement Speed |
For Masterworking, look for the stats that actually move the build forward. Fire damage, Vulnerable damage, Strength, Fury generation, and Maximum Life all feel good. If your character already clears fast but dies in bad pulls, fix defense before adding more sheet damage.
Diablo 4 Rend Barbarian Starter Build
For Diablo 4 Rend Barbarian starter Build, concentrate on stabilizing your rotation first before going for all BiS items. What you want is to have Rend doing some decent damage, Leap being smooth, and Shouts keeping you alive. The fancy Mythics will come later on. Here are the key points you need during Diablo 4 Rend Barbarian early build:
| Starter Priority | What to aim for |
|---|---|
| Main Skill Setup | Rend with the best available damage modifier |
| Mobility Tool | Leap for engage, movement, and Ring of the Ravenous setup later |
| First Core Unique | Ring of the Ravenous |
| First Damage Unique | Fists of Fate |
| Fury Scaling | Ramaladni’s Magnum Opus or strong Fury-support gear |
| Berserking Support | Aspect of Anger Management |
| DoT Scaling | Wanton Rupture Aspect and Writhing Aspect |
| Defensive Base | Armor, resistances, Maximum Life, and Shout passives |
| Starter Gems | Ruby in weapons and armor, Diamond in jewelry |
| Early Farming Goal | Torment gear, Ancestral upgrades, and key Aspects |
The starter version of Rend Barbarian can use more defensive pieces until damage feels stable. Do not force a fragile setup just because a final planner uses it. The build plays better when you can stand still long enough for Rend to finish enemies.
Diablo 4 Rend Barbarian Legendary Aspects
Diablo 4 Rend Barbarian Legendary Aspects should increase DoT damage, Fire damage, Fury scaling, and survivability. A few of these are build-defining, while others can move around based on your gear.
| Slot | Aspect |
|---|---|
| Chest | Aspect of Disobedience |
| Pants | Aspect of Anger Management |
| Boots | Overheating Aspect |
| Amulet | Cremator’s Aspect |
| Ring | Cut to the Bone Aspect |
| 2-Handed Bludgeoning Weapon | Wanton Rupture Aspect |
| 2-Handed Slashing Weapon | Crushing Aspect |
| Dual-Wield Weapon | Writhing Aspect |
| Flex Defensive Slot | Aspect of Might |
| Flex Resource Slot | Bold Chieftain’s Aspect |
| Flex Damage Slot | Aspect of Limitless Rage |
The Aspect of Anger Management and Wanton Rupture should be treated as priority pieces for Diablo 4 Rend Barbarian. The first helps your Berserking loop, while the second gives your damage over time more room to work.
Diablo 4 Rend Barbarian Runes
The best Runes for Rend Barbarian in Diablo 4 should support skill ranks, survivability, and uptime. The current setup uses one offensive Runeword pair and one defensive pair, which fits the build well because Rend wants both damage and time to tick.
| Rune Pair | Role in Build |
|---|---|
| Cir + Vex | Main damage pair, giving strong skill-rank uptime during active combat |
| Igni + Que | Defensive pair, creating a barrier through Earthen Bulwark |
| Neo + Que | Safer barrier option if you need more survival |
| Igni + Ceh | Optional utility/summon-style pair for some farming variants |
Cir + Vex is the cleaner damage choice for Rend Barbarian, especially in longer fights where you keep casting. Igni + Que is the comfort pick when higher-tier enemies start hitting too hard. I would keep both available and swap depending on the content.
Diablo 4 Rend Barbarian Mercenaries
The Diablo 4 Rend Barbarian Mercenaries setup should add pressure, safety, and a bit of extra control. Since this build already wants to stay in melee, the best mercenary package should not drag you into awkward positioning.
| Mercenary | Role | Best Choice | Why it matters |
|---|---|---|---|
| Hired Mercenary | Main combat support | Varyana | Adds aggressive melee support and fits the Berserking-style Barbarian play pattern. |
| Reinforcement | Defensive / utility support | Raheir | Gives extra safety and helps cover rough engagement moments. |
Varyana is the more natural hired Mercenary for Diablo 4 Rend Barbarian because she fits the aggressive melee tempo. Raheir works well as reinforcement because this build still needs defensive help when elite packs get messy.
4.9Diablo 4 Rend Barbarian is a strong endgame build for players who like sustained damage, Berserking, and close-range pressure. It is not the cleanest starter build without gear, but once Ring of the Ravenous, Fists of Fate, Ramaladni’s Magnum Opus, and the main Aspects are ready, Rend Barb becomes much smoother. If you want a Barbarian setup that feels heavy, bloody, and satisfying in longer fights, Rend Barbarian is still a great Season 14 pick.
