Our Mists of Pandaria Classic Heart of Fear overview covers all the essential details about this Phase 1 raid. You will learn the release date, raid location, boss list, and rewards. We also provide a breakdown of Heart of Fear loot, so you know exactly what you’re fighting for. Also, check out our MoP Classic Tier Set Guide to plan your gearing accordingly.
 4.9
4.9Heart of Fear Release Date

Heart of Fear opens in Phase 1 of Mists of Pandaria Classic on August 21, 3:00 pm PDT. This is the second Tier 14 raid, following Mogu’Shan Vaults, and takes you into the mantid stronghold of the Dread Wastes. The raid features six bosses, each testing different aspects of your raid’s coordination.
- Launch Date: August 21, 3:00 pm PDT (Phase 1 of MoP Classic);
- Location: Dread Wastes, Pandaria (Kypari Zar);
- Raid Size & Difficulty: 10-player and 25-player, Normal and Heroic difficulties (no LFR in MoP Classic);
- Required Level: 90;
- Number of Bosses: 6 (Imperial Vizier Zor’lok, Blade Lord Ta’yak, Garalon, Wind Lord Mel’jarak, Amber-Shaper Un’sok, Grand Empress Shek’zeer).
Want to clear the entire raid without dealing with endless wipes? Our team knows every mechanic. Skip the stress and walk away with loot in your bags with our Pandaria Classic Heart of Fear services.
Heart of Fear Rewards
Heart of Fear offers ilvl 496 gear on Normal and ilvl 509 gear on Heroic, all Epic quality. In addition to armor and weapons, it also drops tier set pieces for Tier 14 and unique trinkets that are BiS for many specs.
Loot Item Level by Difficulty:
| Difficulty | Item Level |
|---|---|
| Normal | 496 |
| Heroic | 509 |
Additional Notable Drops:
- Sigil of Power;
- Sigil of Wisdom;
- Reins of the Heavenly Crimson Cloud Serpent — mount reward from Glory of the Pandaria Raider meta-achievement.
MoP Classic uses the classic loot system (group loot/master looter). Competition will be high, and guilds often use DKP or Loot Council. Want to avoid the competition? Get your PvE BiS Gear here at Overgear without stress!
Heart of Fear Tier Tokens
Tier 14 raid gear from Heart of Fear comes from class tokens dropped by specific bosses: Wind Lord Mel’jarak drops the glove token, Amber-Shaper Un’sok drops the leg token, and Grand Empress Shek’zeer drops the chest token.
Heart of Fear Weapons
Heart of Fear offers a large variety of weapons — ideal for melee, ranged, and casters.
| Type | Heroic | Boss |
|---|---|---|
| Dagger | Un’sok’s Amber Scalpel | Amber-Shaper Un’sok |
| Fist Weapon | Claws of Shek’zeer | Grand Empress Shek’zeer |
| Off-hand Frill | Tornado-Summoning Censer | Blade Lord Ta’yak |
| One-Handed Mace | Kri’tak, Imperial Scepter of the Swarm | Grand Empress Shek’zeer |
| One-Handed Sword | Scimitar of Seven Stars | Amber-Shaper Un’sok |
Heart of Fear Cloth Armor
Heart of Fear offers several cloth armor pieces, many tailored for casters and healers progressing through Tier 14 content.
Heart of Fear Leather Armor
Heart of Fear features leather armor drops suited for agility and intellect users, supporting both melee and caster playstyles in Tier 14 progression.
Heart of Fear Mail Armor
Heart of Fear provides mail armor pieces for both agility-based damage dealers and intellect-based healers working through Tier 14 content.
Heart of Fear Plate Armor
Heart of Fear offers plate armor for strength-based damage dealers and tanking, as well as intellect plate for healers in Tier 14 progression.
Heart of Fear Achievements

You can earn several achievements from Heart of Fear. These not only showcase your skill but can also contribute toward rewards, the most valuable of them being a mount – Reins of the Heavenly Crimson Cloud Serpent.
You don’t have to spend weeks figuring out each achievement’s exact requirements, as we have already mastered every trick, skip, and strategy for you! Let our Glory of the Pandaria Raider services handle the busy work for you in the shortest time possible!
| Achievement | Description |
|---|---|
| Candle in the Wind | Defeat Blade Lord Ta’yak while all four braziers are lit in Heart of Fear on Normal or Heroic difficulty. |
| I Heard You Like Amber… | Kill Living Amber in Burning Amber until at least 8 pools overlap, then defeat Amber-Shaper Un’sok on Normal or Heroic difficulty. |
| Less Than Three | Defeat Wind Lord Mel’jarak without crowd-controlling more than 2 of his swarm at once on Normal or Heroic difficulty. |
| Like an Arrow to the Face | Defeat Garalon in Heart of Fear on Normal or Heroic difficulty without destroying any of his legs. |
| Overzealous | Defeat Imperial Vizier Zor’lok while every member of the raid is afflicted with the Zealous Parasite debuff. |
| Timing is Everything | Defeat two Kor’thik Reavers within 10 seconds of each other, then defeat Grand Empress Shek’zeer on Normal or Heroic difficulty. |
Heart of Fear Location

Mists of Pandaria Classic Heart of Fear entrance is located deep in the Dread Wastes, within the sprawling mantid hive of the Kypari Ik tree. The approximate in-game coordinates are around /way 39.1 35, at the base of a massive amber-covered structure crawling with mantid warriors. The raid portal sits inside the central chamber of the hive.
Because mounts are usable throughout most of the Dread Wastes, you can ride directly up to the base of Kypari Ik and dismount at the raid entrance. Still catching up to level 90 while everyone else is raiding? No worries — our team can handle the Power Leveling so you can start your journey right at the Heart of Fear gates.
Heart of Fear Map

Oratorium of the Voice

Heart of Fear
MoP Classic Heart of Fear raid consists of two main wings:
- Oratorium of the Voice – Imperial Vizier Zor’lok, Blade Lord Ta’yak;
- Heart of Fear – Garalon, Wind Lord Mel’jarak, Amber-Shaper Un’sok, Grand Empress Shek’zeer.
4.9Heart of Fear Bosses
Mists of Pandaria Classic Heart of Fear contains six bosses. In order, the bosses are:
- Imperial Vizier Zor’lok;
- Blade Lord Ta’yak;
- Garalon;
- Wind Lord Mel’jarak;
- Amber-Shaper Un’sok;
- Grand Empress Shek’zeer.
As of Phase 1, no major mechanics have been changed for MoP Classic, so strategies will feel familiar to veterans. Each encounter offers its own set of challenges. Knowing the strategy in advance is often the difference between a clean kill and a frustrating wipe.
Down below, you will find a brief overview of each boss and a few strategic tips for every role — Tank, Healer, and DPS, so you can fully prepare for this raid.
And if you’re not raid-ready yet but don’t want to miss your shot at the loot and achievements, our team offers Monkey Runs — the fastest leveling option, so you can be geared and ready for Heart of Fear!
Imperial Vizier Zor’lok

Imperial Vizier Zor’lok is a two-phase encounter that shifts as the boss moves between platforms before culminating in a high-pressure burn phase.
Phase One
Zor’lok will fly to the right platform and cast Pheromones of Zeal. This will fill the room with harmful pheromones except for the three platforms. The tank should hold Zor’lok in place while the raid damages him, kicking Exhale casts to reduce damage.
Four shields will spawn when the boss starts casting Force and Verve. Each shield can protect up to seven players. The raid should quickly hide under them to survive the damage. When Zor’lok reaches 80% of his health, he will leave behind an Echo of Force and Verve and fly to the left platform, casting Song of the Empress. A small group with typically a tank, one or two healers, and some DPS should remain to kill the Echo while the rest of the raid chases the boss. You can use Warlock’s Demonic Gateways to make this process faster.
On the left platform, Zor’lok will replace Force and Verve with Attenuation. This will spawn yellow pulses that must be dodged. Green pulses are added in Heroic mode. At 60% health, Zor’lok leaves behind an Echo of Attenuation and moves to the third platform, again casting Song of the Empress.
On the final platform, Zor’lok will start using Convert. This ability mind-controls random players and increases their damage and health by 150%. This lasts until affected players are brought down to 50% health. This phase of the fight continues until Zor’lok reaches 40% health.
Phase Two
At the start of Phase 3, Zor’lok will be flying to the center of the room and removing all pheromones. He now uses both Force and Verve and Attenuation, and summons an additional Echo of Attenuation that continues casting while the boss attacks. Ideally, a second tank should pull this Echo away from the group while it is healed through the damage. At this point, the raid should use all DPS cooldowns to burn Zor’lok before overlapping mechanics overwhelm the group.
Blade Lord Ta’yak

Blade Lord Ta’yak is a two-phase fight that requires careful positioning and coordination to manage deadly abilities and movement-heavy mechanics.
Phase One
At the start, Ta’yak should be tanked in the center of his room. Tanks swap on every Overwhelming Assault. The raid must avoid tornadoes from Tempest Slash, which deal damage and knock players away. The boss will cast Unseen Strike, during which the raid should stack on the marked player to split the damage.
Players with Wind Step will take high physical damage over time and should use defensive cooldowns or be target-healed. Blade Tempest should be avoided entirely. Run away from the boss to escape the pull effect. Phase One ends at 20% health.
Phase Two
Ta’yak will be flying to one end of the room and pushing the raid to the opposite side. Players must run toward him, dodging three lanes of moving tornadoes. Any player hit by a tornado will be carried back to the start.
Garalon
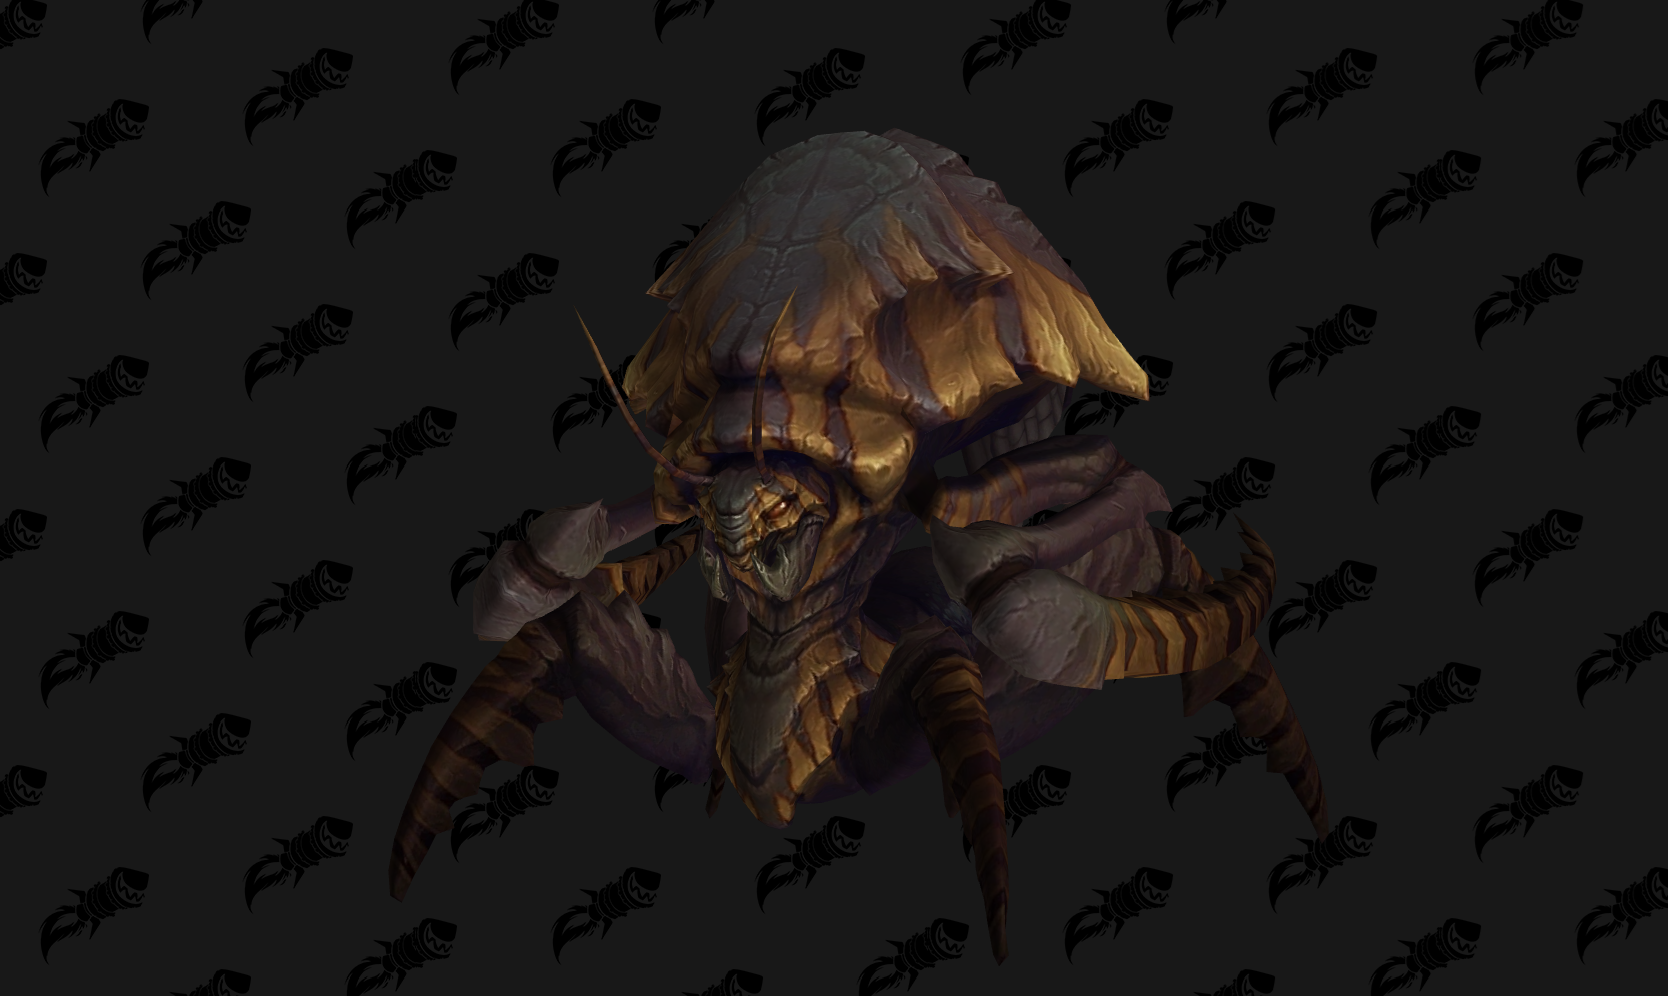
Garalon’s fight is all about the correct positioning, more so than other fights in Heart of Fear.
Phase One
Garalon will fixate on a player closest to the boss during the pull. A debuff called Pheromones will be applied to them as well. Pheromones can be passed to another player by walking into them, and since the damage ramps with stacks of Pungency, the raid should maintain a set rotation, ideally swapping around 20 stacks. The Pheromone carrier should kite Garalon along the edge of the arena to keep the Pheromone Trail away from the raid.
On Normal difficulty, Garalon casts Crush each time Pheromones are passed, while on Heroic, he instead uses Crush every 35 seconds. During the first phase, DPS should focus on Garalon’s four legs, with the Weak Point buff granted by attacking in close range. Breaking all legs deals a ton of damage to Garalon and slows him down.
Phase Two
This phase starts when the boss is at 33% health. Garalon stops fixating and instead attacks your tanks. Both tanks should stand in front to soak Furious Swipe, while DPS should finish all weakened legs simultaneously.
Throughout the fight, healers should prepare for high raid damage when Pheromone stacks go up, especially if overlapping with Crush. DPS must avoid standing right beneath Garalon’s body to prevent being Crushed and heavy raid-wide damage.
Wind Lord Mel’jarak

Wind Lord Mel’jarak is a two-phase encounter centered on add control. The fight can be done with one or two tanks. Two healers are possible, but Phase Two survival will be challenging.
Phase One
The fight begins with Mel’jarak and nine adds of 3 types:
- Priests heal and apply an attack speed buff;
- Warriors deal damage to the raid;
- Hunters place traps and apply debuffs.
You can control up to four mobs at the start. When an entire pack of a given type dies, the number of CC slots drops from four to two, then to none when only one pack remains. It is recommended to control two priests to prevent stacking attack speed buffs on the tank, at least one warrior to avoid multiple charges, and one hunter to reduce trap and debuff pressure.
Once CC is set, pull the boss with the remaining five active adds and AoE them down. Priests are generally the first priority to reduce tank damage, though evenly cleaving all adds can optimize DPS.
Target the priests first, then drop the other two packs close together. During this process, hunters can trap players. To free them, you just need to click on them, but you will receive a 2-minute debuff preventing you from freeing other players.
Phase Two
Once all adds are dead, Phase Two begins. Move Mel’jarak to the center of the room and have ranged spread evenly around him. In this phase, he deals 150% more melee damage, increasing tank strain.
📌 At 75% health, Mel’jarak begins throwing Wind Bombs that must be avoided. Stepping on one will nearly one-shot the raid.
Amber-Shaper Un’sok

Amber-Shaper Un’sok is a three-phase fight built around the Reshape Life mechanic, which transforms a raid member into a Mutated Construct with unique abilities and a constantly draining willpower bar. If willpower reaches zero, the player dies and the construct turns hostile toward the raid.
Phase One
In the first phase, Un’sok is alone and is using three primary abilities.
Amber Scalpel targets a random player with a damaging beam, leaving a trail of amber that spawns Living Amber globules. Globules fixate on random players until killed. Upon death, they deal AoE damage and heal other globules. Parasitic Growth applies a DoT that intensifies with healing. Reshape Life is only used on tanks during this phase, and they should be brought to 20% health quickly to allow them to break free. The main goal here is to DPS the boss to 70% while ranged DPS handles the small globules.
Phase Two
The boss transitions to the second phase at 70% health. Un’sok will summon an Amber Monstrosity. During this time, the boss becomes immune to damage and continues Phase One abilities. The only difference is that Reshape Life now targets all players instead of only targeting tanks.
📌 All DPS should focus on killing the Monstrosity, while mutated players use Amber Strike to interrupt its Amber Explosion.
Phase Three
Once the Amber Monstrosity is dead, Un’sok stops Amber Scalpel but gains increased damage and attack speed. Pools from Living Amber now damage players and heal Constructs, meaning breaking free from the mutation is no longer an option in this burn phase. Mutated players should maintain willpower via Consume Amber and keep Amber Strike stacks.
Grand Empress Shek’zeer

Grand Empress Shek’zeer is a three-phase encounter that cycles between a controlled healing environment, an add-management stage, and a high-damage final burn.
Phase 1
Shek’zeer’s primary ability in Phase 1 is Dissonance Field, which summons two vortexes. Standing in a vortex prevents all healing, and when the timer reaches zero, it explodes, damaging the entire raid. To prevent simultaneous explosions, players with the Cry of Terror debuff should cast spells inside to desynchronize the timers.
Cry of Terror inflicts periodic damage to the raid, but this effect is suppressed if the player with the debuff stands inside a vortex. They should do so unless they are too low on health or the vortex is about to explode. Meanwhile, Shek’zeer applies Eyes of the Empress to her current tank, stacking a debuff that requires a tank swap at five stacks.
Phase 2
At 0 energy (around 150 seconds in), Shek’zeer retreats and Phase Two begins. Each side of the room spawns a Kor’thik Reaver and three Set’thik Windblades. Tanks must split these groups, as the enemies grant each other a 30% damage buff when too close. One enemy per side must die quickly before tank cooldowns expire. Windblades occasionally cast Whirlwind, dealing heavy melee damage and requiring interrupts, and sometimes fixate on random players, who should kite them.
The Reavers deal heavy frontal cleave. The goal in this phase is not to kill the large Reavers but to trap them. Small puddles of Sticky Resin appear on the floor, and players stepping on them receive a debuff.
When two debuffed players meet, they form a larger resin puddle, which can be expanded into a trap by adding more resin. Once that’s done, Reavers should be lured into it. Windblades will attempt to break the trap, so they must be killed only after the trap is formed.
Phase 3
Phase Three begins at 30% health. Before transitioning, ensure any remaining Dissonance Fields have exploded; if not, pause DPS until they do. In this phase, the raid should stack behind the boss to simplify healing through heavy damage. Shek’zeer continues using Eyes of the Empress and gains new abilities: Visions of Demise targets two players, who must quickly run out of the group before the debuff triggers a fear and an AoE pulse.
After four seconds, they should be dispelled. Consuming Terror deals high damage and fears players in a large frontal cone, easily avoided with awareness. Periodic Calamity casts will suddenly drop all players to low health. This is expected and not an immediate wipe condition.
4.9With the Grand Empress defeated, the Heart of Fear is clear. Every boss in this raid asks your group to pay attention, work together, and handle each phase as it comes. Knowing the mechanics before you step inside makes the fights smoother and helps avoid costly wipes. Go in prepared, keep the plan simple, and you’ll come out with the kill.