The FragPunk Best Characters guide breaks down the strongest Lancers in the game. Some lancers dominate with high damage, and others control fights with utility, and you’ll learn about all of them. This guide ranks them from S to B tier, helping you choose the best Lancer for your play style. Also, read our FragPunk Best Settings guide.
 4.9
4.9FragPunk Characters Ranked

FragPunk has rapidly evolved into an engaging 5v5 hero-based shooter, with a diverse cast of Lancers each bringing unique abilities that shape gameplay. Here is the FragPunk Character tier list:
| Tier | Lancers |
|---|---|
| S | Hollowpoint, Kismet, Pathojen, Serket |
| A | Chum, Jaguar, Nitro, Sonar, Zephyr |
| B | Axon, Broker, Corona, Spider |
The easiest and fastest way to start climbing the ladder is to turn to us. Our pro players will quickly Unlock Ranked mode, allowing you to jump straight into competitive play.
FragPunk S-Tier Lancers
S-Tier Lancers are the most dominant characters in FragPunk, excelling in almost every situation. These Lancers have powerful abilities, a strong presence on the battlefield, and can turn the tide of a match when played skillfully. They offer the best combination of damage, survivability, and team utility, making them highly sought-after picks for competitive and casual play alike.
Hollowpoint
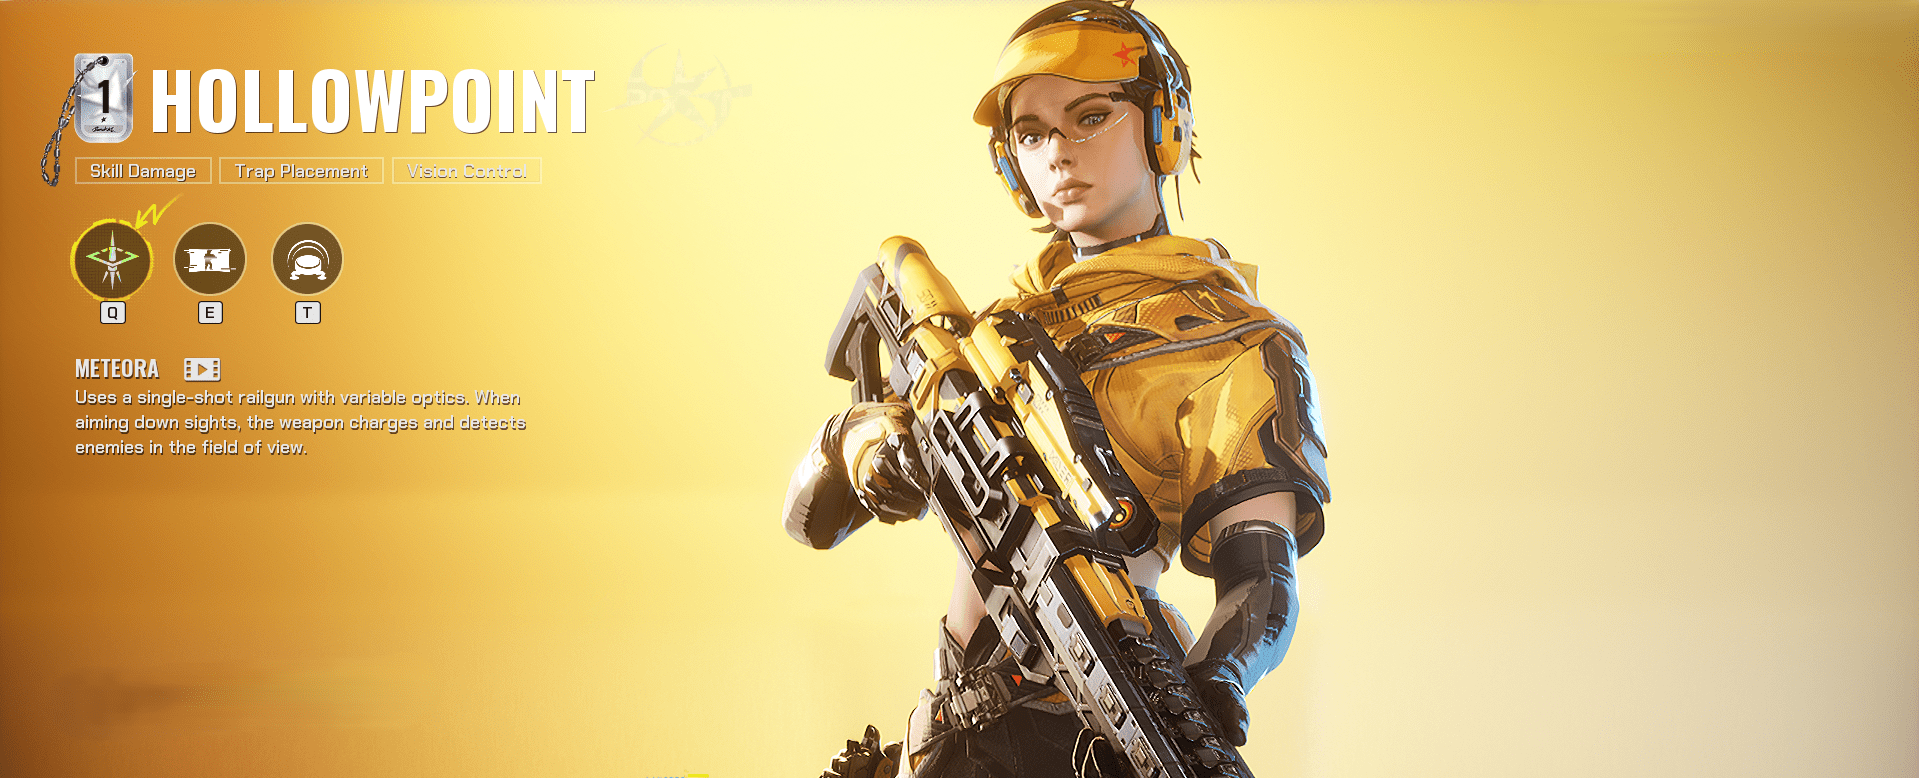
Hollowpoint deserves her S-tier status with her deadly sniper capabilities. Seasoned players master the impeccable timing of charged shots and faster, weaker blasts. Tactical deployment of her Smoke Screen makes for controlling, one-sided skirmishes. If enemies close in, though, she’s frailty in close-quarters situations.
| Key | Ability | Description |
|---|---|---|
| Q | Meteora | Use a single-shot railgun with variable optics. When aiming down sights, the weapon charges and detects enemies in the field of view. |
| E | Smoke Screen | Releases a forward-moving smoke screen. Enemies caught in the smoke will be revealed. |
| T | Paparazzi | Deploys a trap that automatically attaches to a nearby enemy and exposes them. The gadget can be destroyed or removed by interaction. |
Kismet
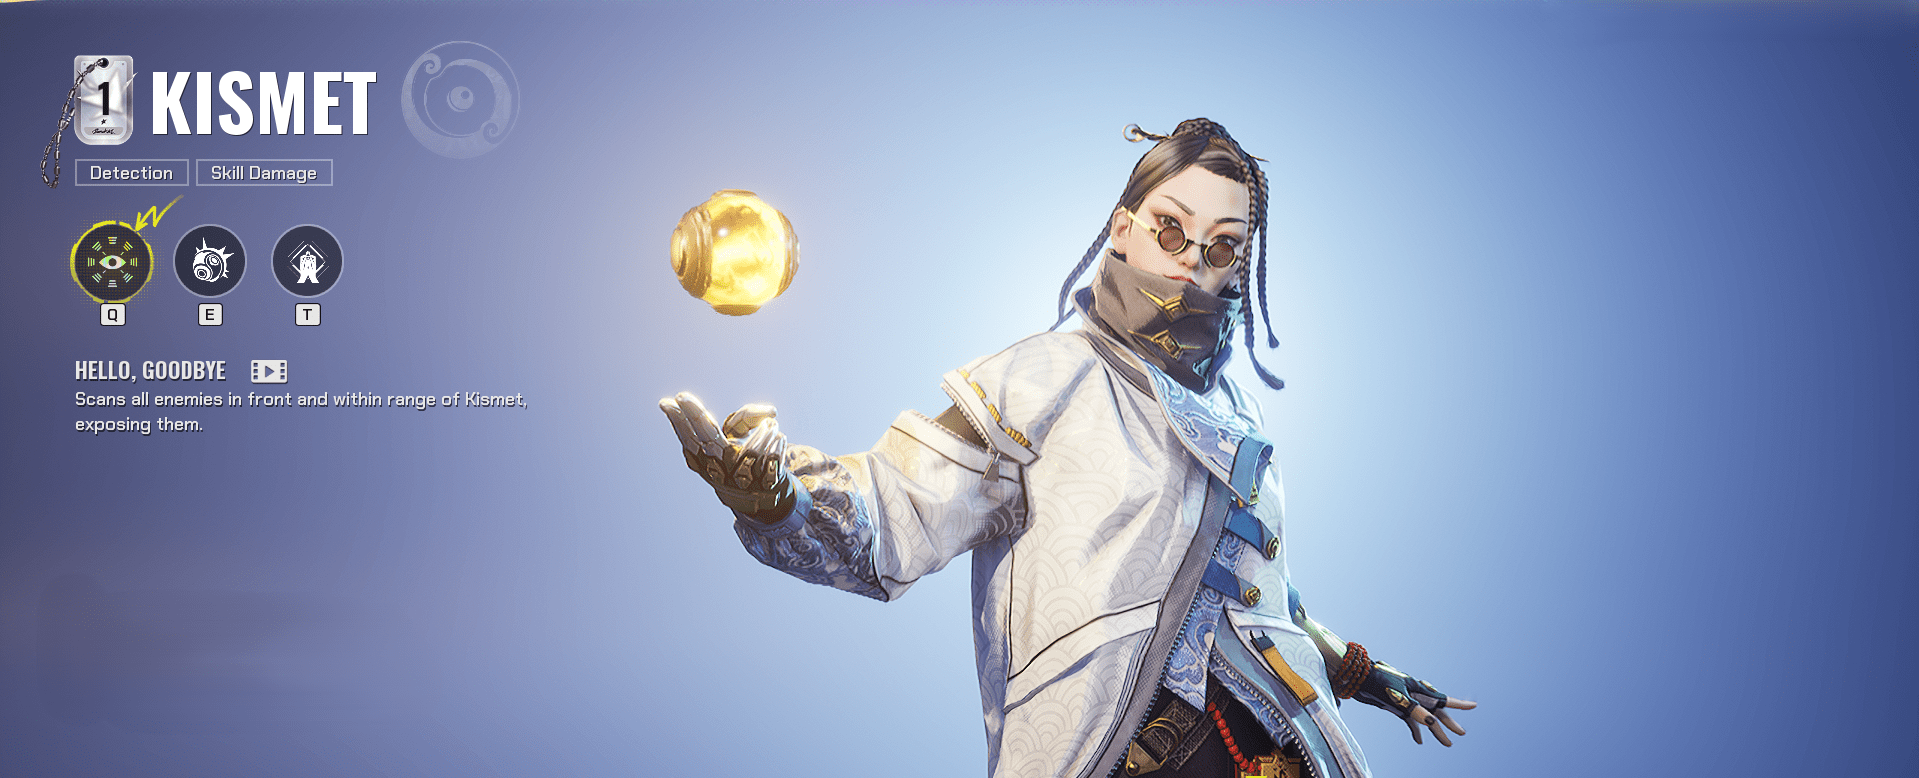
Kismet is great at gathering information and strategic damage. Her wall-piercing scan and explosive utility make her a no-brainer for coordinated players who require clear information. She rewards tactical play and coordination.
| Key | Ability | Description |
|---|---|---|
| Q | Hello, Goodbye | Scans all enemies in front and within range of Kismet, exposing them. |
| E | Misery Angel | Throws a bomb that deals damage to enemies in range, regardless of intervening barricades. |
| T | Walk on the Wild Side | Enters Rift Walk mode, becoming invisible and invulnerable, but unable to see other Lancers. |
Pathojen
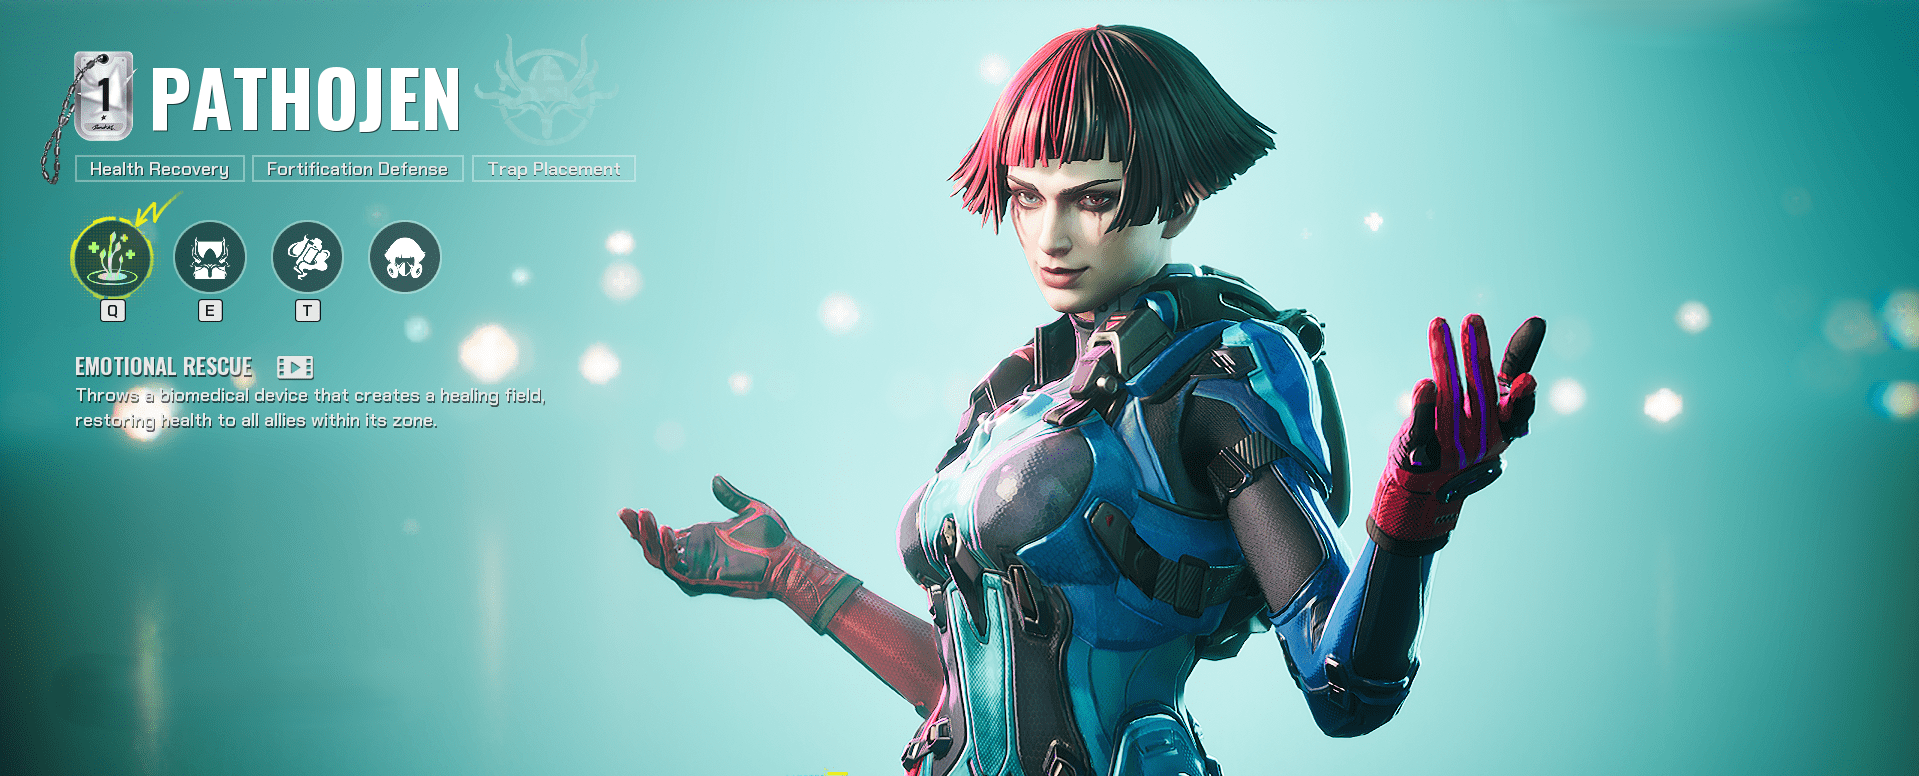
As the game’s main healer, Pathojen is a staple in nearly every team composition. Her heal zone enables her to start aggressive team pushes, and Shroom Wall has the potential to restrict enemy movements strategically. Killer Queen supports her support play by inhibiting enemy pushes or forcing the enemy out of hiding.
| Key | Ability | Description |
|---|---|---|
| Q | Emotional Rescue | Throws a biomedical device that creates a healing field, restoring health to all allies within its zone. |
| E | Shroom Wall | Erects a destructible fungus wall on the ground or in a doorway. |
| T | Killer Queen | A throwable trap that can be activated manually or triggered when an enemy approaches. Lancers within its range will receive damage over time. |
| Passive | Chemical Romance | Pathojen is immune to poison damage. |
Serket
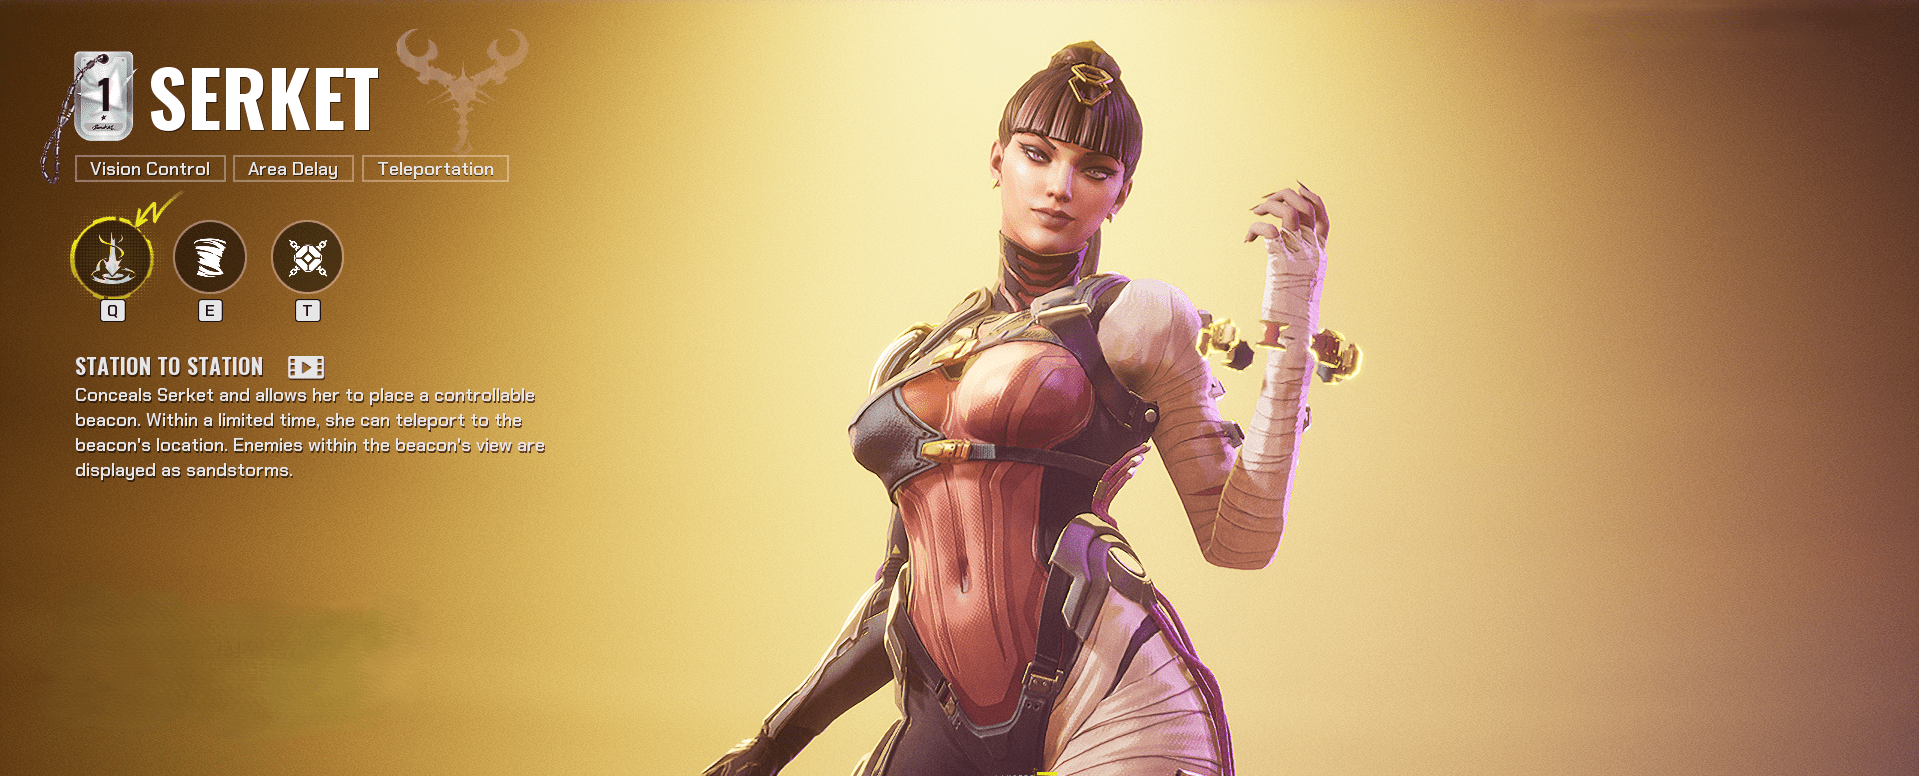
Serket’s high skill ceiling and strategic depth richly reward experienced players. Teleportation allows for quick repositioning, and Gold Dust Woman and Dilemma offer potent crowd control and positional advantages. Mastering Serket is how you disrupt enemy plans in ways they can’t foresee.
| Key | Ability | Description |
|---|---|---|
| Q | Station to Station | Conceals Serket and allows her to place a controllable beacon. Within a limited time, she can teleport to the beacon’s location. Enemies within the beacon’s view are displayed as sandstorms. |
| E | Gold Dust Woman | Releases a dust tornado that moves forward slowly, slowing enemies in range. |
| T | Dilemma | Throwable gadget that drags enemies in range toward it. |
FragPunk A-Tier Lancers
A-Tier Lancers are strong and versatile characters that can significantly influence the outcome of matches. Although slightly below S-Tier in sheer power and impact, they provide excellent utility and strategic depth. With proper use, these Lancers excel in specific scenarios, rewarding players who understand their strengths and limitations.
If you want to take a break from the game but don’t want your progress to stop, just reach out to us. Our team of pro players will secure any Rank You Desire fast and easily.
Chum
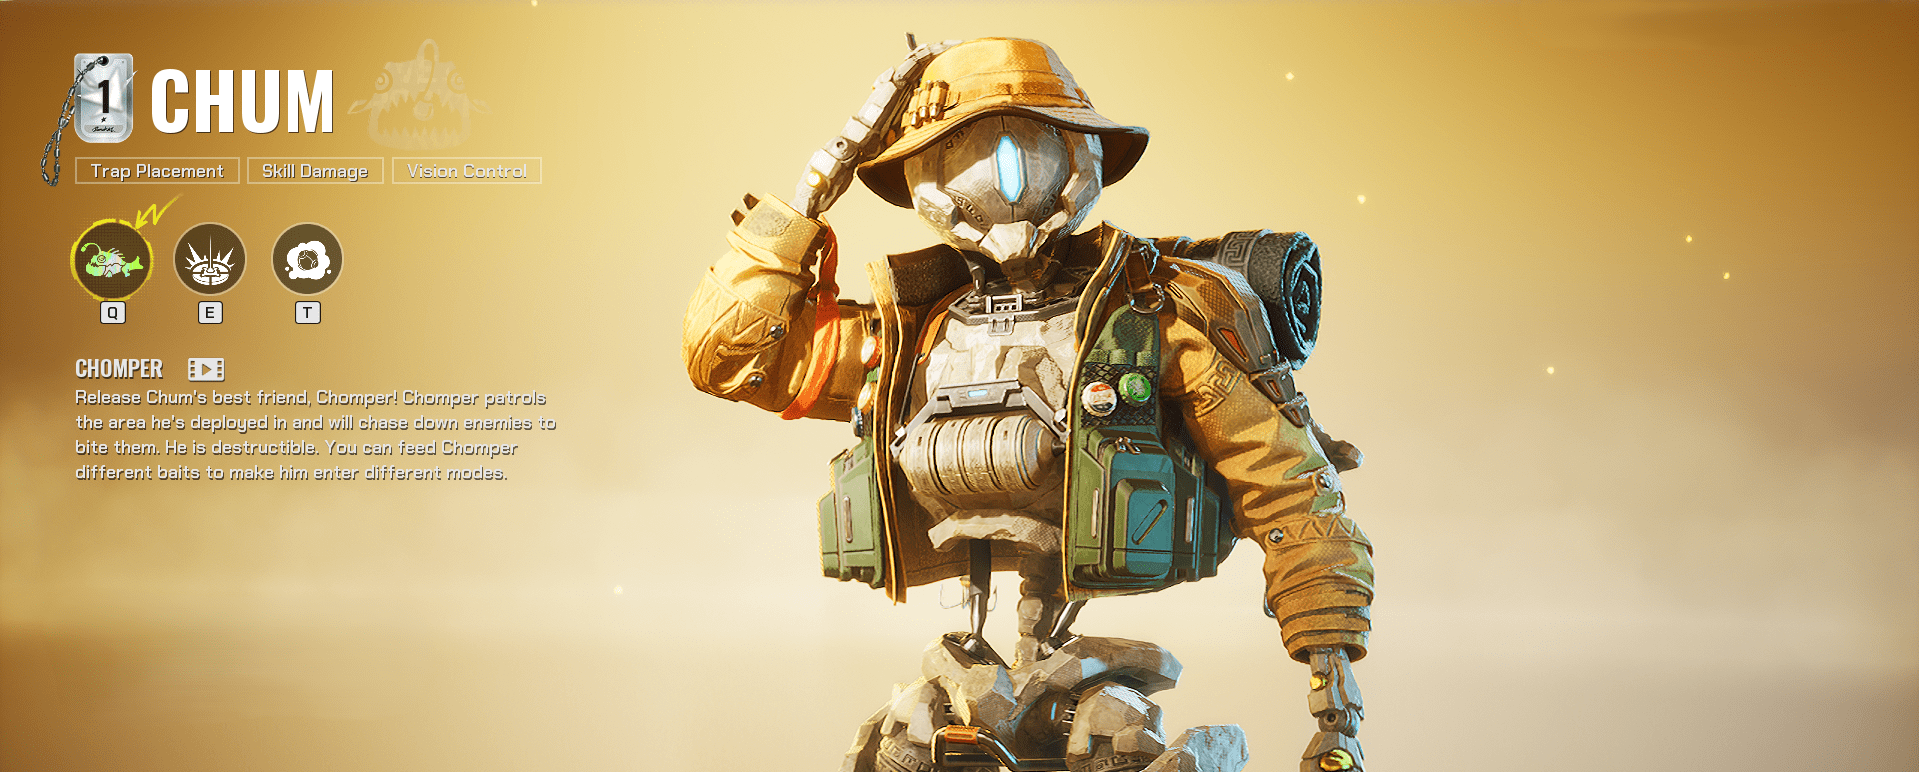
Chum is an unusual, offbeat character whose forte is disruption and confusion. While he may have a hard time against very organized teams, his potential for disruption is high in casual games or more relaxed play. He is best for players who like unusual tactics and relish causing opponents to lose their train of thought.
| Key | Ability | Description |
|---|---|---|
| Q | Chomper | Release Chum’s best friend Chomper! Chomper patrols the area he’s deployed in and will chase down enemies to bite them. He is destructible. You can feed Chomper different baits to make him enter different modes. |
| E | Explosive Bait | Place explosive bait that sticks to walls and explodes when triggered. When Chomper is fed this bait, he enters Explosive Mode and follows Chum, charging enemies to explode on contact. |
| T | Smoking Bait | Throw bait that generates smoke when it hits the ground or collides with a surface. When Chomper is fed this bait, he enters Smoke Mode and starts releasing a constant stream of smoke. Holding the fire button lets you control Chomper’s direction. |
Jaguar
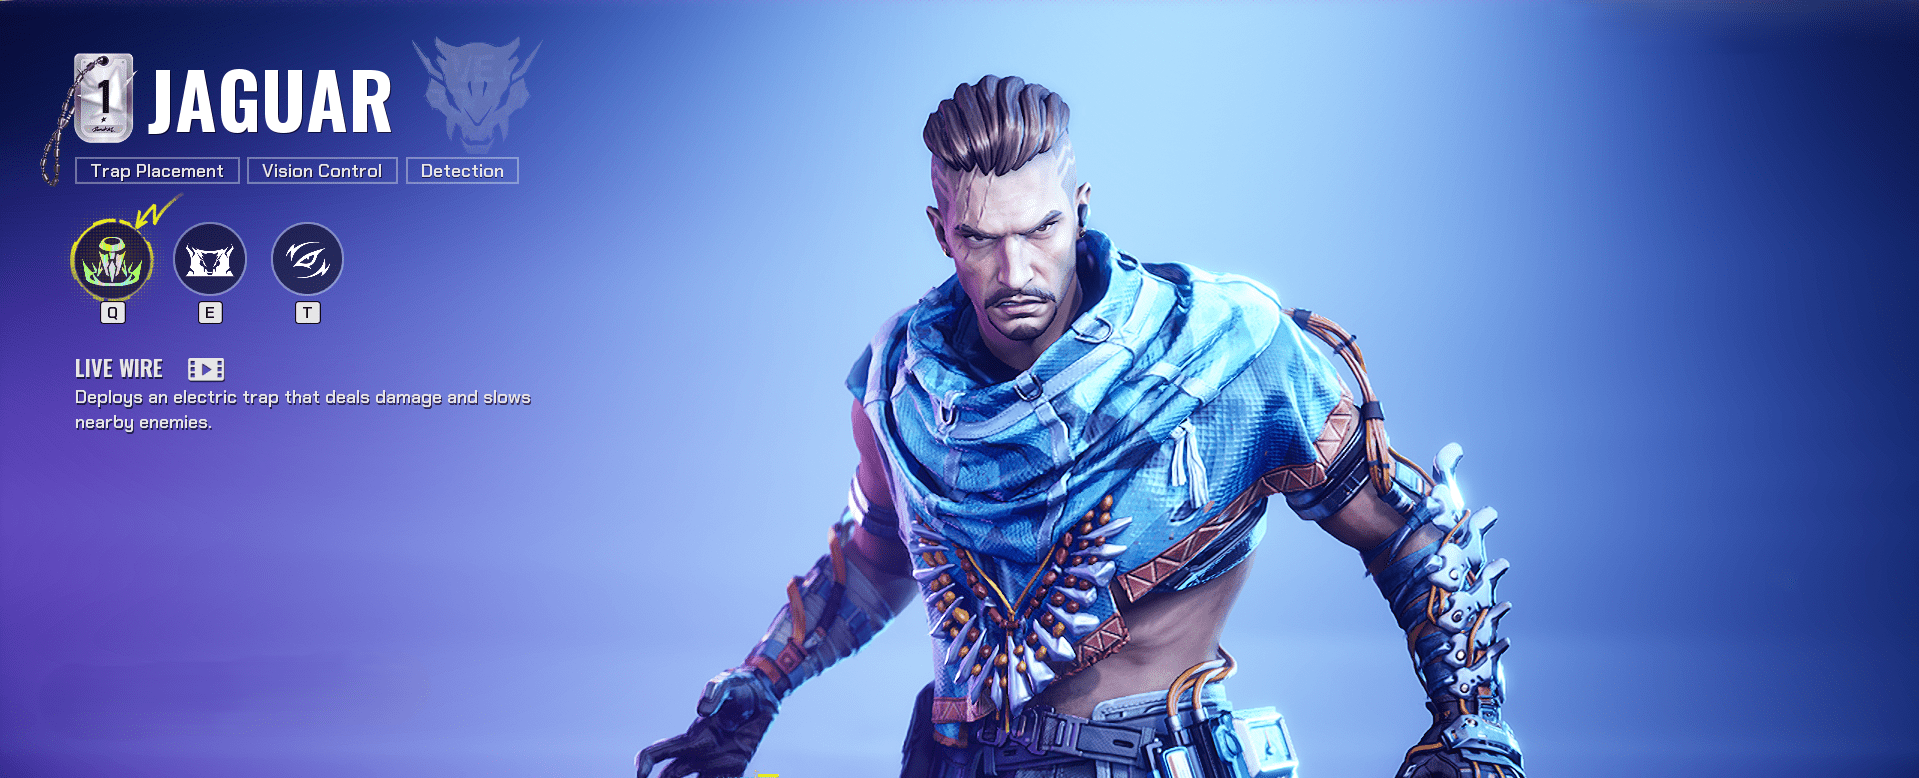
Jaguar excels at defensive situations, taking objectives and holding key points superbly. He performs very well in establishing defensive perimeters and delaying enemy pushes, but his general effectiveness drops when pushed into attacking positions. Jaguar’s usefulness is best utilized if incorporated as part of a well-laid defensive plan.
| Key | Ability | Description |
|---|---|---|
| Q | Live Wire | Deploys an electric trap that deals damage and slows nearby enemies. |
| E | Electric Avenue | Summons an electrical cage around the enemies in front of Jaguar, blocking their vision. |
| T | I Can See For Miles | Displays the number of enemies ahead, and detects enemies who are low on health or affected by Jaguar’s skill. Increases movement speed. |
Nitro
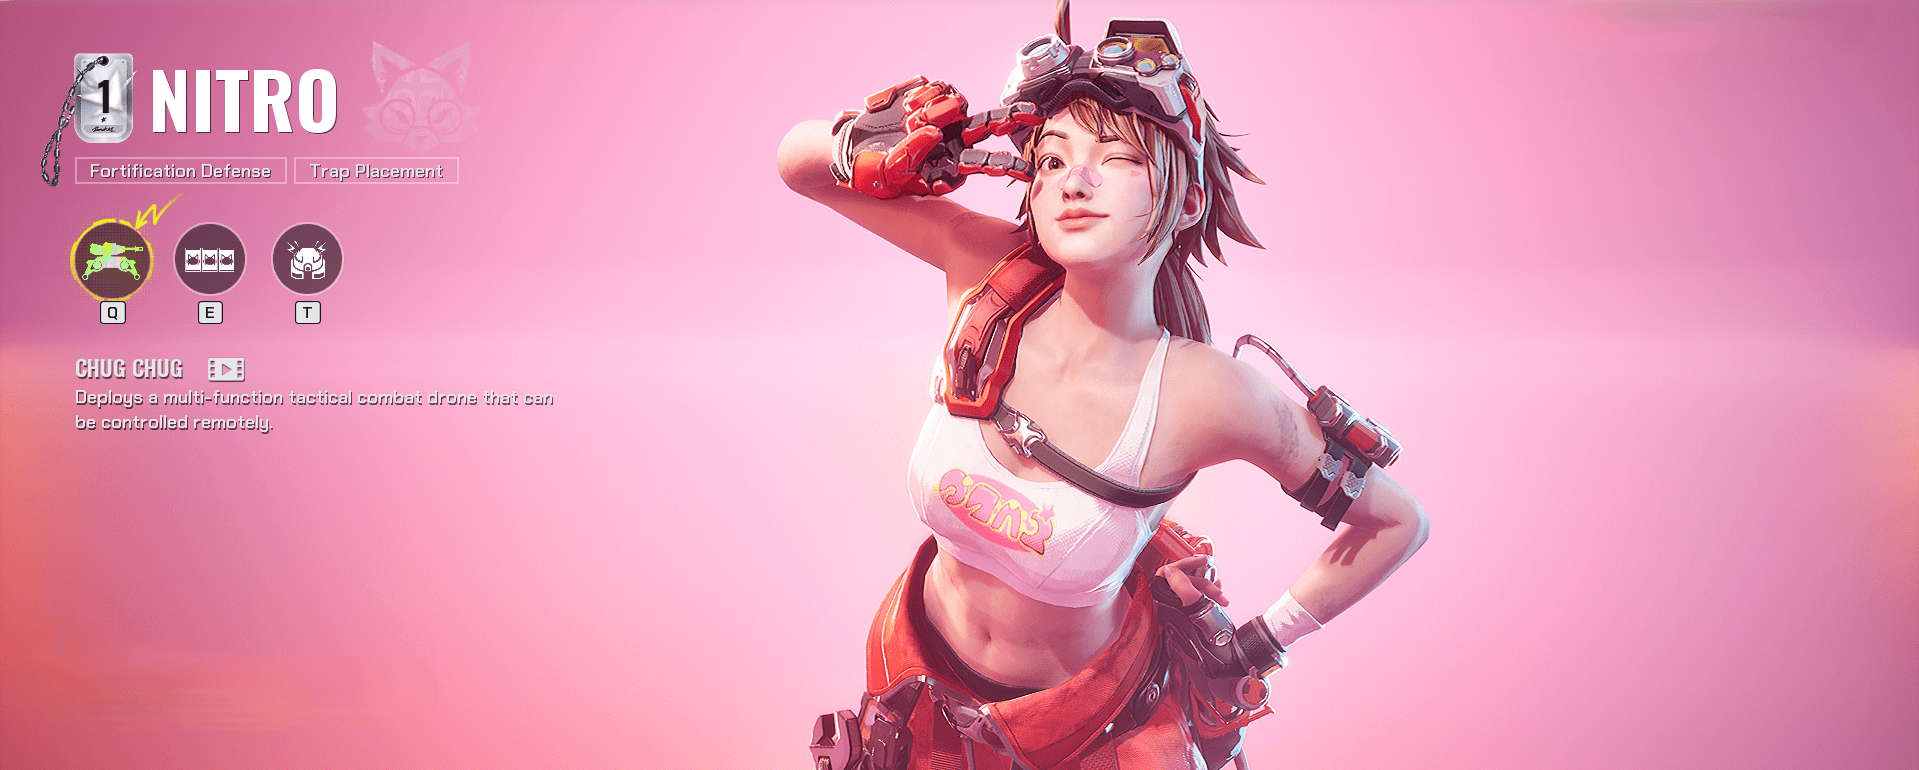
Nitro’s kit is all about battlefield control and providing real-time intel. She performs well on maps with narrow choke points but poorly on open maps with many entry points. Experienced players of Nitro use her skills to apply plenty of defensive pressure, at times solo defending crucial spots.
| Key | Ability | Description |
|---|---|---|
| Q | Chug Chug | Deploys a multi-function tactical combat drone that can be controlled remotely. |
| E | The Wall | Places a wall of shields formed by three pieces of cover across the designated location. |
| T | Mr.Pewpew | Throws a sentry turret that fires automatically. |
Sonar
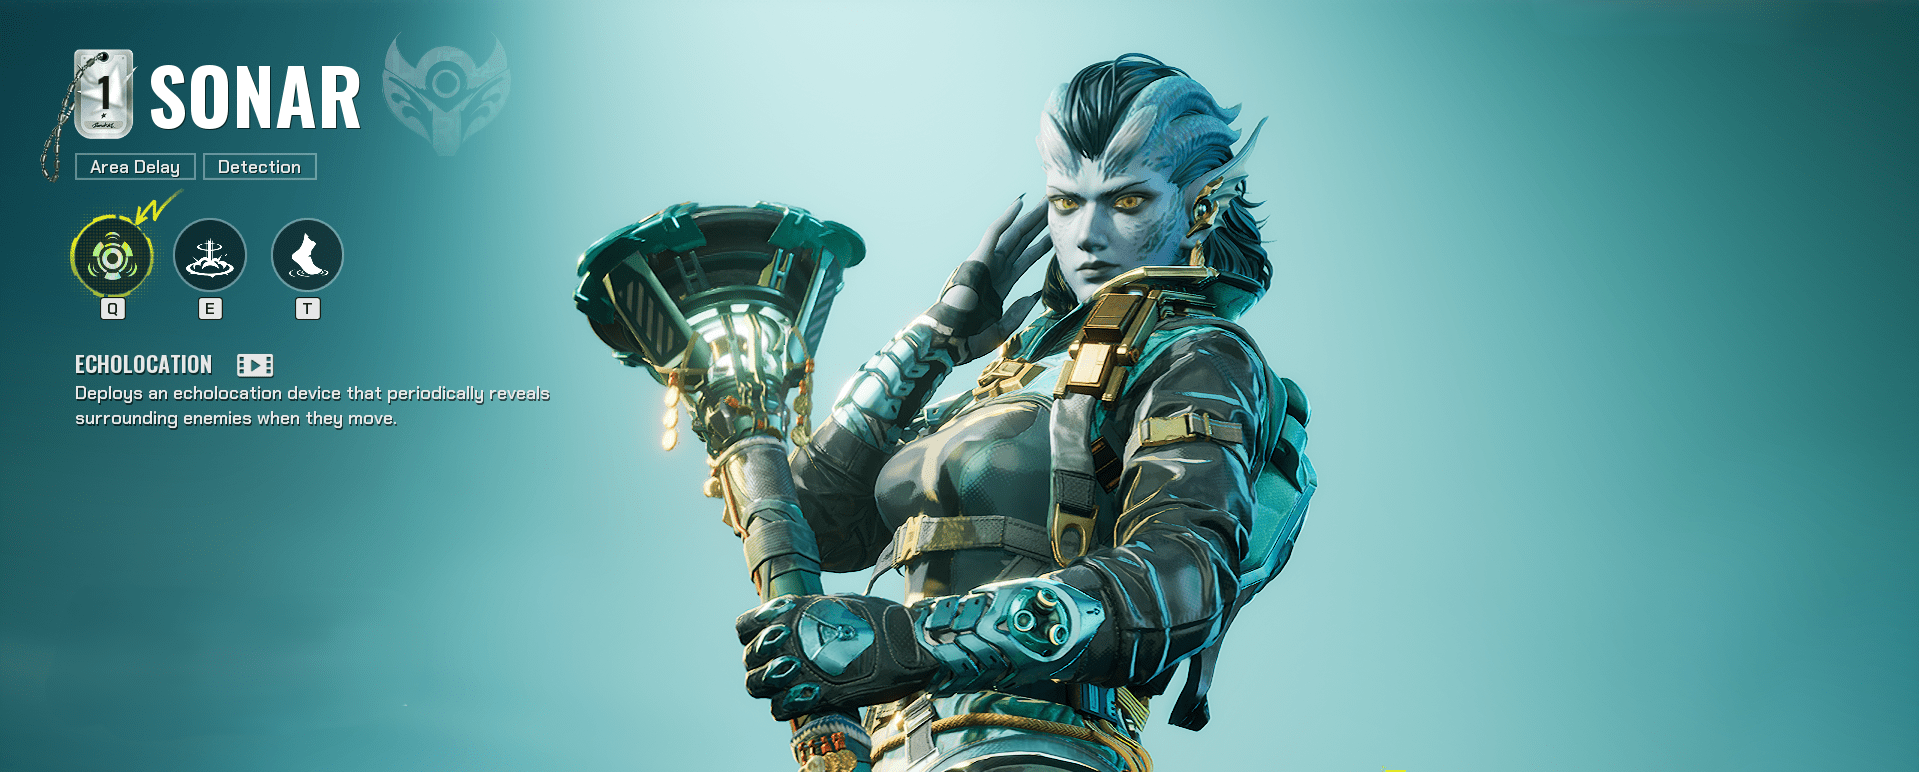
Sonar excels at providing intel and supporting team stealth operations. She needs synchronized teamplay to be effective, performing best when her team is actively making use of her intel. Though less individually influential than higher-tier Lancers, Sonar’s effectiveness in synchronized teamplay is notable.
| Key | Ability | Description |
|---|---|---|
| Q | Echolocation | Deploys an echolocation device that periodically reveals surrounding enemies when they move. |
| E | Sonic Surge | Launches a sonic wave that exposes all enemies it hits. The wave releases a delayed sonic blast that knocks back, dazes, and further exposes enemies in range. Hold the skill key or button to charge the skill and launch the sonic wave further. |
| T | Sound of Silence | Dampens the footsteps of the player and their surrounding teammates. Grants immunity to enemy Echolocation scans. |
Zephyr
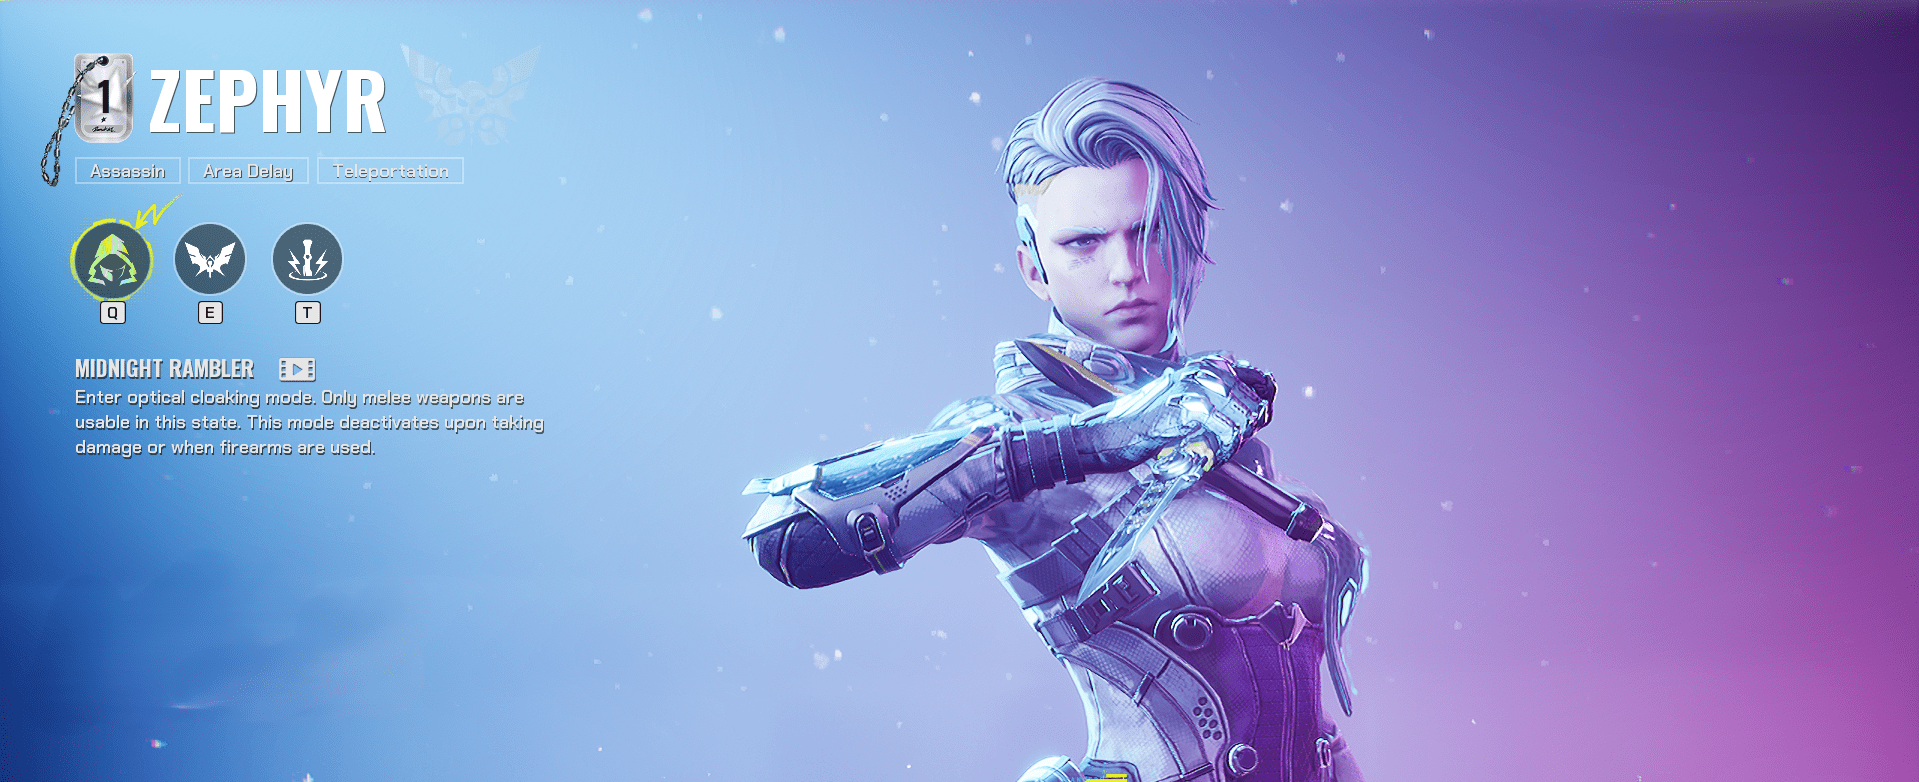
Zephyr is well-suited to quick, stealthy engagements ideal for hit-and-run players. Zephyr’s effectiveness as a player is based on timing and preparation, employing her mobility and stealth to acquire the critical eliminations. With a high ceiling on skill, Zephyr is readily countered by alert foes with good situational perception.
| Key | Ability | Description |
|---|---|---|
| Q | Midnight Rambler | Enter optical cloaking mode. Only melee weapons are usable in this state. This mode deactivates upon taking damage or when firearms are used. |
| E | Fade Away | Creates an area in which Zephyr is fully invisible during her “Midnight Rambler”. Her cloaking time is unlimited in this area but is temporarily disrupted whenever she’s attacked. |
| T | Get Back | Deploys a dagger beacon. Reactivate the skill to teleport to it after a short delay. Using this skill will not interrupt the invisibility of Midnight Rambler. |
FragPunk B-Tier Lancers
B-Tier Lancers provide solid, reliable options but typically lack the extraordinary capabilities found in higher tiers. These characters shine in particular situations or team setups, and with skillful gameplay, they can still be effective. Players choosing B-Tier Lancers should focus on maximizing their niche strengths and teamwork.
If you’ve chosen a B-tier Lancer, you’ll most likely need a well-coordinated team to win a match. Luckily, you don’t have to find random players to cooperate with — we can help you out. Our Pro Players will ensure you win any match with ease.
Axon
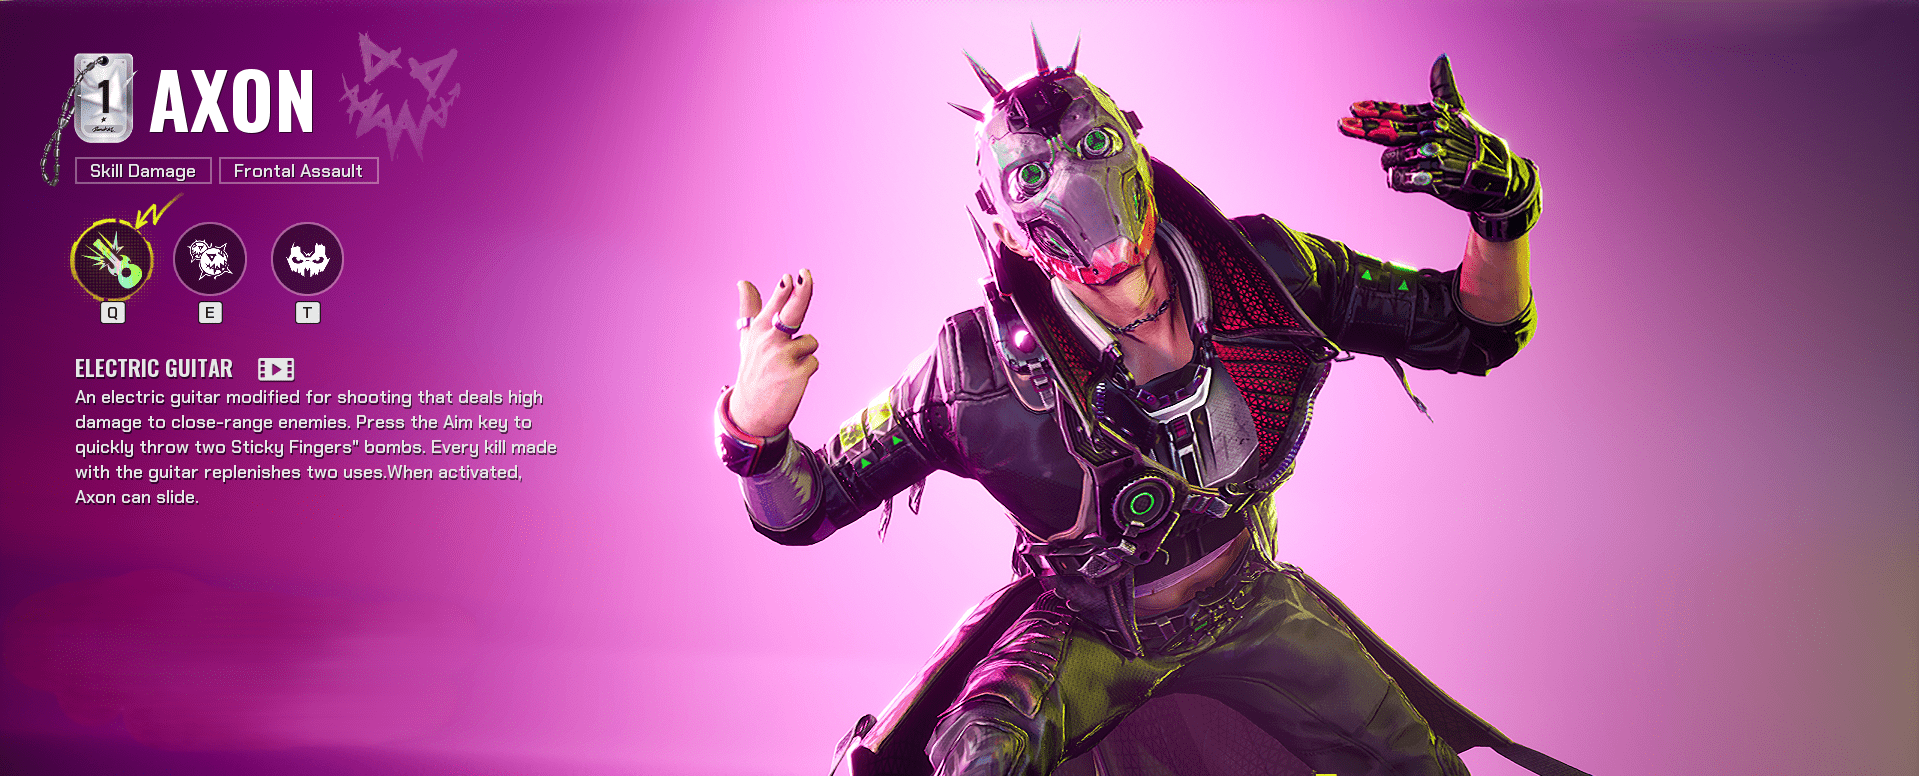
Axon is aggressive up-close combat with inconsistent effectiveness in action within dynamic teams. His gameplay is stronger on niche maps or maps where combat is primarily up-close. Players using Axon need to be aware of his vulnerabilities and be aggressive cautiously.
| Key | Ability | Description |
|---|---|---|
| Q | Electric Guitar | An electric guitar modified for shooting that deals high damage to close-range enemies. Press the Aim key to quickly throw two “Sticky Fingers” bombs. Every kill made with the guitar replenishes two uses. When activated, Axon can slide. |
| E | Sticky Fingers | Throws a bouncing sticky grenade. Hold down the skill key to keep throwing. The grenade bounces off surfaces until it sticks to an enemy, or detonates automatically when its timer is up. |
| T | Super Freak | When activated, Axon is immune to blinds. |
Broker
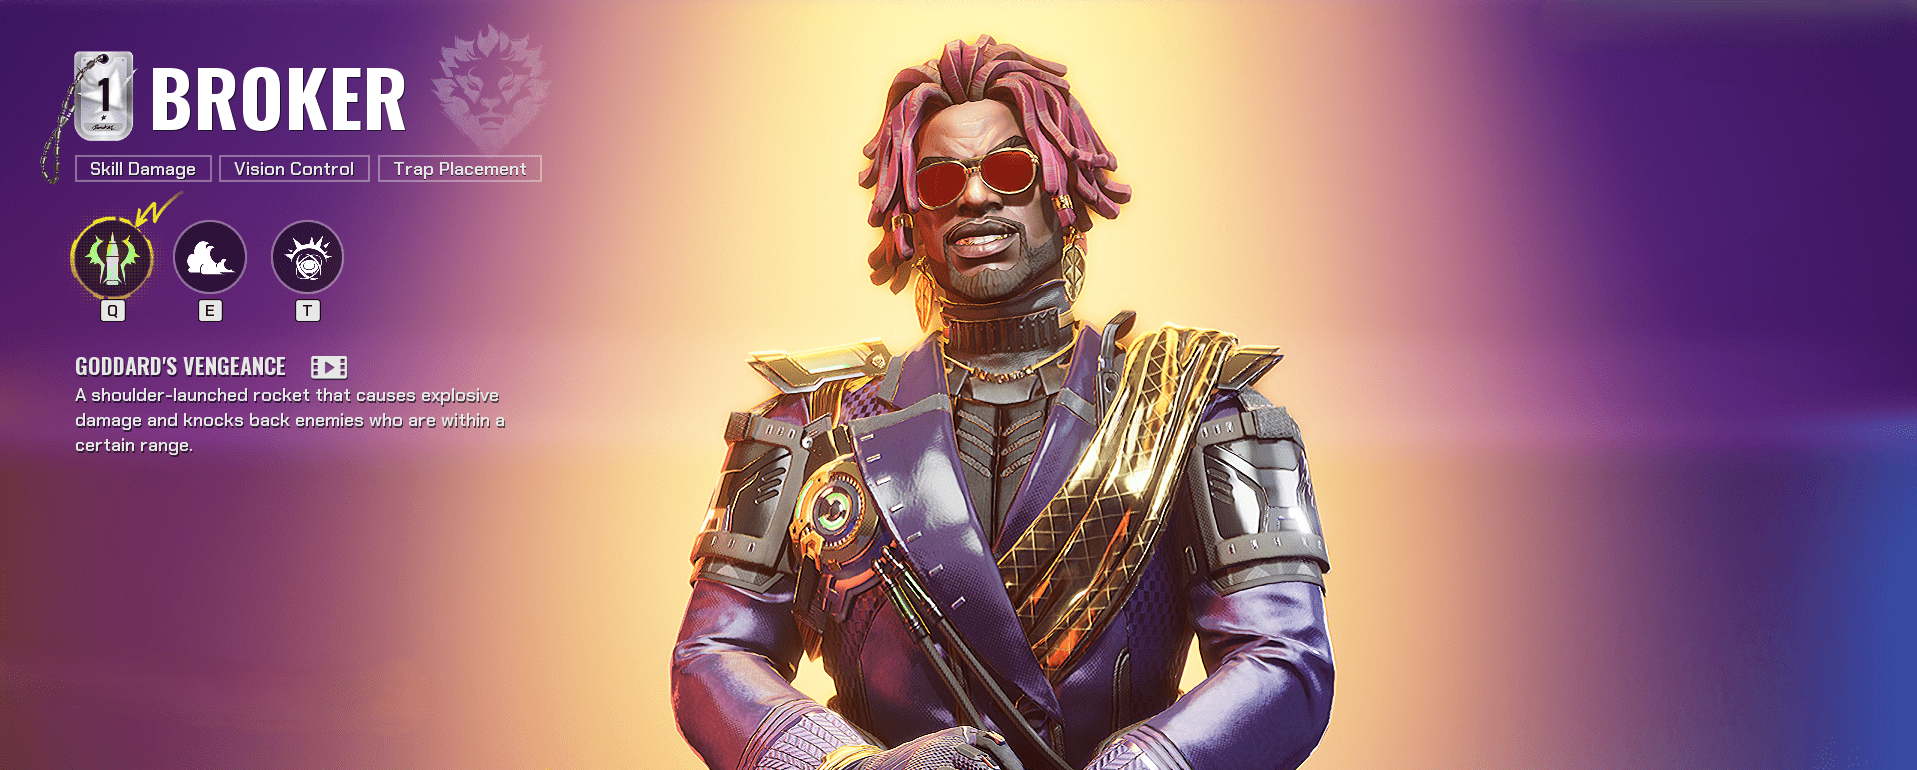
Broker is a solid all-around Lancer with no other trait highlighting him more than consistency. He is not a highlight-reel character whose abilities distinguish top-tier characters, but he offers consistent support and middling damage throughout games. Broker is a great pick for players who want to have an adaptable, stable unit amidst a variety of team synergies.
| Key | Ability | Description |
|---|---|---|
| Q | Goddard’s Vengeance | A shoulder-launched rocket that causes explosive damage and knocks back enemies who are within a certain range. |
| E | Smokestack Lightning | Throwable gadget that generates a smoke screen around the projectile. |
| T | Cherry Bomb | A throwable device that generates several energy bombs on the ground. The bombs are triggered by the enemy’s approach but detonate after a delay. |
Corona
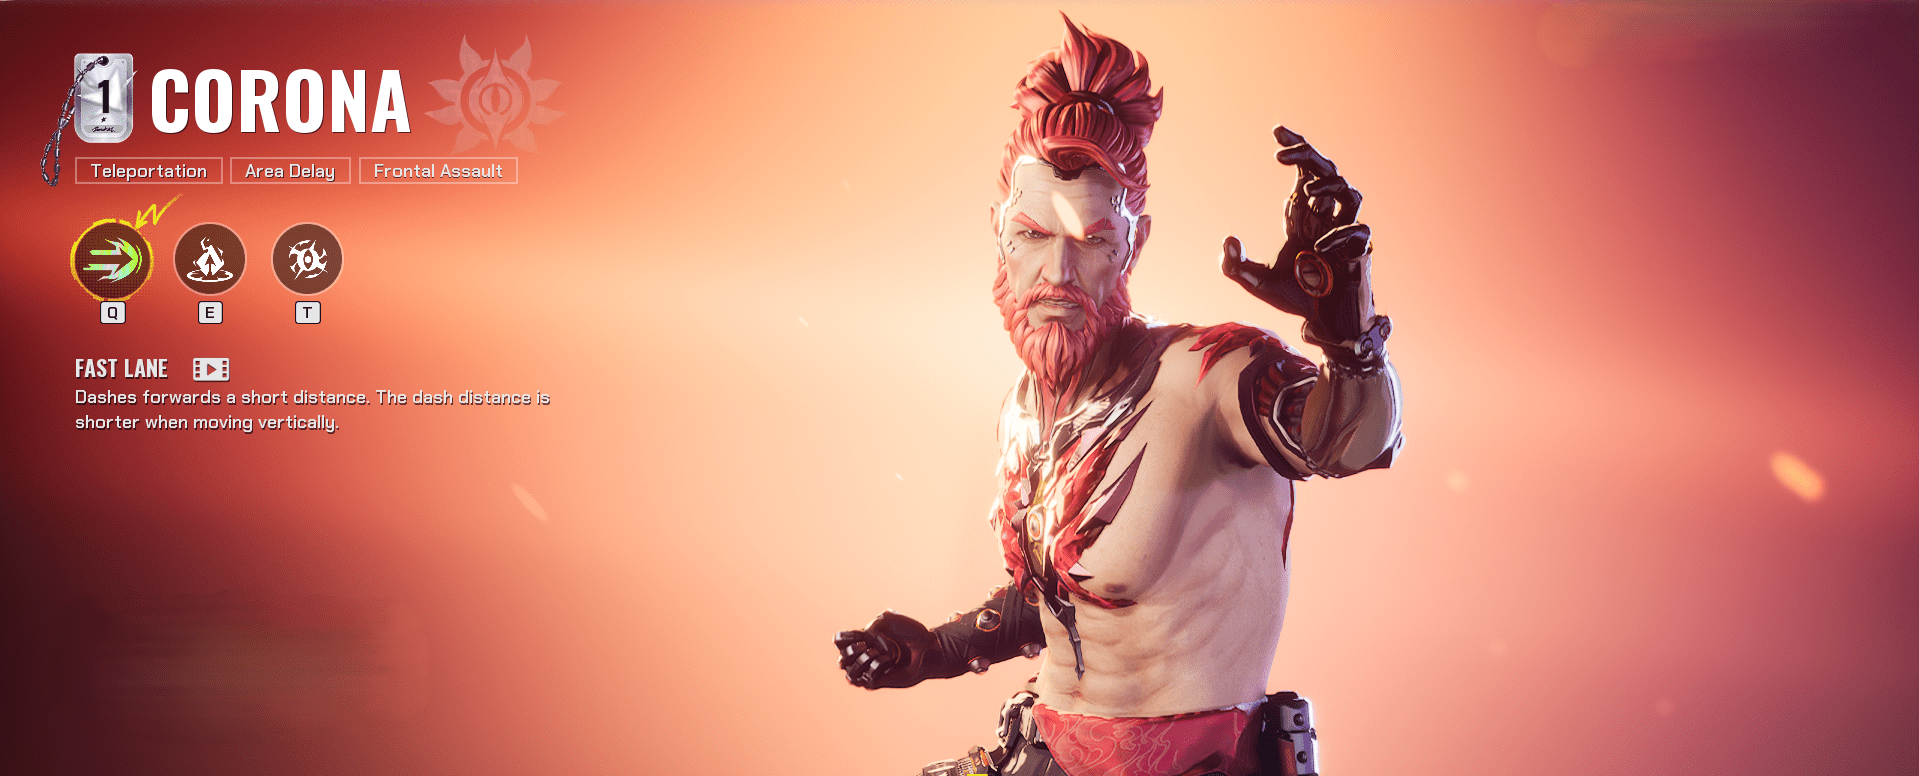
Corona’s aggressive, disruptive play style is best for players who enjoy getting into fights and harassing the enemy. While powerful in the right hands, Corona’s abilities require good timing and are easily countered by experienced players. His utility depends heavily on situational awareness and on coordination with teammates.
| Key | Ability | Description |
|---|---|---|
| Q | Fast Lane | Dashes forward a short distance. The dash distance is shorter when moving vertically. |
| E | Ashes to Ashes | Throws a device that activates a war zone when hitting the ground, dealing minor damage over time to enemies in its zone. Provides Corona himself with damage reduction and a speed boost when he is in the war zone. |
| T | Hothead | After a short charge, blinds all enemies looking directly at Corona. |
Spider
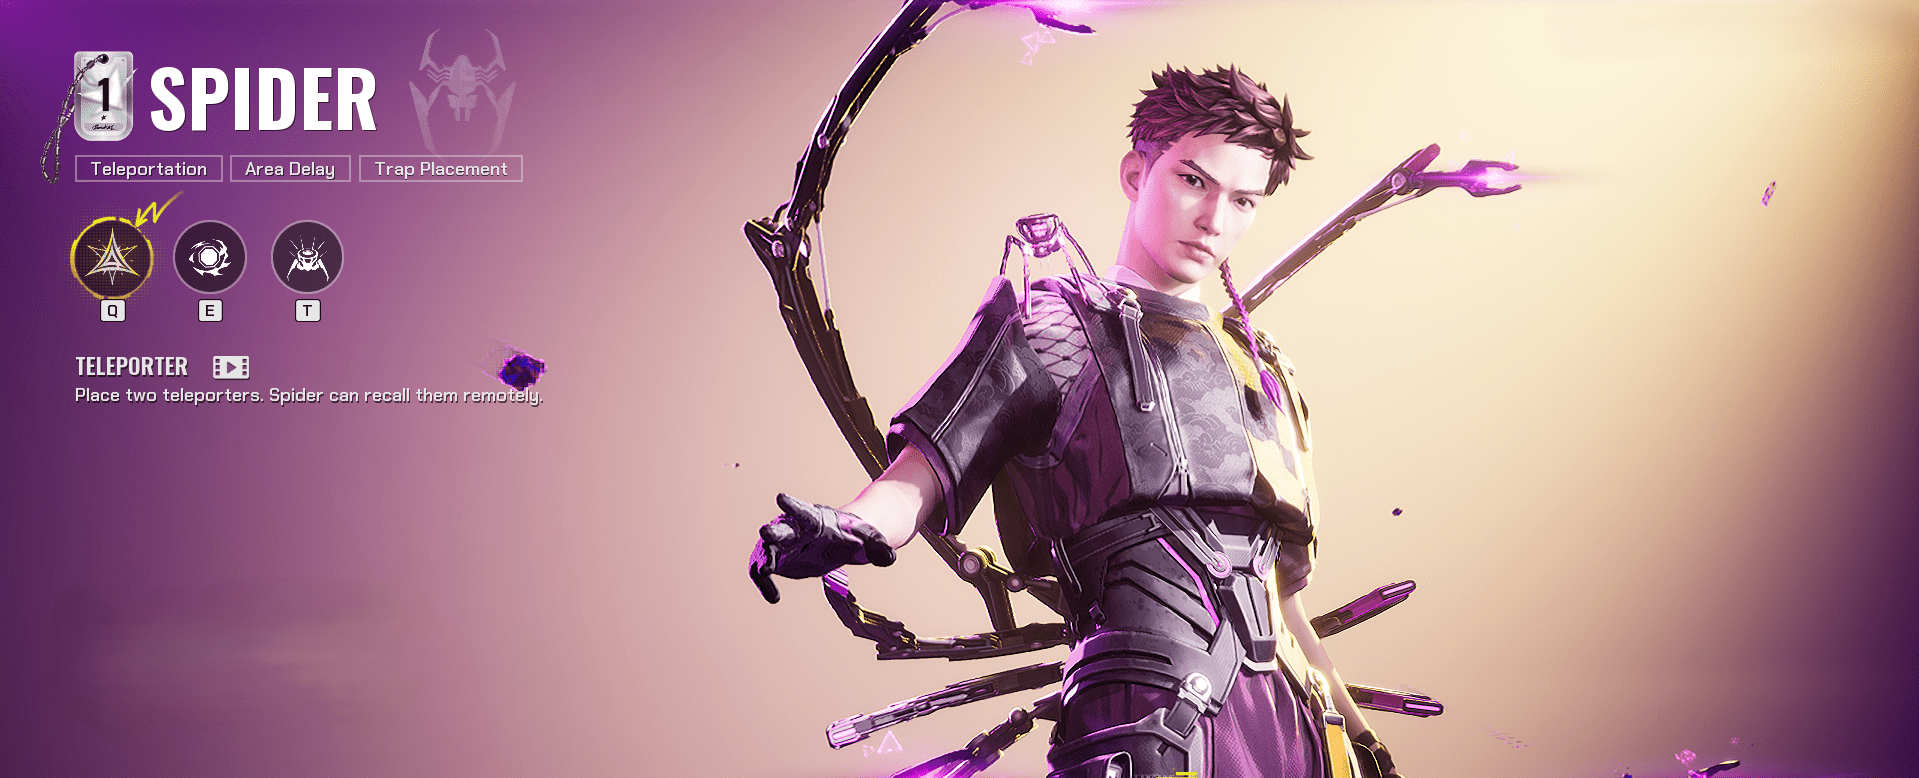
Spider depends a lot on team coordination to realize his full potential. His ability to impact map dynamics with mobility makes him a strategic pick, particularly for coordinated teams. However, Spider can be extremely underwhelming in less coordinated games, where his teleportation strategies can be predictable or poorly coordinated.
| Key | Ability | Description |
|---|---|---|
| Q | Teleporter | Place two teleporters. Spider can recall them remotely. |
| E | Spirited Away | Throws a teleportation trap that takes effect after a short delay, teleporting the enemies in range to the location where Spider initially used the skill. |
| T | Spider Web | Places a disorienting trap. Enemies who trigger it are briefly blinded and slowed. |
FragPunk Best Characters FAQ
We’ve gathered the most popular questions about Lancers in FragPunk for you.
Who is the Best Healer in FragPunk?
Pathojen is currently the best healer in FragPunk and is essential in any match for her strong healing abilities and supportive gameplay.
Which Lancer is Best for Beginners in FragPunk?
Broker and Nitro are ideal heroes for beginners due to their balanced kits and versatility in various game scenarios.
Who is the Best Sniper Lancer in FragPunk?
Hollowpoint is the premier sniper character with a powerful railgun and long-range effectiveness. In FragPunk, she truly is the best sniper.
What is the Best Lancer for Aggressive Playstyle in FragPunk?
Corona and Zephyr suit aggressive players due to their mobility and disruptive potential, ideal for securing eliminations quickly.
4.9The FragPunk Best Characters guide gives you a full breakdown of the strongest Lancers in the game. Whether you prefer high-damage dealers or tactical supports, knowing the meta helps you make the right choice. With our tier list, you can pick the best Lancer to match your playstyle and gain an edge in every match.