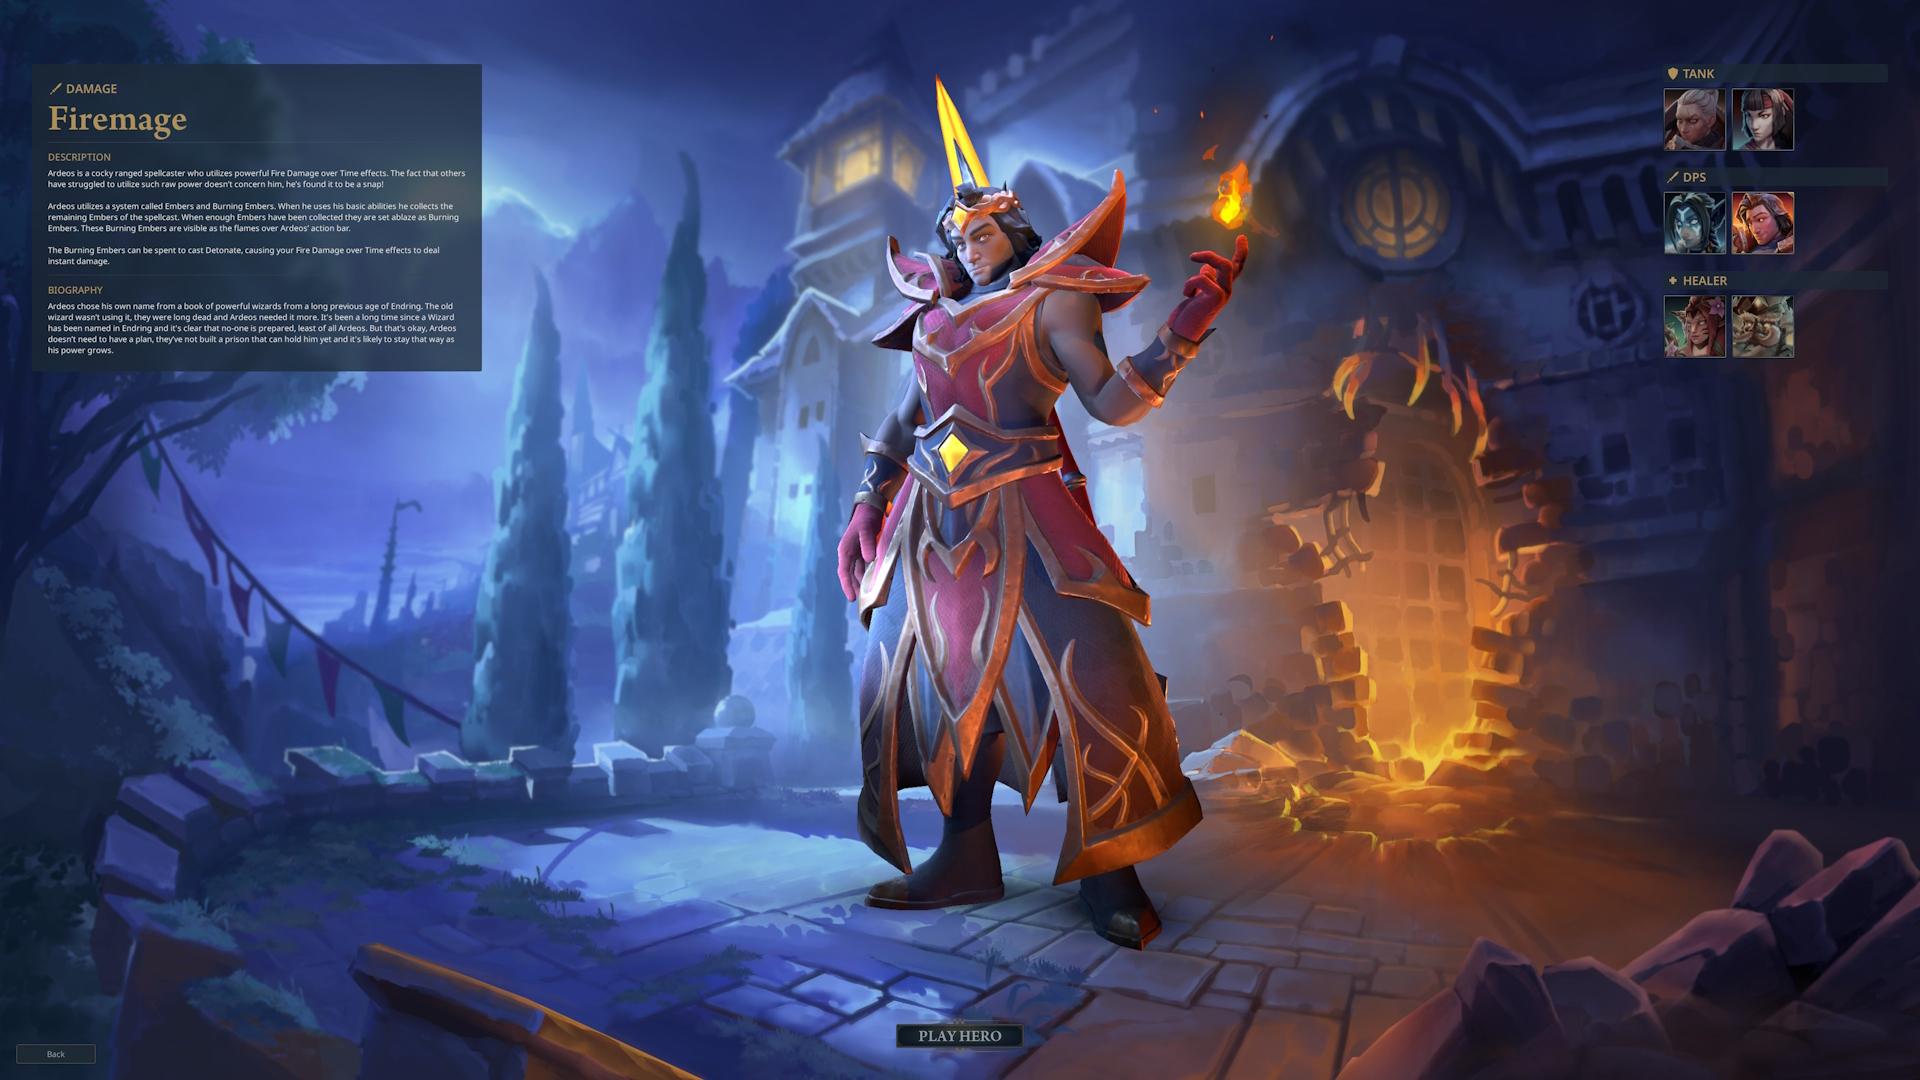
Ardeos is an Intelligence-based DPS character in Fellowship. He specializes in fire damage over time effects and explosive bursts. In this guide, we will go over how to play Ardeos, his abilities, mechanics, talents, and gearing. If you are looking for another hero, check out our Best Fellowship Class guide here at Overgear!
Key Takeaways
- Ardeos is an Intellect-based ranged DPS.
- His gameplay revolves around managing Cinders and Burning Embers.
- Mastering Detonate timing is important for max damage.
 4.9
4.9Fellowship Ardeos Strengths and Weaknesses

Ardeos offers heavy fire damage over time and bursts. His builder is Cinders, which can be converted into Burning Embers. He can detonate massive waves of fire damage when the timing is right. Here are his strengths and weaknesses:
| Strengths | Weaknesses |
|---|---|
| High burst potential from stored Burning Embers. | Strongly dependent on secondary stats. |
| Simple rotation that works across most content. | Slow Cinder generation early on. |
| Can pre-set damage while moving. |
Interested in playing Ardeos with a team of good players? Check out our Fellowship Quickplay Matches service.
Ardeos Abilities
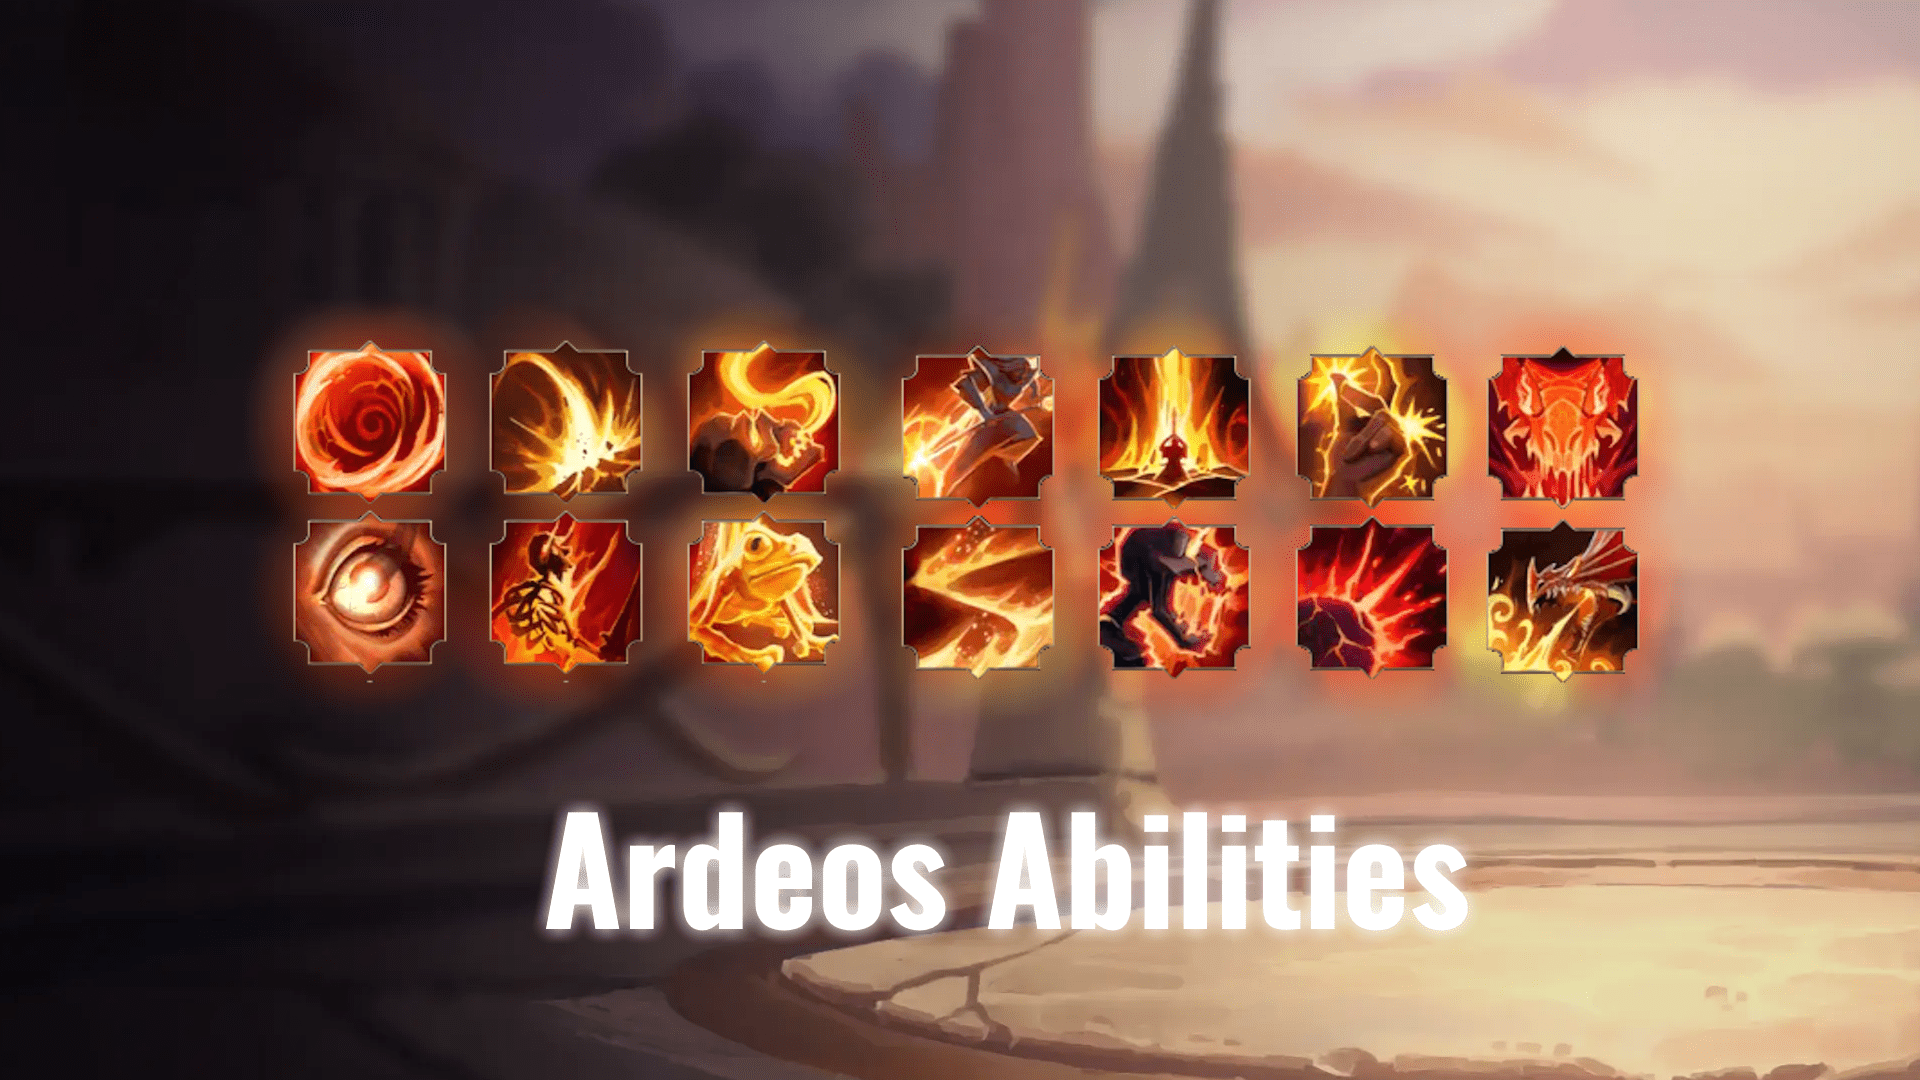
Fellowship Ardeos uses a mix of DoTs, AoE, and direct attacks to build up Cinders and for detonations. His playstyle rewards maintaining constant DoT uptime and syncing cooldowns for major burst windows. Here is the full list of abilities Aredos has in Fellowship:
| Ability | Effect | Cast / Cooldown |
|---|---|---|
| Searing Blaze | Target enemy burns for fire damage every couple of seconds for 24 seconds Generates 12 Cinders over its full duration. Cinders: For every 100 Cinder you generate, you gain 1 Burning Ember, shown in the UI below your character as four orbs. Your Burning Embers are used to cast your powerful Detonate ability. | GCD |
| Engulfing Flames | Engulf your target in flames, dealing fire damage every couple of seconds for 9 seconds. Generates 30 Cinders over its full duration. Cinders: For every 100 Cinder you generate, you gain 1 Burning Ember, shown in the UI below your character as four orbs. Your Burning Embers are used to cast your powerful Detonate ability. | 1.5 Seconds / 20 Seconds |
| Fire Ball | Throw a ball of fiery devastation at the targeted area, dealing fire damage to all enemies in the radius and setting them on fire, dealing an additional 70% of the initial damage dealt over 12 seconds. Fire Ball’s damage over time can not critically strike. Each damage over time effect generates 12 Cinders over its full duration. Cinders: For every 100 Cinder you generate, you gain 1 Burning Ember, shown in the UI below your character as four orbs. Your Burning Embers are used to cast your powerful Detonate ability. | GCD / 30 Seconds |
| Infernal Wave | Conjure a fiery wave to cascade toward your target, dealing fire damage. Generates 40 Cinders Cinders: For every 100 Cinder you generate, you gain 1 Burning Ember, shown in the UI below your character as four orbs. Your Burning Embers are used to cast your powerful Detonate ability. | 1.5 Seconds |
| Fire Frogs | Conjure five Fire Frogs to leap at your enemies, dealing fire damage and burning them for an additional 100% of the initial damage dealt over 12 seconds. Fire Frogs’ damage over time can not critically strike. Each Fire Frog will perform 3 attacks before dissipating. | GCD / 45 Seconds |
| Flickerstep | Instantly teleport forward a short distance. Can be used during Global Cooldown | Instant / 20 Seconds |
| Scorch | Interrupt the target’s spellcasting and prevent it from casting for 4 sec. Must interrupt a spell, or it will have no effect. Can be used during Global Cooldown | Instant / 20 Seconds |
| Apocalypse | Conjure a major eruption of fire in the targeted area, dealing fire damage and applying Searing Blaze to all enemies in a large radius. | 3.0s / 60 Seconds |
| Detonate | Instantly Detonate all active fire damage over time effects from Ardeos abilities on enemies, dealing damage equal to 3 seconds of average ticking damage to each enemy. | GCD |
| Flame Ward | You take 40% reduced damage for 4 seconds. Can be used during Global Cooldown | Instant / 30 Seconds |
| Pyromania | Instantly adds an Engulfing Flames effect on the target, and applies it to up to 2 other nearby enemies. Enemies without an already active Engulfing Flames and with the highest amount of health will be the highest priority. Can be used during Global Cooldown | Instant / 90 Seconds |
| Fireflash | Conjure a bright flash of fire in front of the target’s eyes, causing them to become Disoriented for 30 seconds. Disorient: Disoriented enemies are incapacitated, left to wander around aimlessly for the duration. Any damage dealt to a disoriented enemy will break the effect. Can be used during Global Cooldown | Instant / 24 Seconds |
| Wildfire | All active fire damage over time effects from your abilities instantly flare up, causing them to tick 20% faster for 9 sec. Can be used during Global Cooldown | Instant / 45 Seconds |
| Incinerate (Spirit Ability) | A jet of fire erupts from your hands as you channel for 4.5 seconds, dealing fire damage every 0.5 seconds to all enemies in a cone in front of you. Each hit applies a stacking damage over time to them, dealing fire damage every couple of seconds for 12 seconds. The damage over time portion is increased by +20% for each stack that is applied to an enemy. Incinerate generates 40 Cinders every 0.5 sec while channeling. Cinders: For every 100 Cinder you generate, you gain 1 Burning Ember, shown in the UI below your character as four orbs. Your Burning Embers are used to cast your powerful Detonate ability. Spirit Ability: When you activate your Spirit ability, you gain Spirit of Heroism, granting +30% Haste for 20 sec. | 4.5 Second Channel |
Cinders Mechanic
Cinders are the foundation of Ardeos’ damage. Each DoT and direct cast generates them, and at 100 Cinders, a Burning Ember forms.
You can store up to four Embers. Spending them with Detonate unleashes stored fire damage from all active DoTs. Managing when to build or spend Embers separates average players from strong ones.
- Always maintain Searing Blaze and Engulfing Flames on your target.
- Avoid capping Burning Embers — it wastes damage potential.
- Align Detonate with major cooldowns like Wildfire or Incinerate for maximum output.
How to Play Ardeos
Fellowship Ardeos plays around setup and payoff. You build your DoTs, manage your Embers, and time each Detonate for the biggest return. The key is keeping everything active and ready when it’s time to explode.
Start by applying Searing Blaze and Engulfing Flames. Keep them running at all times. Reapply them just before or right after they expire. These effects power your Detonate, so letting them drop lowers your damage. Next, focus on Burning Embers. Spend them when several DoTs are active, especially during burn phases. Don’t let Embers cap, but don’t dump them too early either. When everything’s on cooldown, use Infernal Wave to build Embers for the next setup.
Detonate uses two seconds’ worth of damage from each DoT you have running and turns it into three quick ticks of burst damage. Haste and Expertise count toward the total, but they don’t double up. The remaining DoT duration doesn’t matter — even one about to expire adds its full value. Each of the three ticks can crit on its own, so always make sure your DoTs are up before pressing it.
When all cooldowns are ready, you’ll go through two Detonate cycles. The first happens before you use Incinerate, to clear Embers and make room for new ones. The second comes after Incinerate and Wildfire, when every DoT is ticking. Outside of burst windows, prepare for the next Detonate — line up your DoTs and Embers so you’re always ready for another hit.
Playing Ardeos is about keeping your rotation steady and knowing when to go all in. If your DoTs are active and your Embers under control, every Detonate will land clean and strong. Another big part of being successful as Ardeos is having good gear. We can help you increase your item level in the shortest time possible.
Ardeos Talents in Fellowship
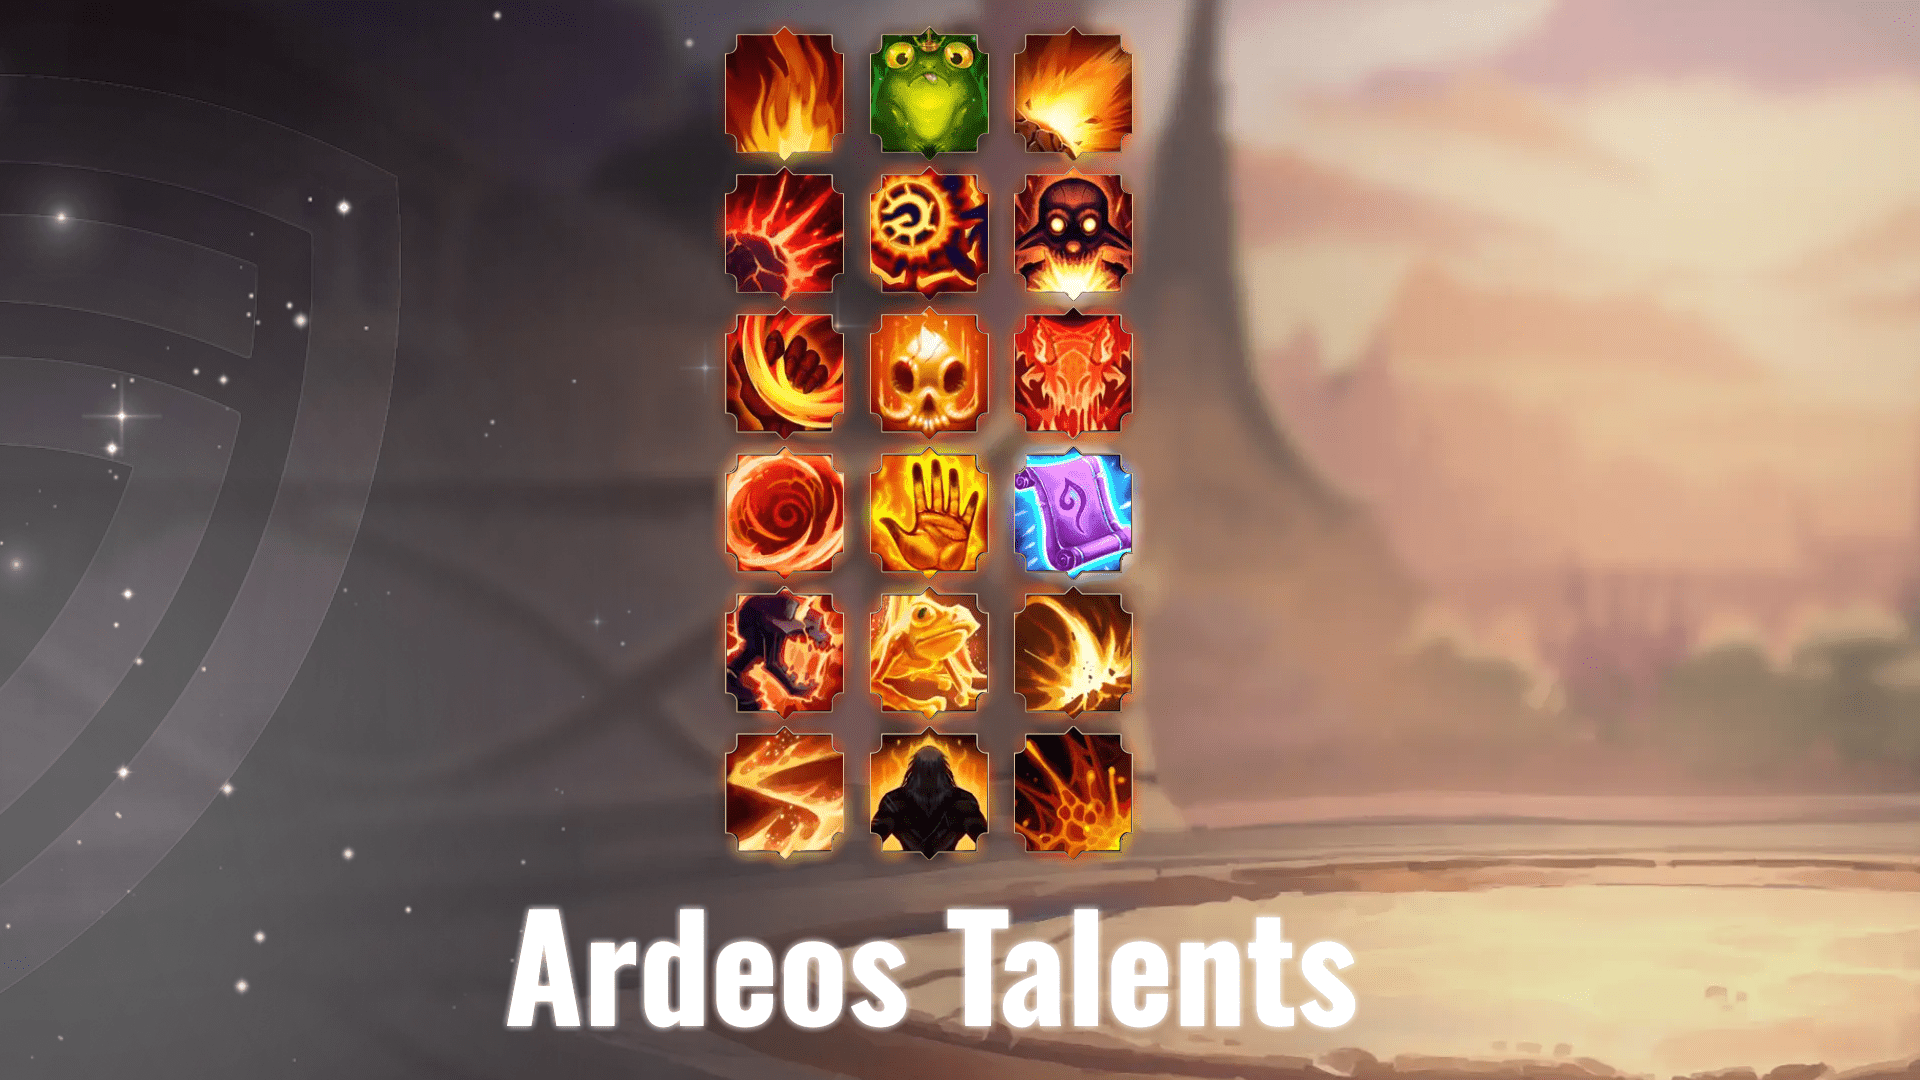
Ardeos’ talents shape his rotation and determine whether he focuses on Fire Frogs, Infernal Wave, or Fire Ball as his primary damage sources.
Tier I
- Slow Burn: Each time your Fire Ball burns an enemy with its damage over time effect, the duration of your Engulfing Flames and Searing Blaze is extended by 0.5 seconds.
- Frog Squad: Your Fire Frogs ability conjures 1 additional frog and all your Fire Frogs now leap on enemies 1 additional time.
- Great Balls of Fire: Your Fire Ball deals 60% increased damage.
Tier II
- Flickering Cinders: Your Searing Blaze and Engulfing Flames generate 25% more Cinders
- Flare Up: Your Infernal Wave hits cause all enemies near the target with Searing Blaze active on them to flare up, taking 25% of the damage that Infernal Wave dealt to the initial target.
- Undying Flame: The duration of your Engulfing Flames is increased by 3 seconds.
Tier III
- Agonizing Blaze: Each tick of Searing Blaze on a target increases the damage it deals by 3% up to a maximum of 30% increased damage at 10 stacks. All stacks are lost when Searing Blaze is removed from the target.
- Firestarter: All damage over time effects applied to enemies by your hero abilities gain +20% critical strike chance. Fire Frogs and Fire Ball also gain a 20% chance to critically strike with their damage over time effects.
- Ouroboros: Each time your Searing Blaze deals damage to an enemy, the cooldown of Pyromania is reduced by 0.15 seconds and by 0.3 seconds if Searing Flames critically hits.
Tier IV
- Fiery Resilience: Your Flame Ward applies an absorb on you for 20% of your maximum health that lasts for 4 seconds. The absorb is applied again when Flame Ward expires.
- Crackling Inferno: Your Infernal Wave has +20% increased critical strike chance and its critical strikes burn the target for 60% of the damage it dealt over 24 seconds.
- Magic Ward: You take 10% reduced Magic Damage.
Tier V
- Rolling Flames: The cooldown of your Engulfing Flames is reduced by 0.5 seconds each time your Searing Blaze deals damage to an enemy.
- Pyrophibian Frenzy: Each time one of your damage over time effects critically strikes, you have an 8% chance to spawn a Fire Frog to leap toward your enemies.
- Reign of Fire: Your Detonate casts have a chance to instantly grant you 1 charge of Fire Ball and cause your next Fire Ball to have +100% critical strike chance. Grievous Critical Strike: Any critical strike chance you have beyond 100% causes a grievous critical strike. Grievous critical strikes increase the base damage of the hit by an amount equal to the overflowing critical strike chance.
Tier VI
- Intensifying Inferno: Your Infernal Wave deals +15% increased damage for each of Ardeos’ unique damage over time effects that are active on the target.
- Spirited Fortitude: You take 10% reduced Area of Effect damage.
- Spontaneous Combustion: Each tick of Searing Blaze & Engulfing Flames has a 4% chance to have +100% critical strike chance. The chance for Spontaneous Combustion to trigger is increased by +1% for every 5% critical strike chance you have. Grievous Critical Strike: Any critical strike chance you have beyond 100% causes a grievous critical strike. Grievous critical strikes increase the base damage of the hit by an amount equal to the overflowing critical strike chance.
Ardeos Build
Ardeos has a few main build paths in Fellowship, but they all revolve around keeping DoTs active and powering up Detonate. Your talent choices change how you manage uptime and what part of your kit does most of the work.
- Slow Burn (1A): This makes Fire Ball extend the duration of Searing Blaze and Engulfing Flames by 0.5 seconds every time it deals damage. It’s a steady way to keep your DoTs rolling and pairs well with Haste, which speeds up their ticks within that longer window.
- Frog Squad (1B): Adds an extra frog to Fire Frogs and lets each one leap one more time.
- Great Balls of Fire (1C): Increases both the direct and DoT damage from Fire Ball.
- Flare Up (2B): Makes Infernal Wave hit your main target and all nearby enemies affected by Searing Blaze.
- Undying Flame (2C): Extends Engulfing Flames by 3 seconds.
- Firestarter (3B): Gives all of Ardeos’ DoTs a 20% increased critical strike chance.
- Crackling Inferno (4B): Grants Infernal Wave +20% critical strike chance and applies a new DoT when it crits, burning for 60% of the hit over 24 seconds.
- Pyrophibian Frenzy (5B): A must-have for the frog build. Your DoTs have an 8% chance to spawn a Fire Frog when they critically strike, creating a loop where DoTs feed frogs and frogs fuel Detonate.
- Reign of Fire (5C): Gives Detonate a chance to grant an instant Fire Ball that’s guaranteed to crit.
- Intensifying Inferno (6A): Boosts Infernal Wave’s damage and further increases the DoT from Crackling Inferno and the splash from Flare Up.
Overall, Ardeos’ best setups focus on either maintaining long DoT uptime through Slow Burn and Undying Flame, or on Frog Squad and Pyrophibian Frenzy. Both paths keep Detonate.
Ardeos Stat Priority

Ardeos’ stats in Fellowship all connect to his DoTs and Detonate power. Each one affects how quickly you build resources, how often you trigger effects. This, in turn, decides how much damage you deal when you cash out.
- Haste: Speeds up your DoT ticks and shortens cast times. It also increases the rate your Fire Ball generates Cinders, helping you reach burst windows faster. More ticks within Detonate’s two-second calculation window means stronger explosions, making Haste your best stat.
- Critical Strike: Increases the chance for your abilities to deal double damage. It’s an important stat because critical hits can spawn more Fire Frogs, adding extra DoTs that boost your overall Detonate damage.
- Expertise: Provides a flat percentage increase to all your damage and healing.
- Spirit: Improves the rate you generate your ultimate Spirit ability and adds a chance to refund Burning Embers spent on Detonate.
📌 Recommended Ardeos Stat Priority: Haste > Critical Strike > Expertise > Spirit
Ardeos Gearing Priority in Fellowship
When gearing Ardeos, focus on upgrades that enhance your core rotation — keeping DoTs active, generating Burning Embers, and boosting Detonate damage. Item level is always important, but certain bonuses and traits can push your output further.
- Purple+ Weapon Traits
- Legendary Item
- Item Level
- Completed Set Bonus
Follow this gearing priority to maintain maximum character power at all times.
Fellowship Ardeos Tips
Aredos rewards players who can manage both their Fire Frogs and Detonate timing. Balancing resource generation is important, and so is spending them correctly. Here are some tips that will help you with that:
- Apply your DoTs — Keep Searing Blaze and Engulfing Flames active at all times.
- Build Cinders – Use Infernal Wave or Fire Ball to keep your Cinder generation rolling.
- Spend Burning Embers — Cast Detonate once multiple DoTs are active.
- Cooldown Windows — Use Wildfire and Incinerate together to accelerate DoT ticks and create a powerful Detonate opportunity.
- Maintain Uptime — Even when moving, you can pre-cast Fire Frogs or refresh DoTs to avoid downtime.
Fellowship Ardeos FAQ
If you are new to Ardeos or want to refine your play, this FAQ covers the most common questions about him.
What’s the Best Way to Get Burning Embers in Fellowship?
Ardeos generates Cinders from DoTs and direct attacks like Infernal Wave or Fire Ball. Every 100 Cinders gives one Burning Ember. Use abilities that hit multiple targets or tick often to speed this up, and never let your Embers cap.
Is Haste Better than Critical Strike for Ardeos in Fellowship?
Yes, for most builds. Haste increases DoT tick speed, Cinder generation, and smooths your entire rotation. Critical Strike becomes more valuable once you unlock Firestarter or Pyrophibian Frenzy, since crits can spawn extra Fire Frogs.
Does Spirit Matter for Ardeos in Fellowship?
Spirit helps with ultimate uptime and has a chance to refund Embers after Detonate, but it scales with diminishing returns. It’s good to have, but don’t prioritize it over Haste or Crit.
4.9Mastering Ardeos comes down to keeping your DoTs active, managing Cinders and Burning Embers, and timing Detonate for maximum payoff. Once you get into the rhythm, his rotation feels natural and rewarding with every explosion hitting harder than the last.
